What time to leave
My advice is “as soon as possible.” This is especially true for hikes that take place on the east side of the valley: in summer the sun beats down on you from early morning, and it is best to be as high as possible when it starts to beat down in earnest.
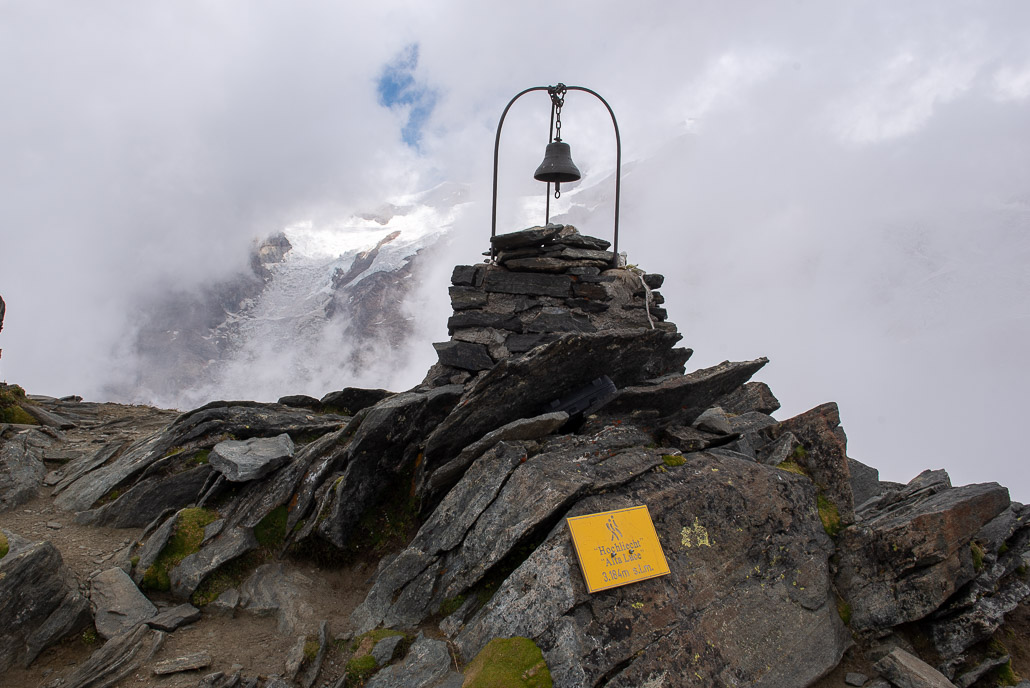
Alta Luce, too late…
But this is good advice for any trail: very often, summer days in Gressoney start off with clear skies until midday, when the first clouds begin to appear—which usually means rain in the afternoon. This is especially true for escursioni that take place very close to Monte Rosa, where clouds form more quickly than in the rest of the valley.
For this reason, it’s best to make the most of the morning’s clear time so you can reach your destination with the best possible visibility: there’s nothing worse than struggling for hours to reach the summit of ALTA LUCE , only to look out over the Rosa and see nothing but clouds.
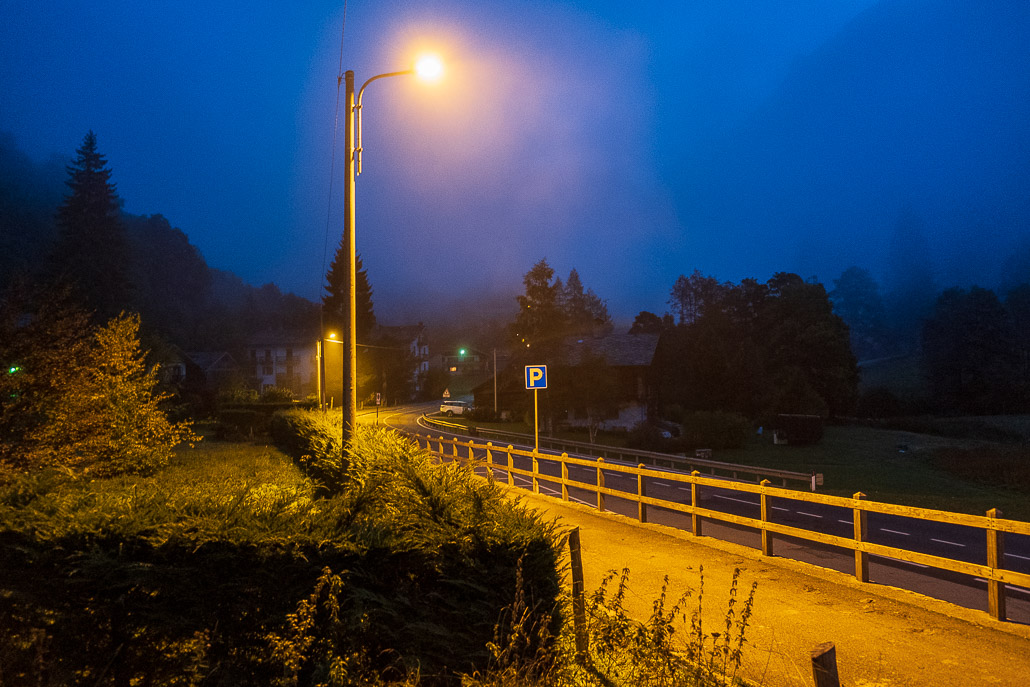
Departure at dawn
There’s one last reason: people are usually lazy… and if you enjoy reaching the summit alone, it’s much better to set out while everyone else is still in bed.
For longer hikes, this means leaving practically at dawn: once you manage to overcome the initial discomfort, you will soon realize that the advantages undeniably outweigh the disadvantages.
Protect yourself from lightning
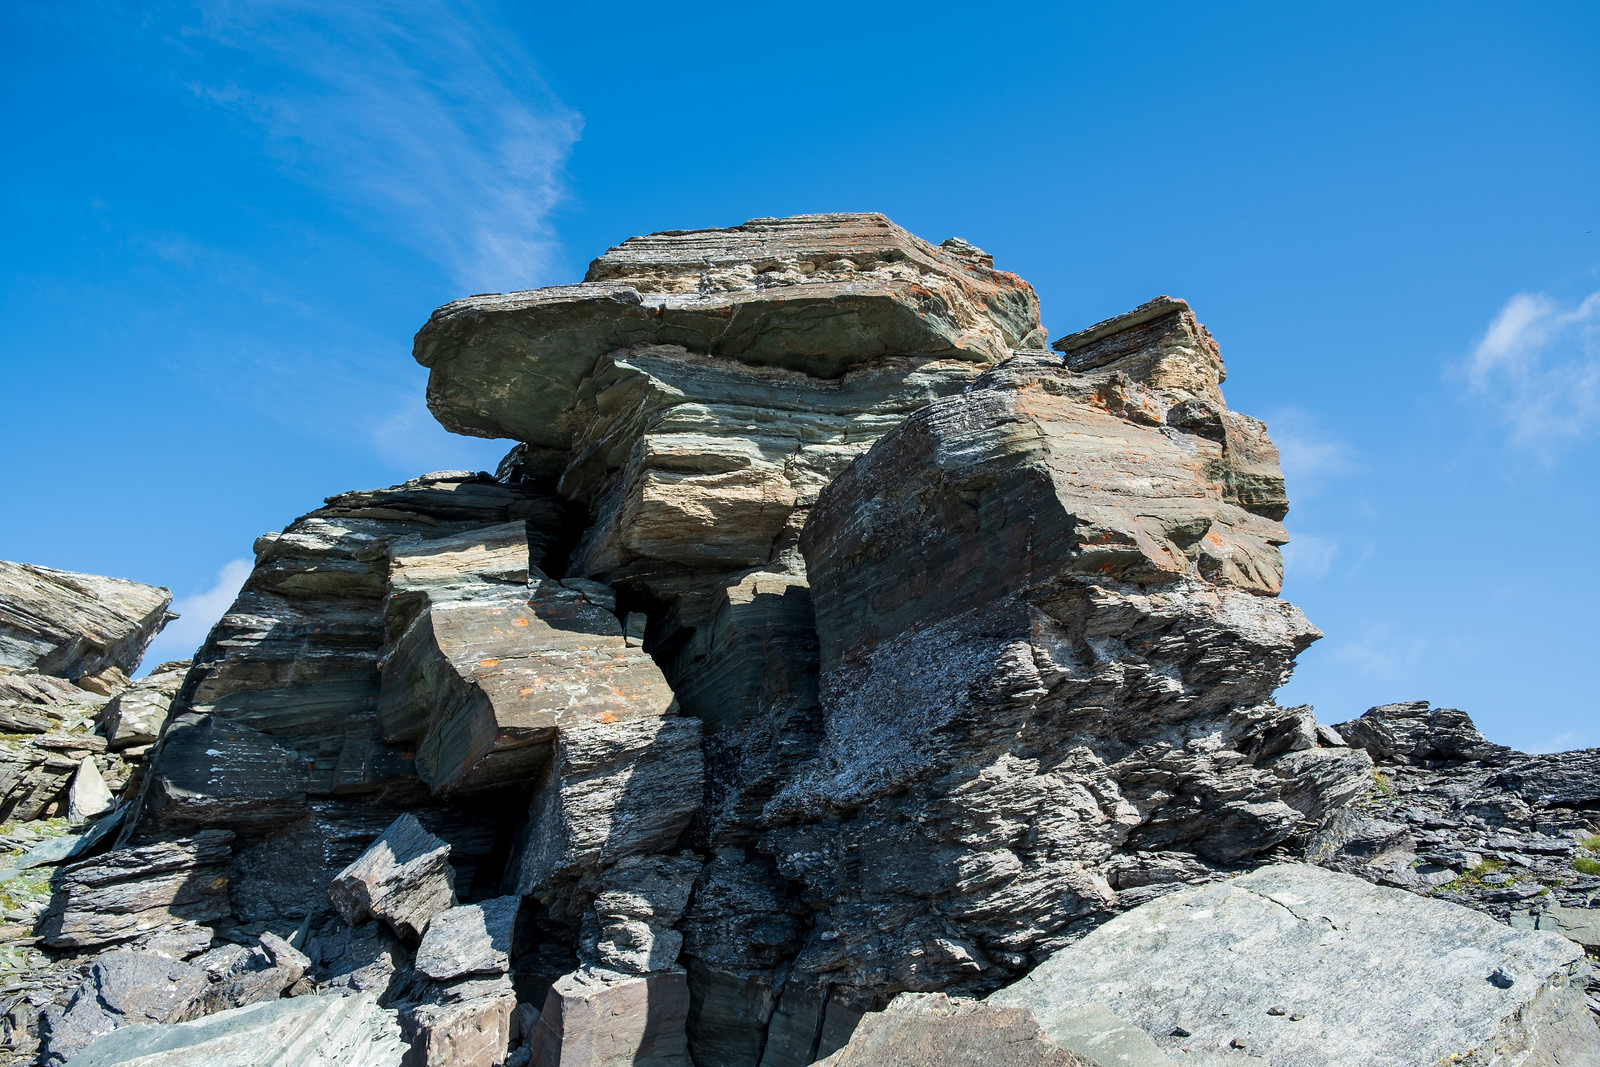
Here are the rocks under which I protected myself
It has happened to me several times that it started raining during my walks, but I had never found myself in the midst of a real thunderstorm.
It was 2022: the forecast called for a chance of rain in the late afternoon, but instead the storm began around 11:30 a.m. while I was on the summit of Rothore (above Zube pass, accessible via TRAIL 4 from Stafal), and looking back, I realized I had handled the situation incorrectly.
The first raindrops began to fall as I was climbing down from the rocks at the summit, so I took shelter in a cave right among those rocks. I waited sitting comfortably down there for it to stop (it also hailed, and not far away, at Zube Pass, so much of it fell that it looked like snow from a distance), and then I got back on the road, telling myself lucky for the excellent shelter I had found.
This page from the Aosta Valley Civil Defense states that what I have done is absolutely not recommended. I reproduce for convenience at the end of the text all the rules regarding how to behave in the mountains during thunderstorms.
Below, I’ll highlight two rules in particular that relate to my mistakes.
- Rule 6: Move quickly away from peaks and ridges; be careful of ropes and cables of via ferrata routes, especially when wet; do not stay under isolated rocks or trees; in forests stay away from the trunks of taller trees and low branches;
Instead, I stayed under the isolated rocks of the summit, so in the absolute least suitable place.
- Rule 12: lightning can be dangerous not only if it strikes us directly, but also because of the so-called “step current”: the lightning current remains on the ground surface and decreases in intensity as it moves away from the point of fall, consequently it is important to touch the ground at only one point, such as by hopping or crouching with feet together (the potential difference between the ground under one foot and the other can be dangerous); avoid lying down or leaning against the rock;
I was sitting and leaning with my whole back on the rock. With feet wide apart.
What I should have done is to try to get down as far as possible right away, and then crouch down somewhere in the open, keeping my feet together: getting wet as a chick, but staying away from isolated boulders.
Here are all the rules.
- Rule 1: Always inquire at guide offices about route conditions and weather forecasts, if you have not already done so from home;
- Rule 2: If you notice vertically developing clouds already in the morning, then thunderstorms are likely to develop later in the day; the higher the haze and mugginess in the valleys, the further this probability increases;
- Rule 3: To predict the movement of thunderstorms already in place, observe in which direction the highest part of the cumulonimbus (anvil) points;
- Rule 4: at night, the glow of lightning can be seen tens of kilometers away, while if we hear thunder, the thunderstorm is only a few kilometers away from us: a delay of about 10 seconds between lightning and thunder means that we are about 3 kilometers away from the thunderstorm;
- Rule 5: Remember that the average lifespan of a thunderstorm is about 1 h, and that the most intense phase hardly exceeds half an hour: consequently, seek shelter at the first signs of a thunderstorm (e.g., inside the caves, not at the mouth) and wait for the phenomena to subside;
- Rule 6: In all cases, move quickly away from peaks and ridges; be careful of ropes and cables of via ferrata routes, especially when wet; do not stay under isolated rocks or trees; in forests stay away from the trunks of taller trees and low branches;
- Rule 7: Avoid gullies, culverts and rocky chimneys: following moisture and drafts, lightning will creep into these openings;
- Rule 8: Do not shake hands with fellow hikers and stay about 10 meters apart;
- Rule 9: Do not stay in the vicinity of streams-they swell quickly and can become dangerous, especially for those who are “canyoning” or fishing;
- Rule 10: Do not light fires: heat has a strong catalytic function;
- Rule 11: Isolate yourself as much as possible from the terrain with whatever insulating material you have available: backpack, sleeping bag, rope (if dry); get rid of any metal objects (ice axes, crampons, skis, carabiners, pitons) by placing them some distance away;
- Rule 12: lightning can be dangerous not only if it strikes us directly, but also because of the so-called “step current”: the lightning current remains on the ground surface and decreases in intensity as it moves away from the point of fall, consequently it is important to touch the ground at only one point, such as by hopping or crouching with feet together (the potential difference between the ground under one foot and the other can be dangerous); avoid lying down or leaning against the rock;
- Rule 13: The current developed by even a very small bolt of lightning can be sufficient to cause respiratory or cardiac arrest, skin burns, and involuntary muscle contractions that can induce sudden uncontrolled movements or even cause bone fractures. Lightning strikes of high power generally result in death. People struck by lightning are not electrically charged and therefore there is no risk in giving them aid. Eighty percent of electrocution victims survive: mouth-to-mouth respiration and CPR can save lives!
Paper maps and Apps
The issue is simple: it is important to have at least a map on paper, which comes in very handy when planning the hike. The map for sale at the Pro Loco of Gressoney, scale 1:25,000, is excellent and absolutely sufficient, otherwise the second famous map of these areas is the one from L’Escursionista editore, “08 – Monte Rosa, Ayas, Gressoney, Alagna trail map,” also in the same scale.
But during the hike, in my opinion, it is essential to have a good electronic map with you on a cell phone. Not so much for normal walking as for times when you are in trouble: losing the path is entirely possible, and indeed happens quite frequently: when you lose it, finding it again may not be so trivial.
You might think, “just climb vertically until you cross it again,” but you can’t always do that: when you are moving sideways down a slope, if you are groping your way up too high or down too low, you may end up in dead-end (and perhaps dangerous) areas of the slope from which you will soon have to turn back, wasting time, energy, and motivation. With a map on a cell phone, it is immediate to see where you are in relation to where the trail should be, and so it is immediately clear in which direction we need to move to find the trail again.
My advice is to check the location on the electronic map as soon as you have any doubts about the trail you are on. In fact, it happens to slip without noticing into branches of the main path that are at first barely distinguishable, but after a few steps appear less clear, with more vegetation, with suspicious slopes… in that case, instead of holding on and continuing because “maybe it gets better later on,” it is much better to pull out your cell phone and do a safety check. In cases such as these, a paper map would be of little help, unless you have one that is extremely detailed and can “read the terrain” perfectly. In cases such as these, a paper map would be of little help, unless you have one that is extremely detailed and can “read the terrain” perfectly.
Which app to use?
There are so many map apps out there, both free and paid. The important thing is to use one that lets you download maps offline, because, of course, you’re almost always walking in areas without cell service, so it’s essential that the map is already on your phone.
Please note: app maps normally contain the layout of the main trails, so it is not necessary to upload the GPX track of the trail you want to walk each time. You do this when you want to make sure you have an up-to-date trail, taking into account any changes to the route due to landslides or similar events.
My advice is, of course, to use the Gressoney Hikes app. It’s completely free, offers several 2D map layouts and a 3D map, provides descriptions of all trails, lets you record and import GPX tracks, and includes a wide range of other features.
In addition to this, I also use Avenza Maps, through which I was able to purchase the map “Monte Rosa East – Gressoney Valley – Alagna Valsesia 1:25,000” (€9.99 as of September 2026). This is the electronic version of the paper map published by L’Escursionista (€11 in September 2026). The level of detail this electronic map offers is far superior to that of free apps, again based on opensource maps. Below is a striking example related to the Alpetto Pass area.
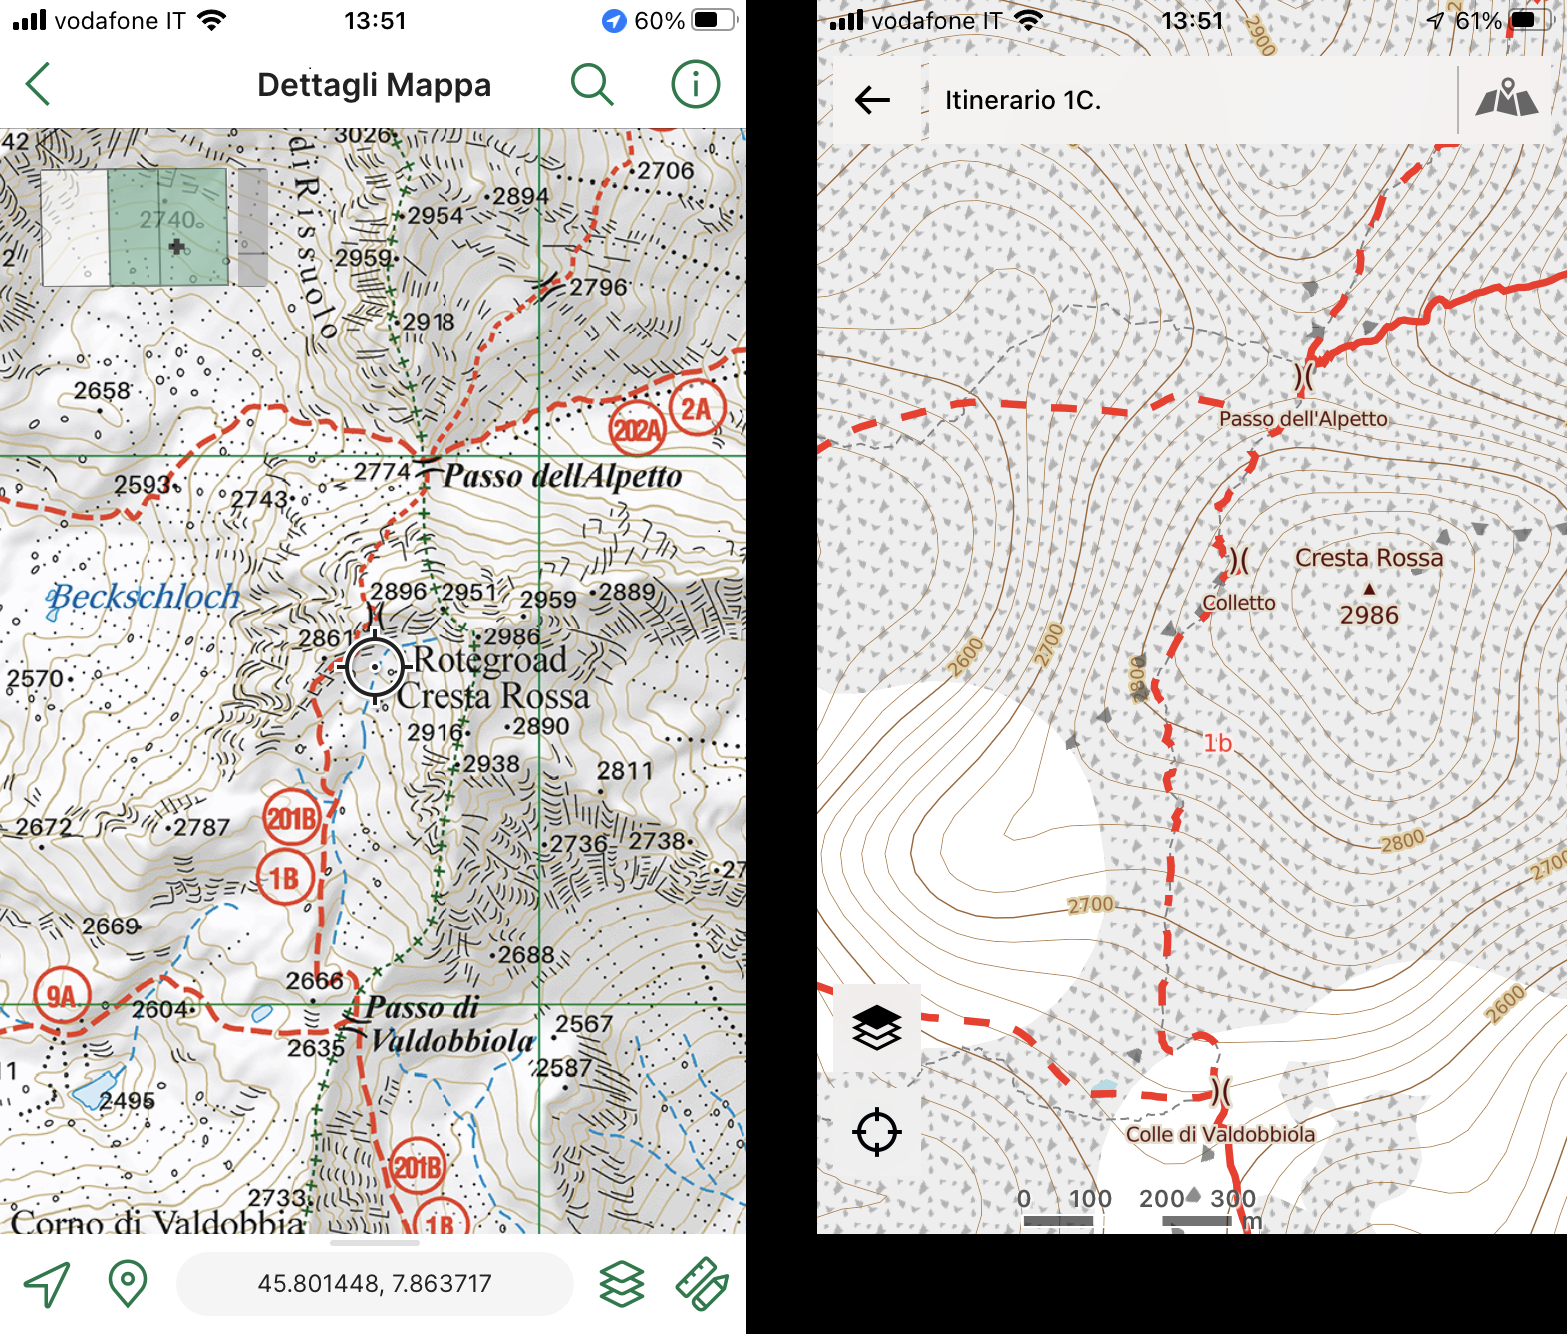
Avenza Maps (left) and Phonemaps (right)
There are two other apps that I now find indispensable.
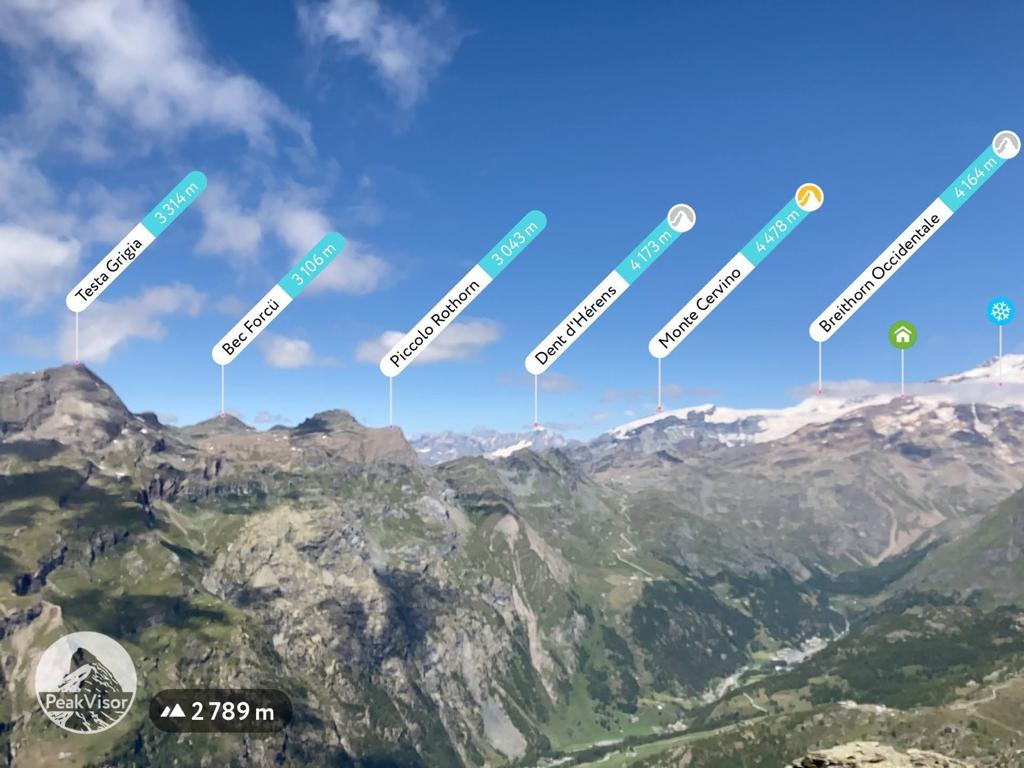
One of them is PeakVisor. Available as a free app for both iOS and Android, this app will show you the names and elevations of all the peaks around you, both near and far. When you arrive at a high point, it is good to look around and try to identify areas that you have yet to visit, to prepare yourself for what you will encounter: to do this, however, it is essential to understand what you are looking at. And the fastest way to do that, as an alternative to laboriously trying to associate what you see with the 2D map, is to use this app. Just frame a mountain, and PeakVisor will show its name. Simple and very useful. PeakVisor can also work offline: simply open it once in the area where you want to use it (when there is still network coverage) and the app will download to your phone the information it needs to identify all the surrounding mountains.
PeakVisor
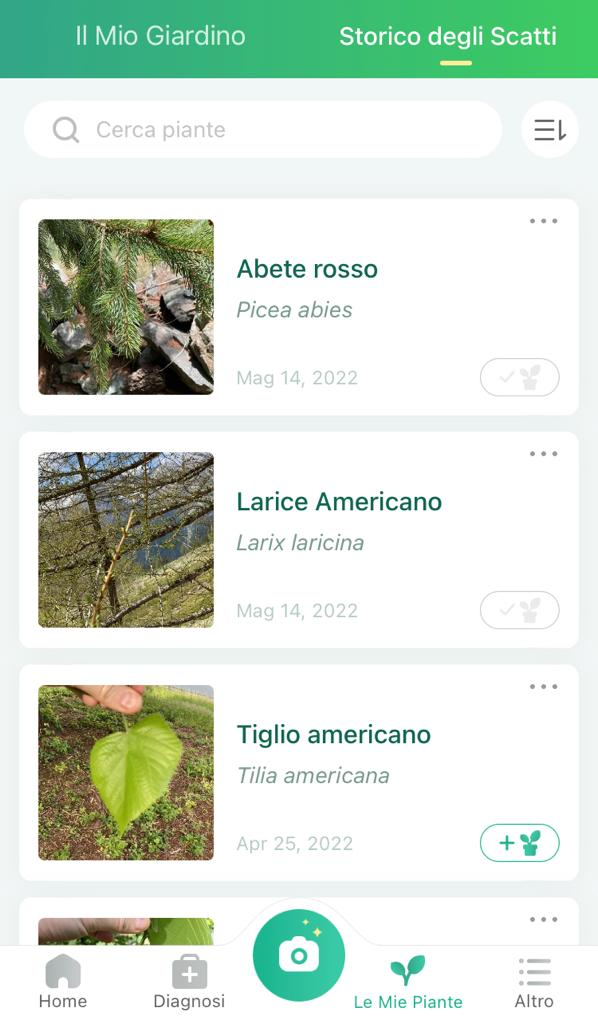
The second is PictureThis. Once we recognize the peaks with PeakVisor, we will also be able to name plants and flowers with this app, and what surrounds us will no longer have any secrets. For me, who can barely distinguish a red flower from a yellow leaf, it has the miraculous to see that this app can name a tree simply by photographing a leaf. This one is free, too; the paid version offers additional features that I haven’t even explored yet: being able to identify the plant in the photo is more than enough.
PictureThis
Important: Once we have chosen our apps, it is critical to “download the offline maps” in advance to prevent the phone from trying to download them the moment we open the app mid-path for the first time (almost certainly in the absence of data range).
It is also better to get a powerbank, or even better a powered case, that will allow enough charge for the whole day considering the heavy use you might make of the phone. It is advisable to turn off the wifi (and perhaps also the data connection) as soon as we leave, to reserve the phone’s charge for the only two basic functions: receiving the GPS signal, and showing the map and our location on the screen.
The typical backpack
Disclaimer: What follows is a description of my personal experience; I do not intend to suggest how anyone should behave.
Mesh on the bottom of the backpack
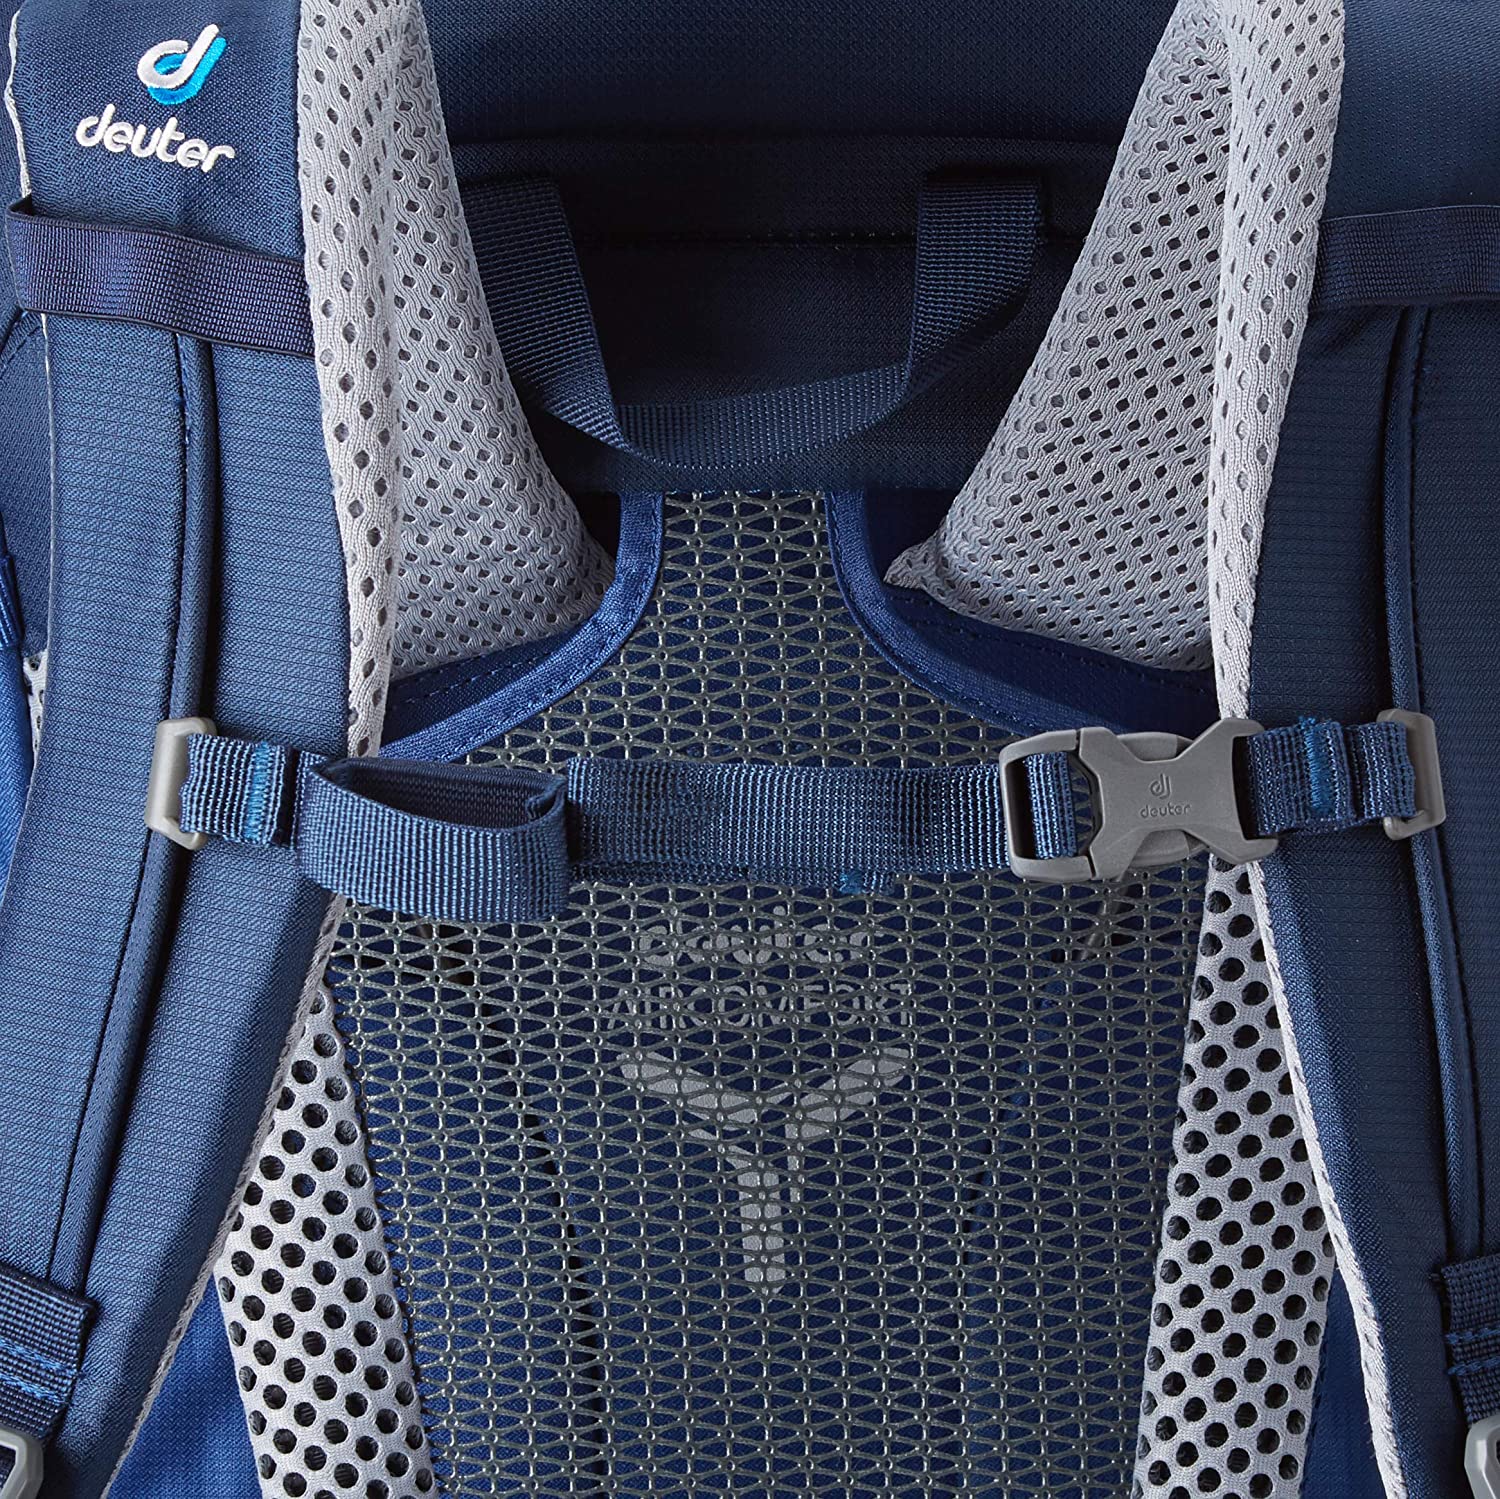
Before we talk about what to pack in your backpack, a few words about the backpack itself. I strongly recommend choosing a backpack with a “mesh” back panel that is separate from the rest of the backpack. And I’m not talking about backpacks with a “ventilated” back panel, which is often nothing more than padding “with little holes” that doesn’t make it ventilated at all: I’m talking specifically about backpacks with a lightweight plastic frame over which a mesh is stretched, keeping your back well separated from the load. This means you can forget once and for all that awful feeling of taking off your backpack and feeling your T-shirt stick to your back from sweat. Tried it once, can never go without it again.
As for clothing, generally from June to mid-September I always wear a short-sleeved T-shirt and short pants. It may happen on very early morning starts that I wear a long-sleeved jersey as soon as I start, but the movement generally warms me up so much, so the jersey ends up in my backpack at the first turn.
I wear long pants if I plan to get to the glacier (obviously), or if the destination is above 3,000 meters where it is possible that, even on very sunny days, there will be freezing winds.
I then carry five additional items of clothing with me at all times, regardless of the season:
- the aforementioned long-sleeved shirt (made of fleece or other technical material, depending on the temperature I expect to encounter)
- a lightweight waterproof and windproof jacket
- a pair of lightweight fleece gloves (people often underestimate the importance of gloves, but when it’s cold, hands are the first things that start to suffer)
- a hat with a visor (useful both in sunny weather and, even more so since I wear glasses, in rainy weather)
- a woolen cap (very light, you forget you have it but when you need it it’s good to have).
The top pocket of the backpack also always contains a few small items (some may be useful in an emergency):
- A tiny bottle of protective sunscreen
- Lip balm to protect your lips
- A whistle (in an emergency, the best way to signal one’s presence from a distance)
- A thermal blanket (those with one silver layer and the other golden, useful for both protection from cold and heat depending on which side is used)
- A small set of patches
Besides water and provisions, of course, there are then other items that I put in my backpack depending on what the day might hold.
- Crossing a glacier (if you stay on the official trails, this may only happen if your destination is the CAPANNA GNIFETTI ): ice crampons, ice axe, helmet, winter gloves.
- Crossing a snowfield (e.g., RISSUOLO PASS , VALFREDDA PASS ): gaiters (in the middle of summer, when the snow is soft), or crampons (at the beginning or end of summer, when the snow can be very hard).
- Sections secured with steel cables (e.g., TESTA GRIGIA , QUINTINO SELLA REFUGE ): leather via ferrata gloves (steel cables, if not in perfect condition, can cut like razors).
- Sections along iron ladders or particularly exposed via ferrata routes (e.g., Monte i Gemelli, CAPANNA GNIFETTI if approaching from below): climbing harness, via ferrata set, lightweight helmet.
- Sections on predominantly rocky terrain where rocks may fall from above (e.g., MANTOVA REFUGE , QUINTINO SELLA HUT , TESTA GRIGIA ): wear a hiking helmet.
Along with a pair of hiking poles, the satellite communicator mentioned here, a watch, and various photography gear, this is everything I bring with me on escursioni.
Securing rescue
I almost always walk alone, and my cell phone often loses signal less than an hour after I set out. This is especially a problem for those who stay at home, forced to endure a long silence with no chance to verify that everything is going well: those on the move, in fact, rationally or otherwise decided to take a chance, evidently deciding that the game was worth the candle. But those who stay at home, especially those who are apprehensive, are doomed to long days of anxiety, which is why, if you decide to go anyway, you have to be aware that there is a good deal of selfishness in this choice…
Yet there is a fairly inexpensive solution to this problem (I’d like to thank Bruno Borello, who first told me about it): There are small satellite communicators that connect to satellite communication networks (with worldwide coverage) and allow you to automatically update your location on a web page, exchange text messages or short emails with a predefined set of contacts, and call for help, in the unfortunate event that this becomes necessary, automatically sending your GPS location.
If we then fail to even independently call for help, our contacts at home (seeing us, for example, standing in the same spot for hours on end, with no response) may decide to autonomously request the device for the last GPS location, and provide the information to the rescuers. As you can see, these are phenomenal features that would prevent many of the tragedies often reported in the newspapers.
Unfortunately, all of this comes at a cost: in addition to the price of the device, you must pay for a satellite service subscription, without which the device is practically useless. You can choose from several different tiers, which differ mainly in the maximum number of personalized messages you can send each month, or the number of times you can share your location online.
Garmin InReach Mini
There are several products: the most popular in Italy are those from Garmin and Spot: just Google“satellite messengers” to find them all.
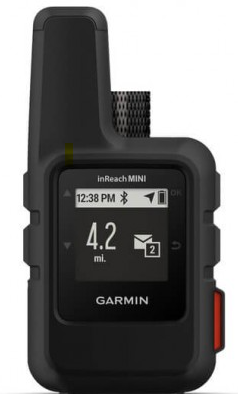
I use a Garmin InReach Mini—the first version that came out. As of now (September 2026), Version 2 is available online for just under 300€ (Version 3 is also available). Small, very light but very durable, has a battery that lasts for days at a time.
Subscription plans range from €9.99 to €59.99 per month: you only pay for the months you plan to use the service (for example, only during the summer months). What varies from one tier to another is mainly the monthly number of “personalized” messages you want to be able to send and how often you want to share your location on the website: if you choose one of the two lower-tier plans, for example, each location share costs €0.15.
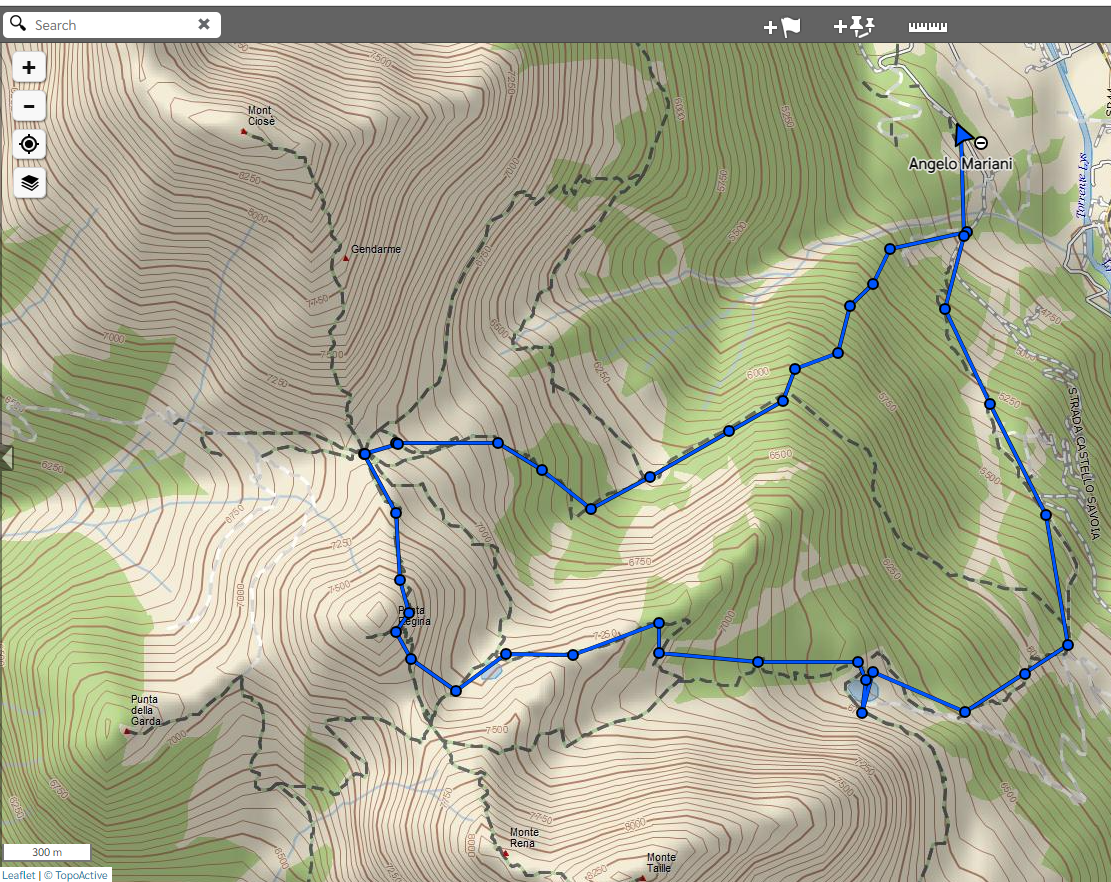
Web-based location sharing
I’m very happy with it: I can send pre-set reassuring messages (such as “I’ve reached the summit, everything’s fine,” or “I’m still climbing, everything’s okay”), my location is constantly updated every ten minutes on a website that I can share with anyone I want (as shown in the image on the right), and of course, if there are any problems, I can send an SOS to Garmin’s international rescue coordination center and communicate (again via text messages) with the rescue team.
I have to say that it is a great added security that anyone who walks with some consistency in the mountains in places where cell phones don’t get reception should definitely have.
How to bring your camera
For years I carried the camera dangling over my shoulder, temporarily transferring it inside my backpack at delicate moments. A real torment: you always have to be careful where you place it to prevent it from hitting the rocks while swinging, on hot days the strap is extremely annoying, and in the long run the constant bouncing against your body becomes really irritating. Not to mention the physical strain: my full-frame DSLR with the lens weighed 2 kg… Whenever we stopped, the first thing I did was take the camera off my neck!
Switching to a mirrorless in 2020 was the first giant step forward, which I recommend to anyone who is still hesitant and which solved at least the significant weight problem at the root (my mirrorless with lens mounted weighs exactly one third compared to the SLR) but as long as I continued to carry it over my shoulder the other disadvantages were still very much in evidence. Things really changed as soon as I experimented with a shoulder mount.
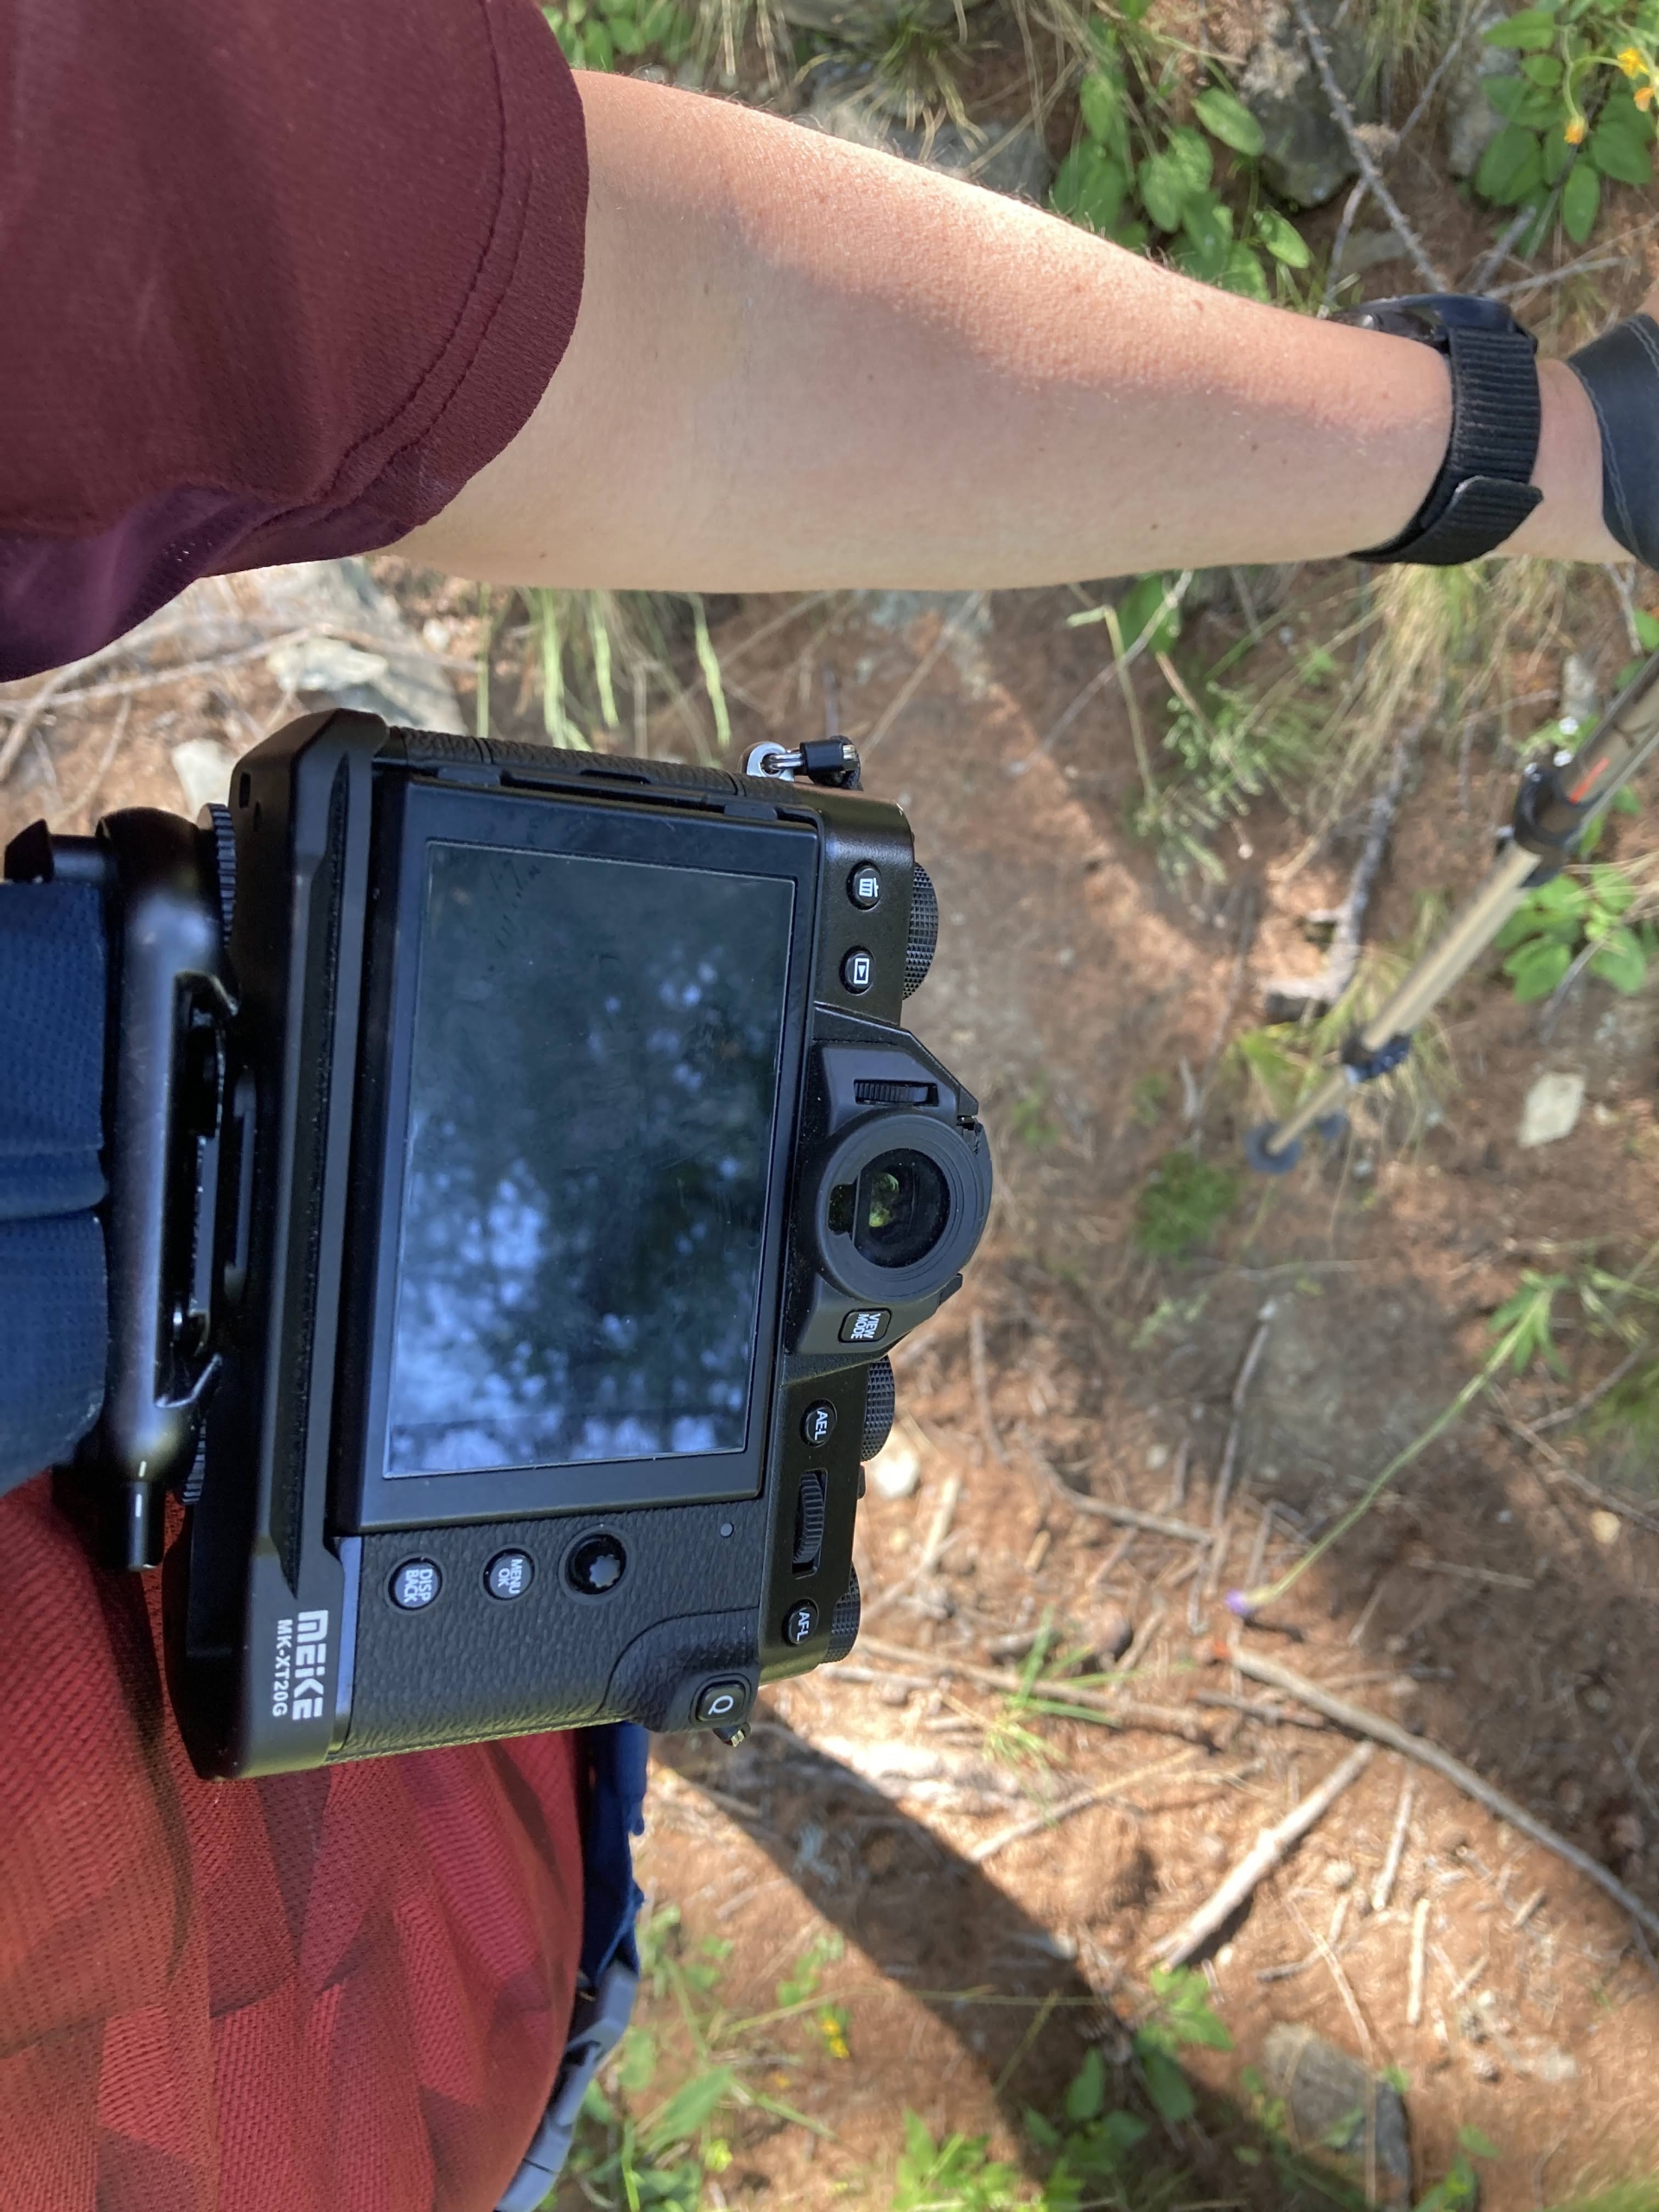
The car hanging from the shoulder strap
I use a Peak Design model, but there are similar products from a thousand houses, and from more varied prices. These solutions consist of a clamp that attaches to the shoulder strap of the backpack at chest height, and a baseplate that screws into the machine’s threaded hole. The machine fits through the base plate into the stand, and stays nailed there in a position that practically allows you to forget about it.
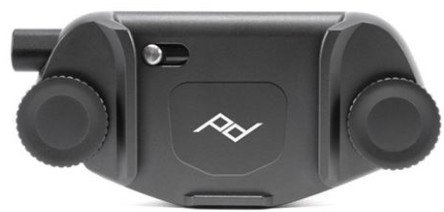
Peak Design Capture Camera V3
This is the thing you cannot guess until you experience it: the machine attached to your chest in this way does not make itself felt in any way. Of course, it has to be a mirrorless: you can use this stand with SLRs as well, but 2Kg pressing on the chest definitely makes itself felt more.
Moreover, in this way you are able to grip the camera, when needed, much faster: how many times have I “missed the shot” because I wasted time untangling my arm from the shoulder strap, and the chamois was long gone…
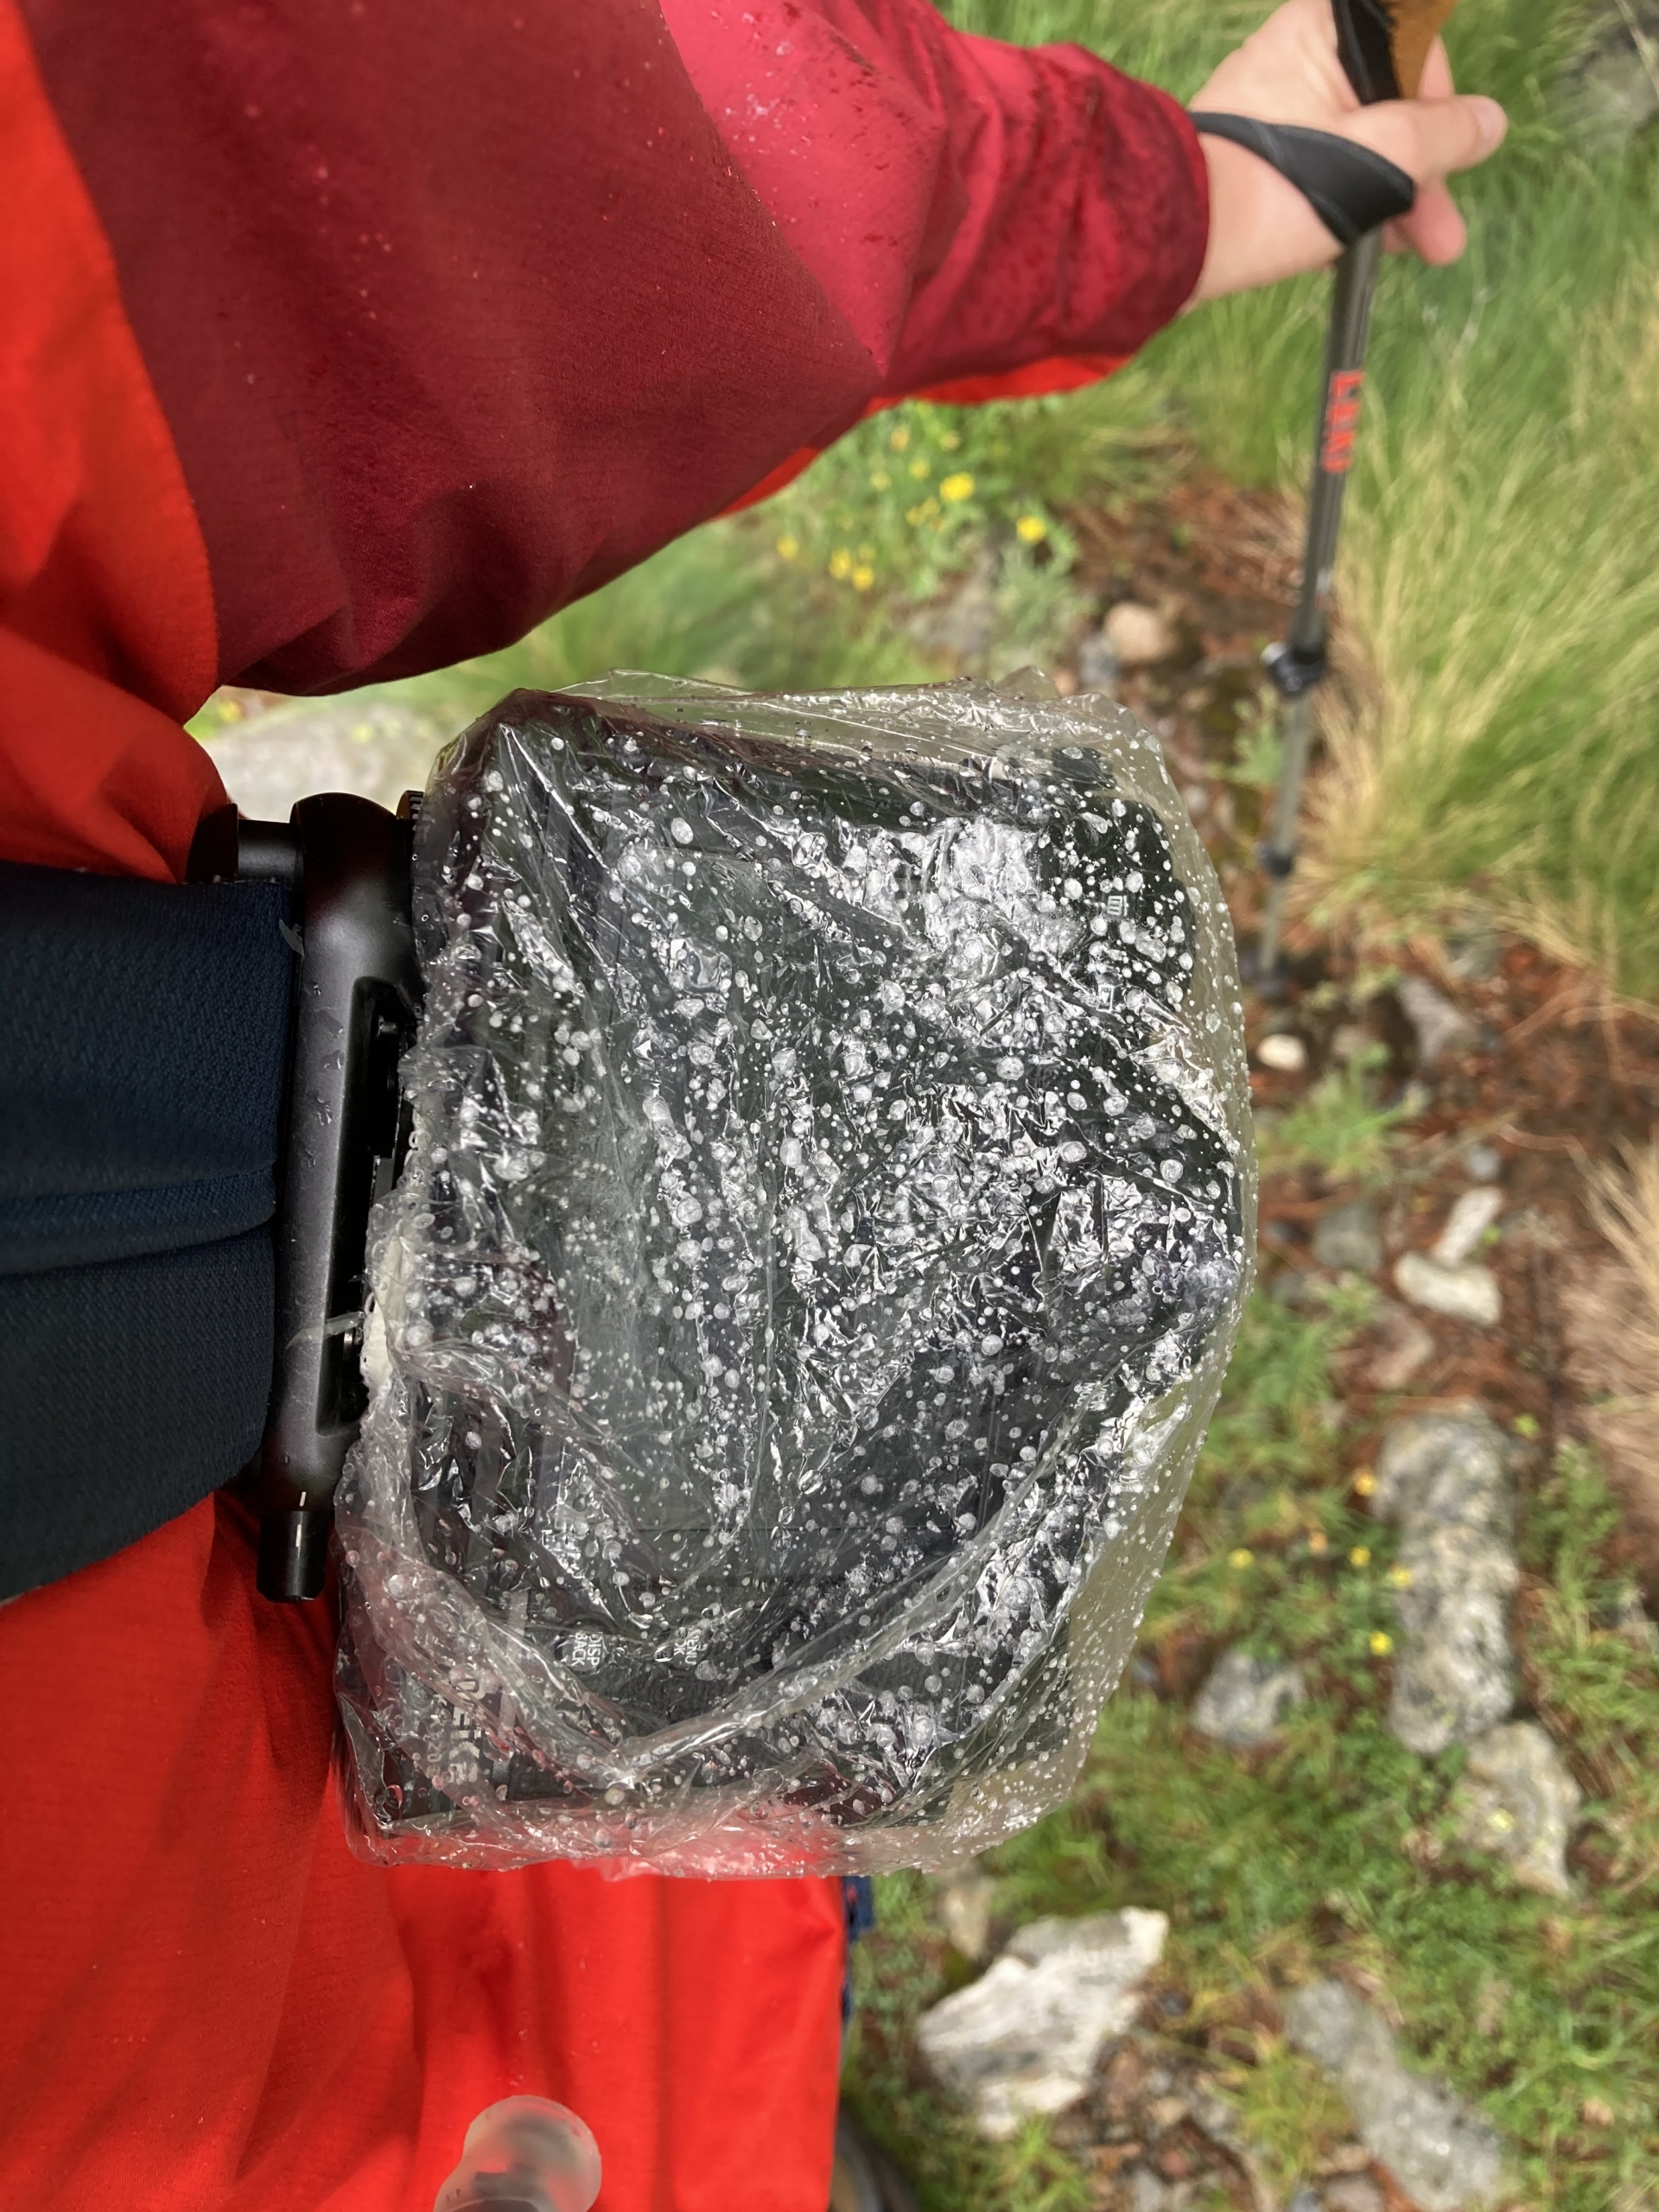
The camera protected from the rain
Another advantage: to protect the machine from the sudden showers that are so common in the mountains during the summer, all you need is a plastic shower cap. Carried this way, in fact, the camera has no straps or shoulder straps between the cases: as soon as the first drops fall, I pull the shower cap out of my backpack (I use one of those free ones you get at hotels), and unless it turns into a torrential downpour, the camera will survive the experience without getting too wet.
How to bring your own drink
As is well known, keeping hydrated during physical activity is essential. Also, rather than drinking a lot but a few times, it is much more effective for proper hydration to drink little but more often. But if every time you want to drink, you have to take your hands out of the paddle laces, take the backpack off your shoulders, take out the water bottle, open it, close it again, put it back in the backpack, put the backpack back on your shoulder… the urge to do it frequently escapes immediately.
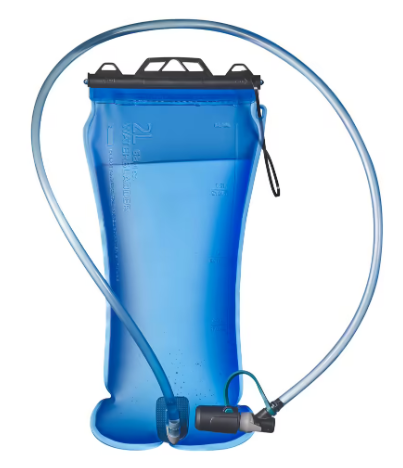
Water bag
The solution is to use a hydration pack—also known as a CamelBak or water pack—which allows you to quickly access as much water as you want without having to take your backpack off to drink.
I use a Decathlon model that costs just over 10 euros and has a capacity of 2 liters; there are, of course, an infinite number of them on the market, all equally reliable. Virtually every modern backpack has a dedicated pocket in which to house these pouches, and a hole in the side through which to pass the tube. The tube goes all the way to one of the shoulder straps, where you can attach it to one of the often-present loop loops, or you can simply leave it loose. The spout is always quick-closing, so there is no risk of it dripping on us while walking.
In this way you will have water available at all times, and you will be able to hydrate continuously and without the slightest disturbance. When you try it for the first time to use it, you will hardly go back: I regret that I tried it too late, because in all honesty I kind of snubbed it….
The closure of the bag is very effective, and the model I have been using for two years has never shown the slightest leakage-so you need not fear for the contents of your backpack. In addition, contrary to what I feared, the water contained does not take on any plastic taste. Perhaps the water warms up a little faster than when using a classic water bottle, but when you are very hot drinking “not cold” water is not that annoying.
For all these reasons, using a water bladder instead of a traditional water bottle is a simple solution that greatly enhances the quality (and thus the enjoyment) of our escursioni.
How to avoid blisters
Premise: I know this will sound like a carnival quack tirade trying to sell the miracle remedy, but the joy of having solved this problem is such that I love to share the solution in the hope that it will make many other hikers happy.
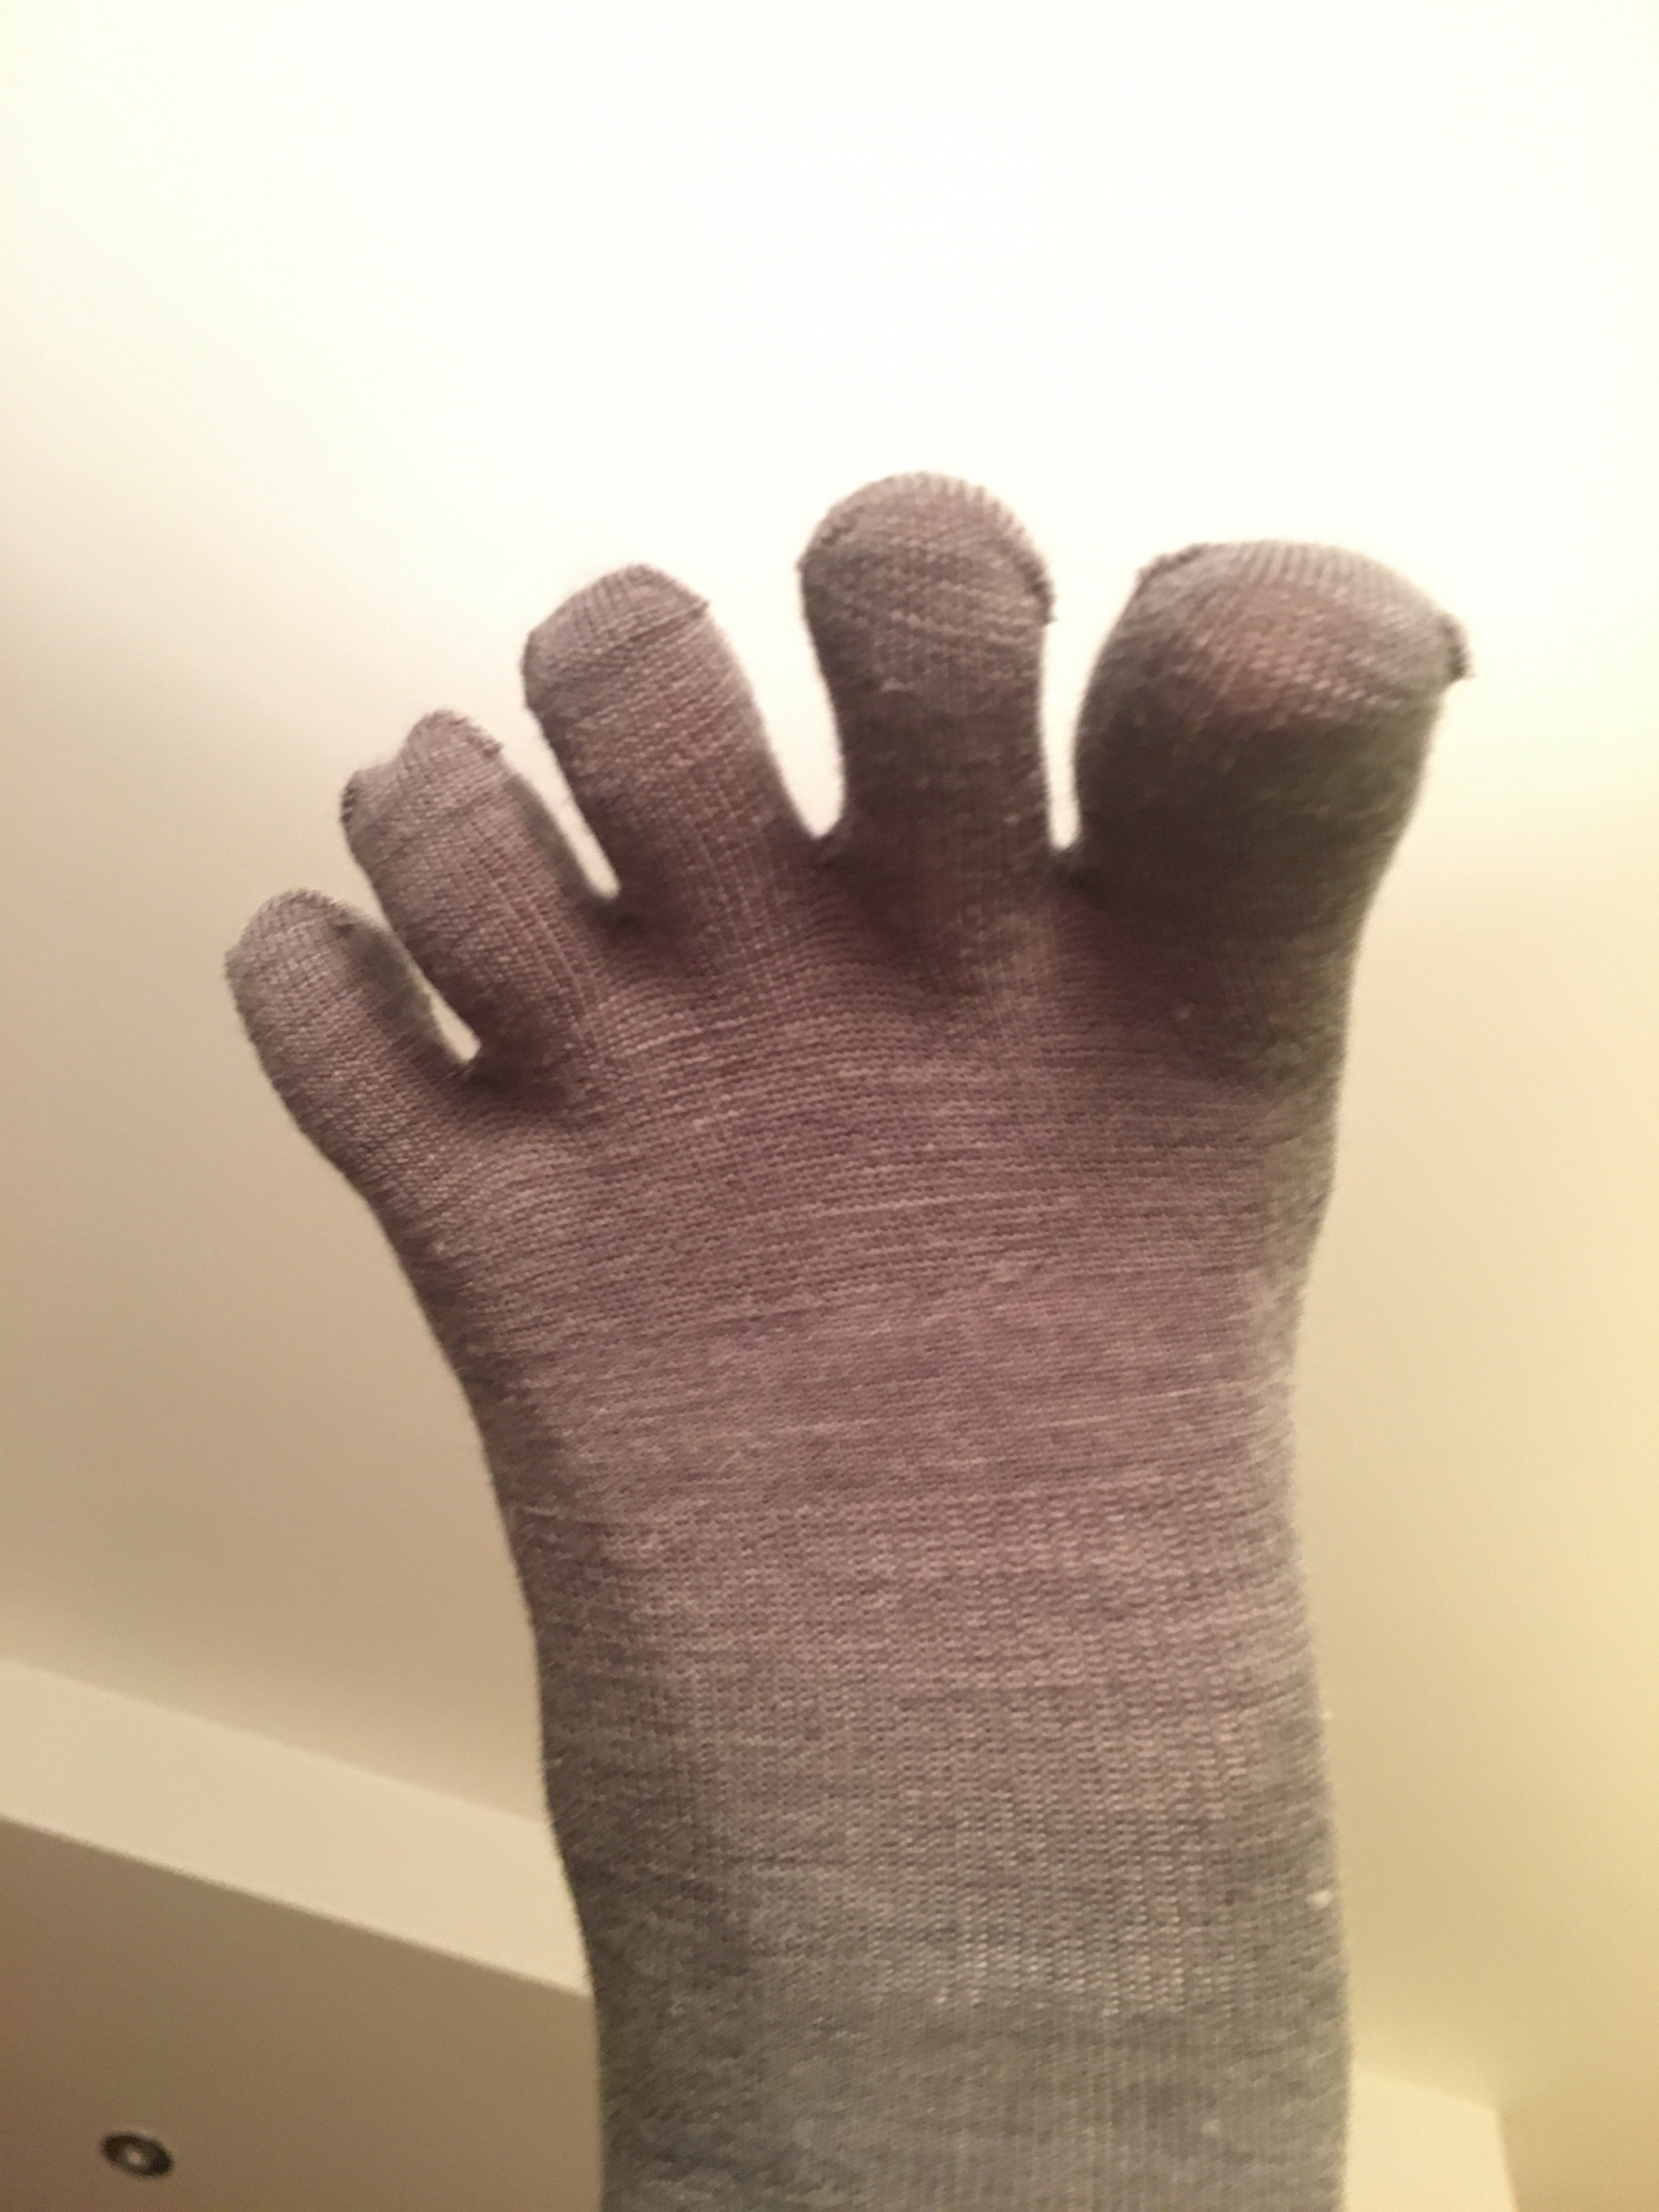
One of the last attempts: thin socks with fingers…
In fact, I suffered for a long time from blisters on my heel, both feet: I could only avoid them by using low boots. When I tackled hikes for which I was practically obliged to use high boots, in addition to preparing for the inevitable pain, I knew that I would then have to rest for a few days to give the blisters (which inevitably formed) a chance to heal.
I really tried everything: different models of boots, socks of various materials, under-socks of all kinds, various ointments to soften the foot before departure, preventive heel patches (regular and the very expensive Compeed), changing socks as soon as I began to feel discomfort while walking… nothing worked.
Until one day I happened upon a video, this one: Avoid blisters when hiking. In this video, the recommended remedy is to preventively cover the area prone to blisters with a special adhesive tape called Leukotape P. I decided to give it a try, found this tape on Amazon, ordered a roll… and since that day, my feet haven’t suffered from any blisters.
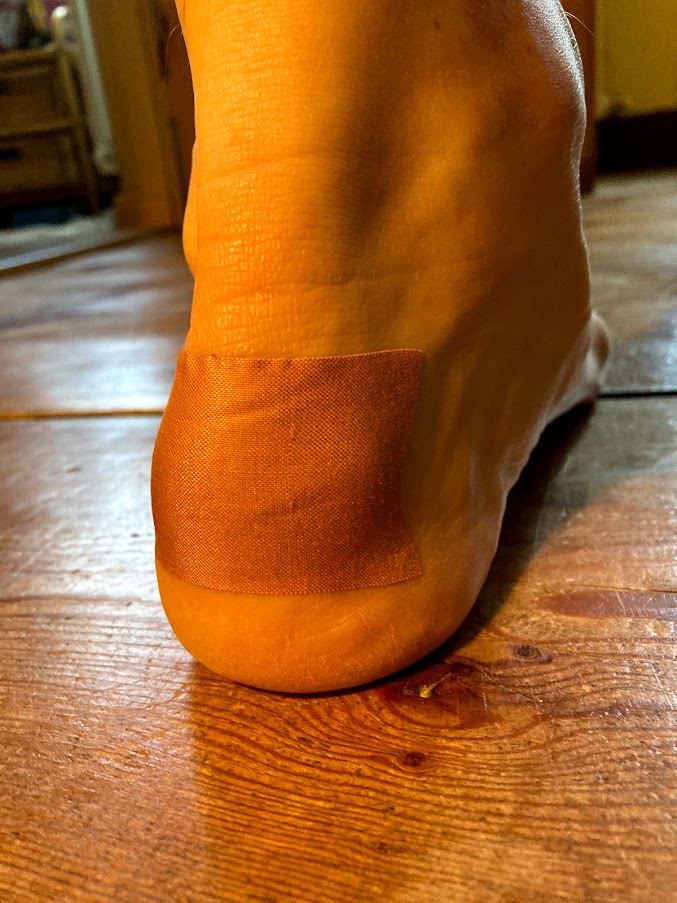
The patch applied before the hike
Using it is very simple: before setting off on the hike, simply apply a strip of tape about 8 centimeters long to the heel, trying not to form creases. The patch is so adhesive that it will not move for the duration of the hike, and you will find that it will remain attached even after showering if you forget to remove it first.
The patch, by thus remaining adherent to the skin, prevents the primary cause of blister formation, which is frictional heat induced by rubbing the skin against the sock. If, after your first hike, you notice that a small blister has formed anyway, we recommend applying a second layer of bandage (perhaps just over the blister) to further protect the skin.
What is certain is that, since that day, I have been able to start wearing high boots without the slightest problem. As soon as I tried this patch—wearing the same boots and socks as before—my problem was completely solved.
This tape isn’t exactly easy to find in stores: you can find it on Amazon for about €20 (just make sure it’s the Leukotape P model —look for the “P”). It’s not cheap, but it’s actually worth its weight in gold.