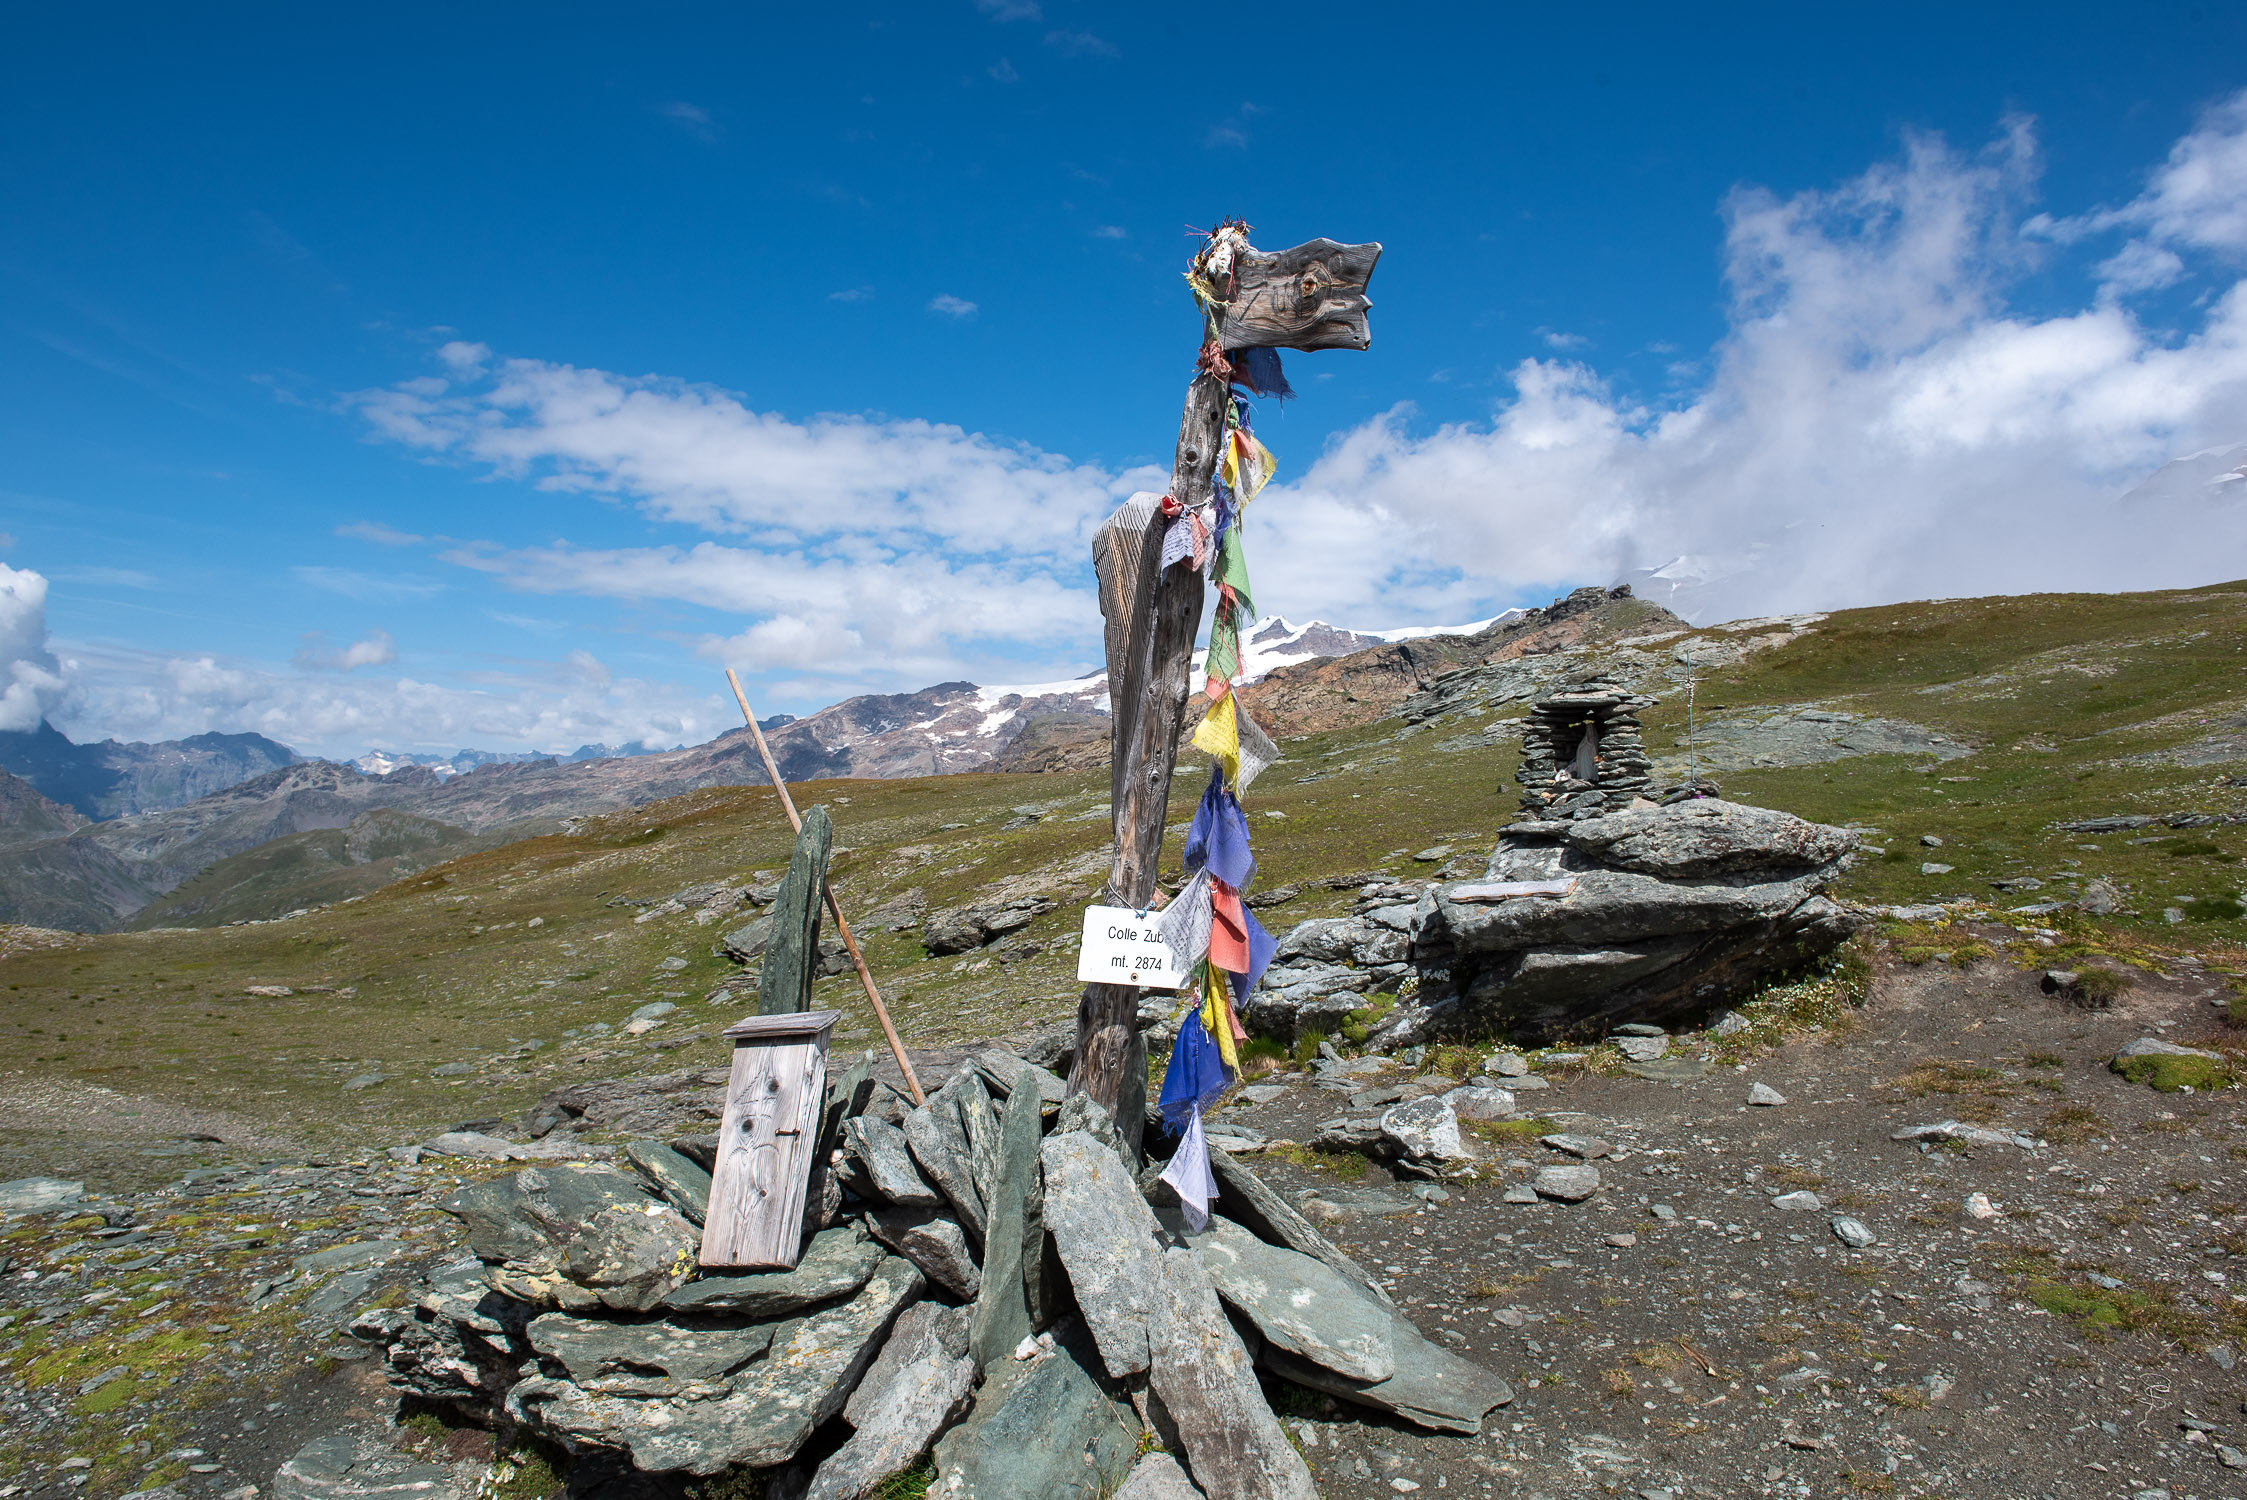
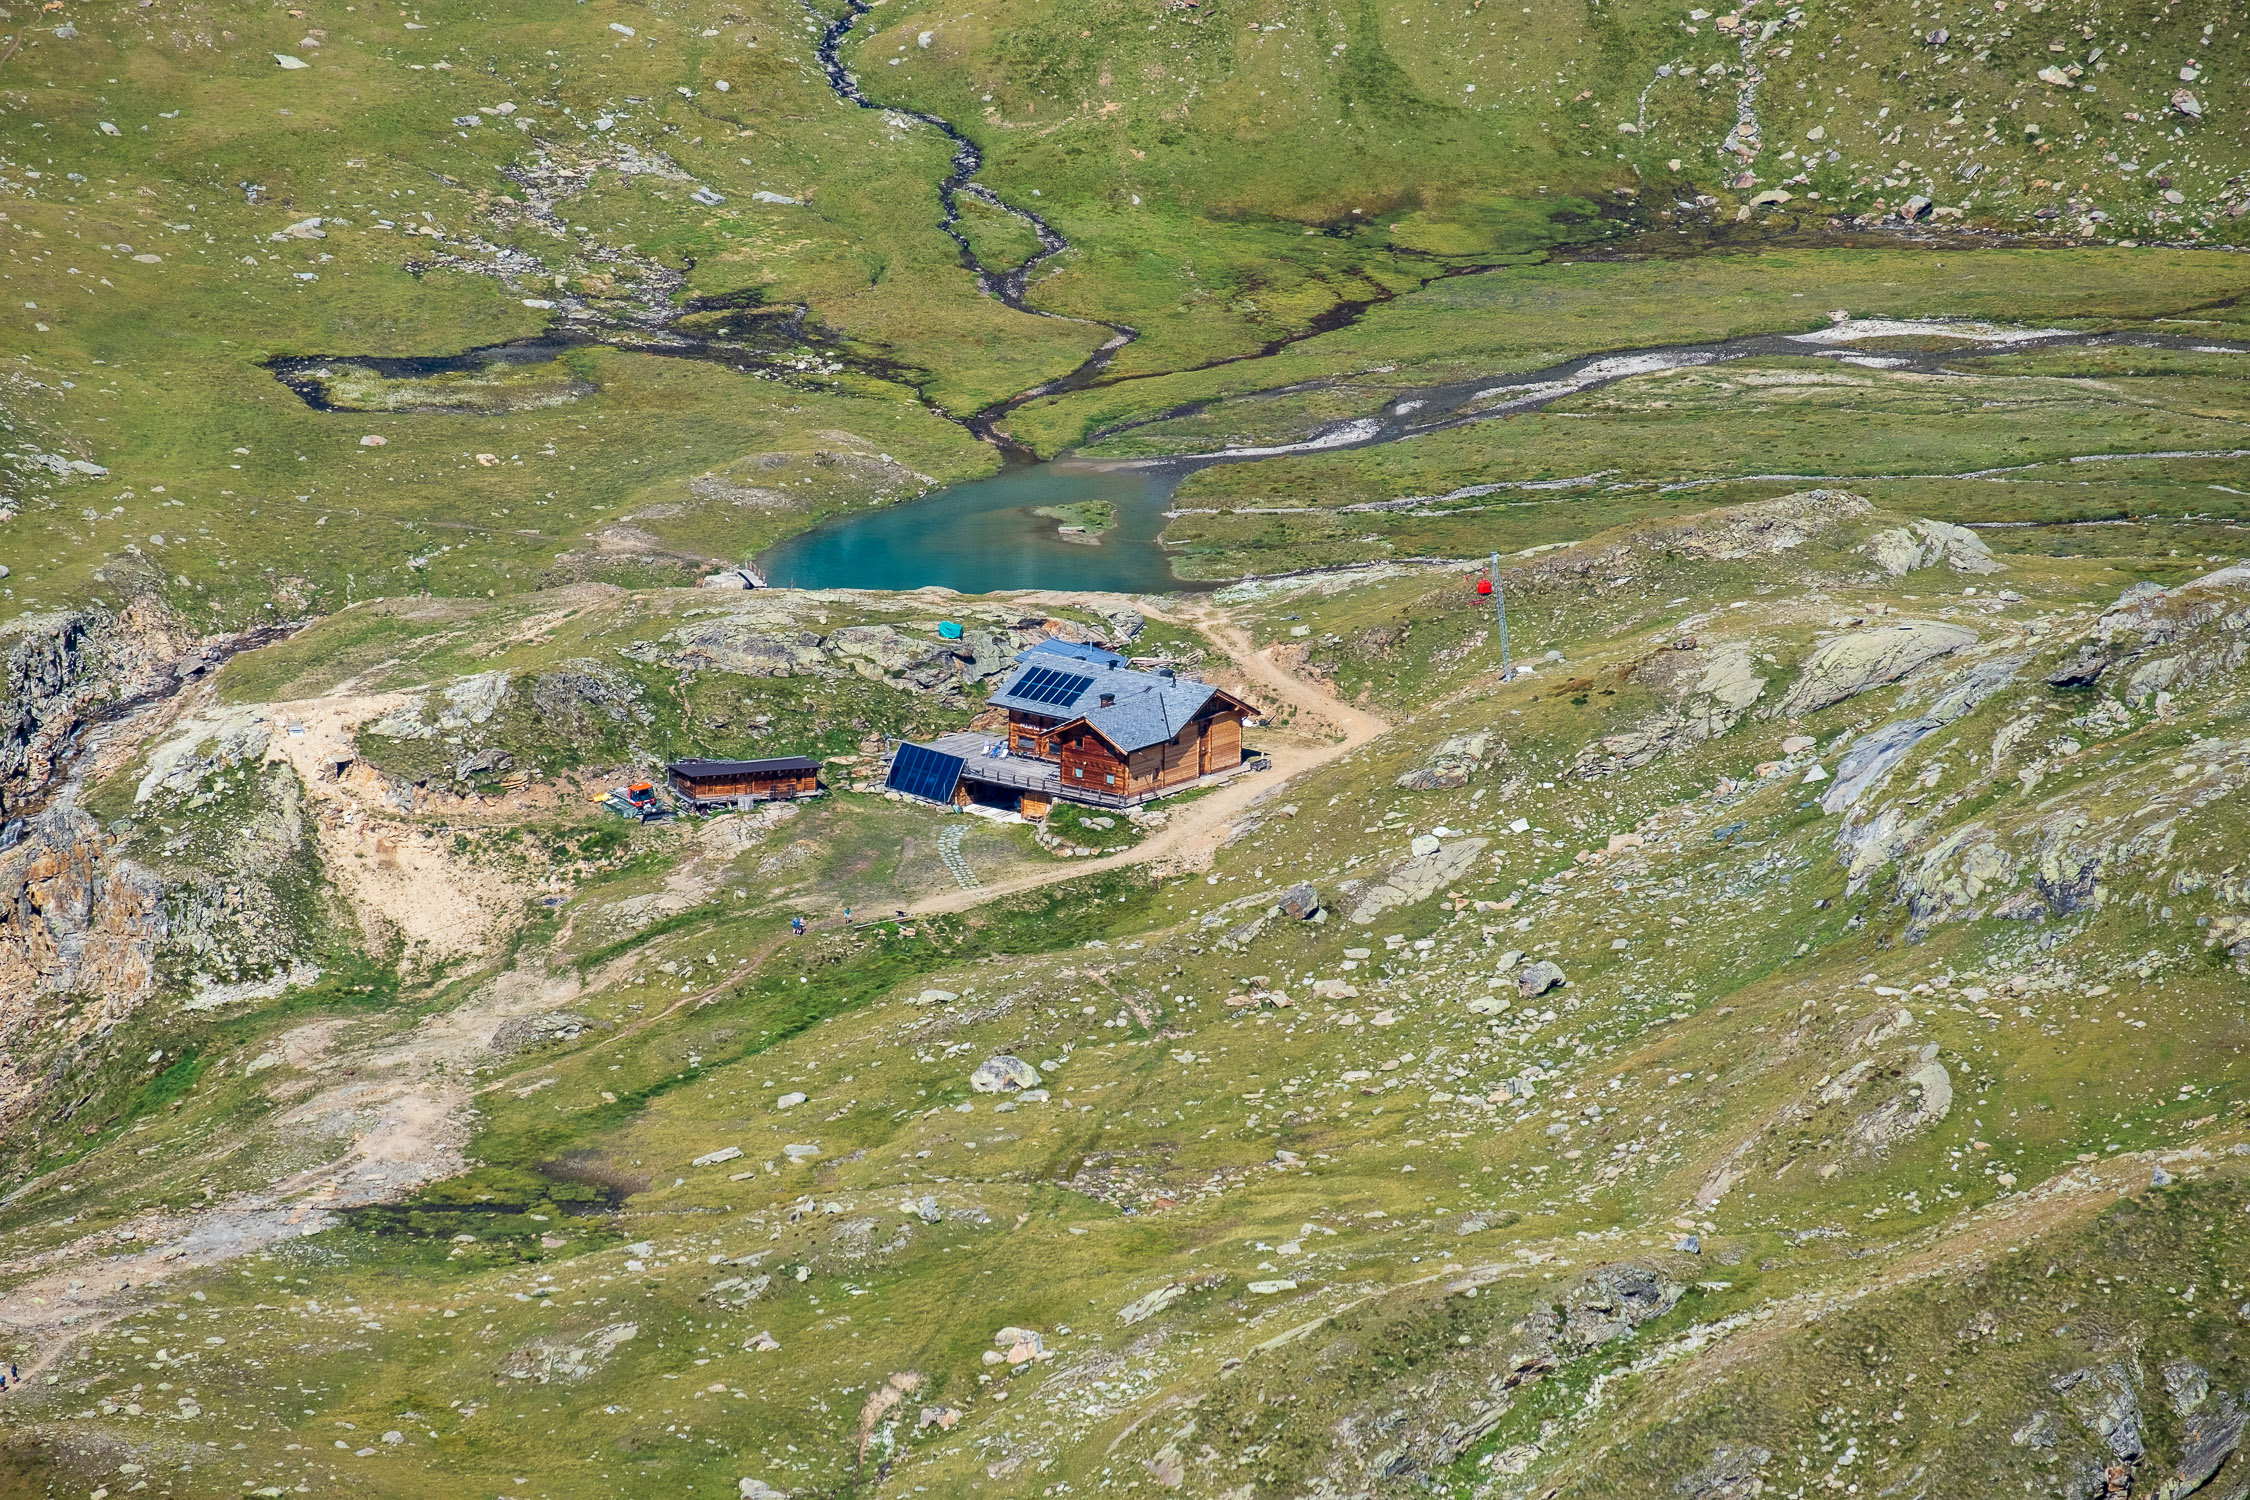
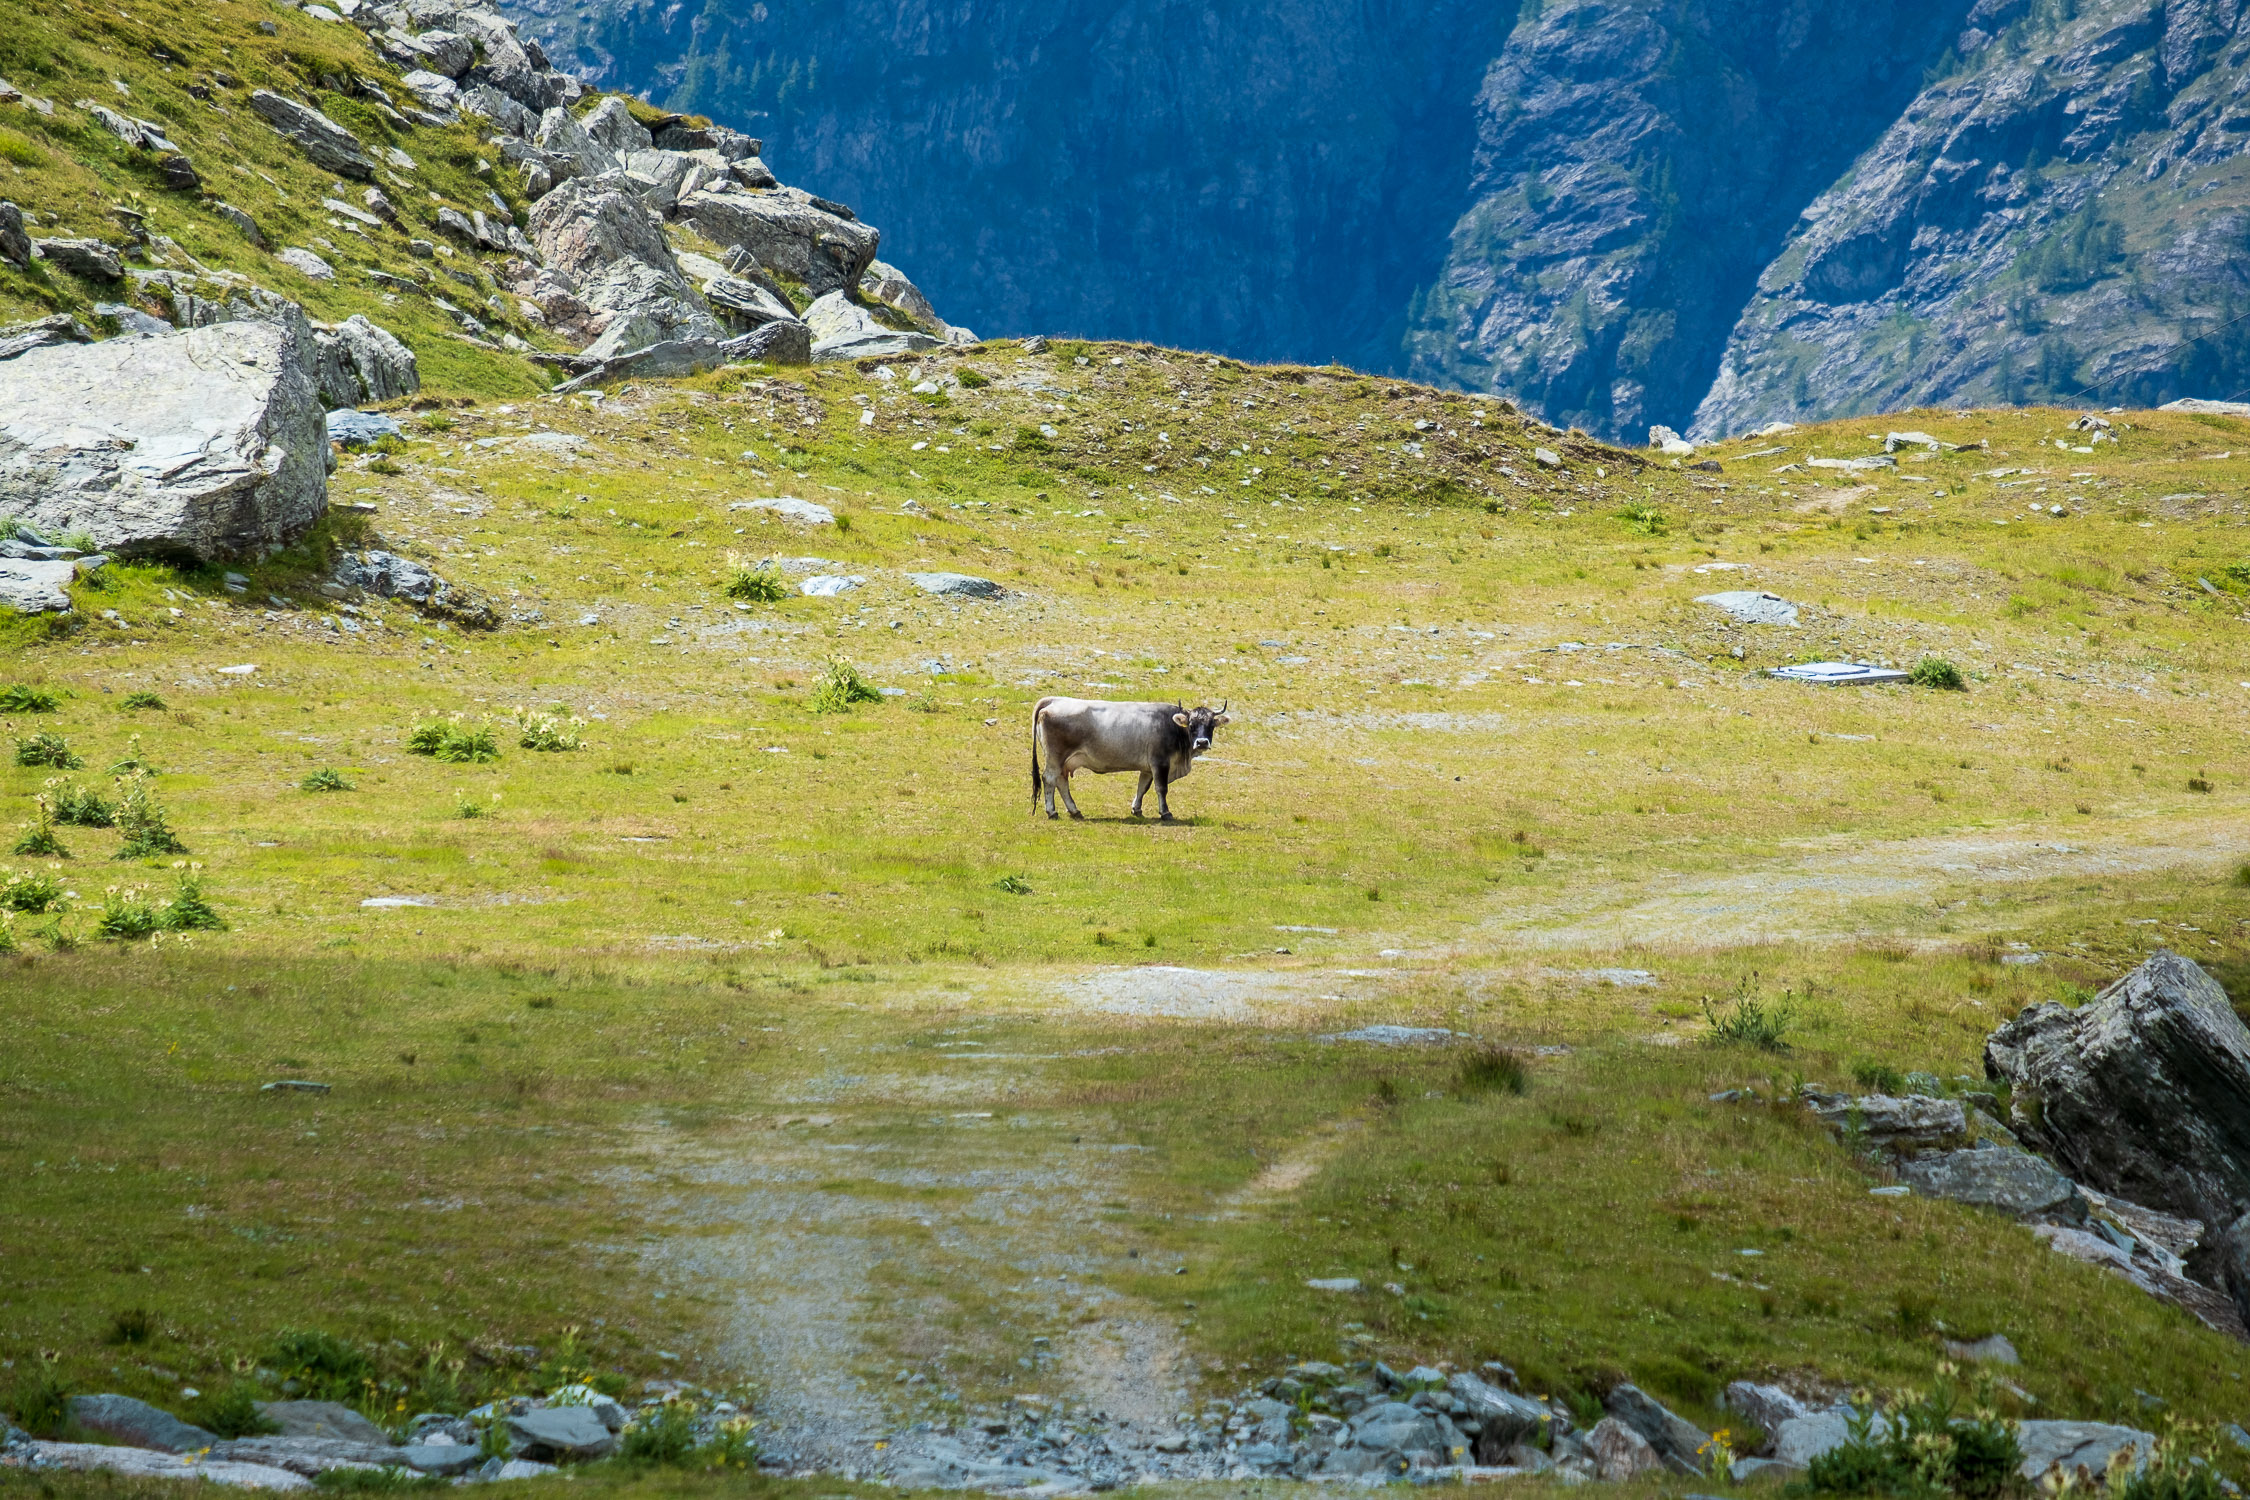
Zube pass (2,871 m), trail 4B
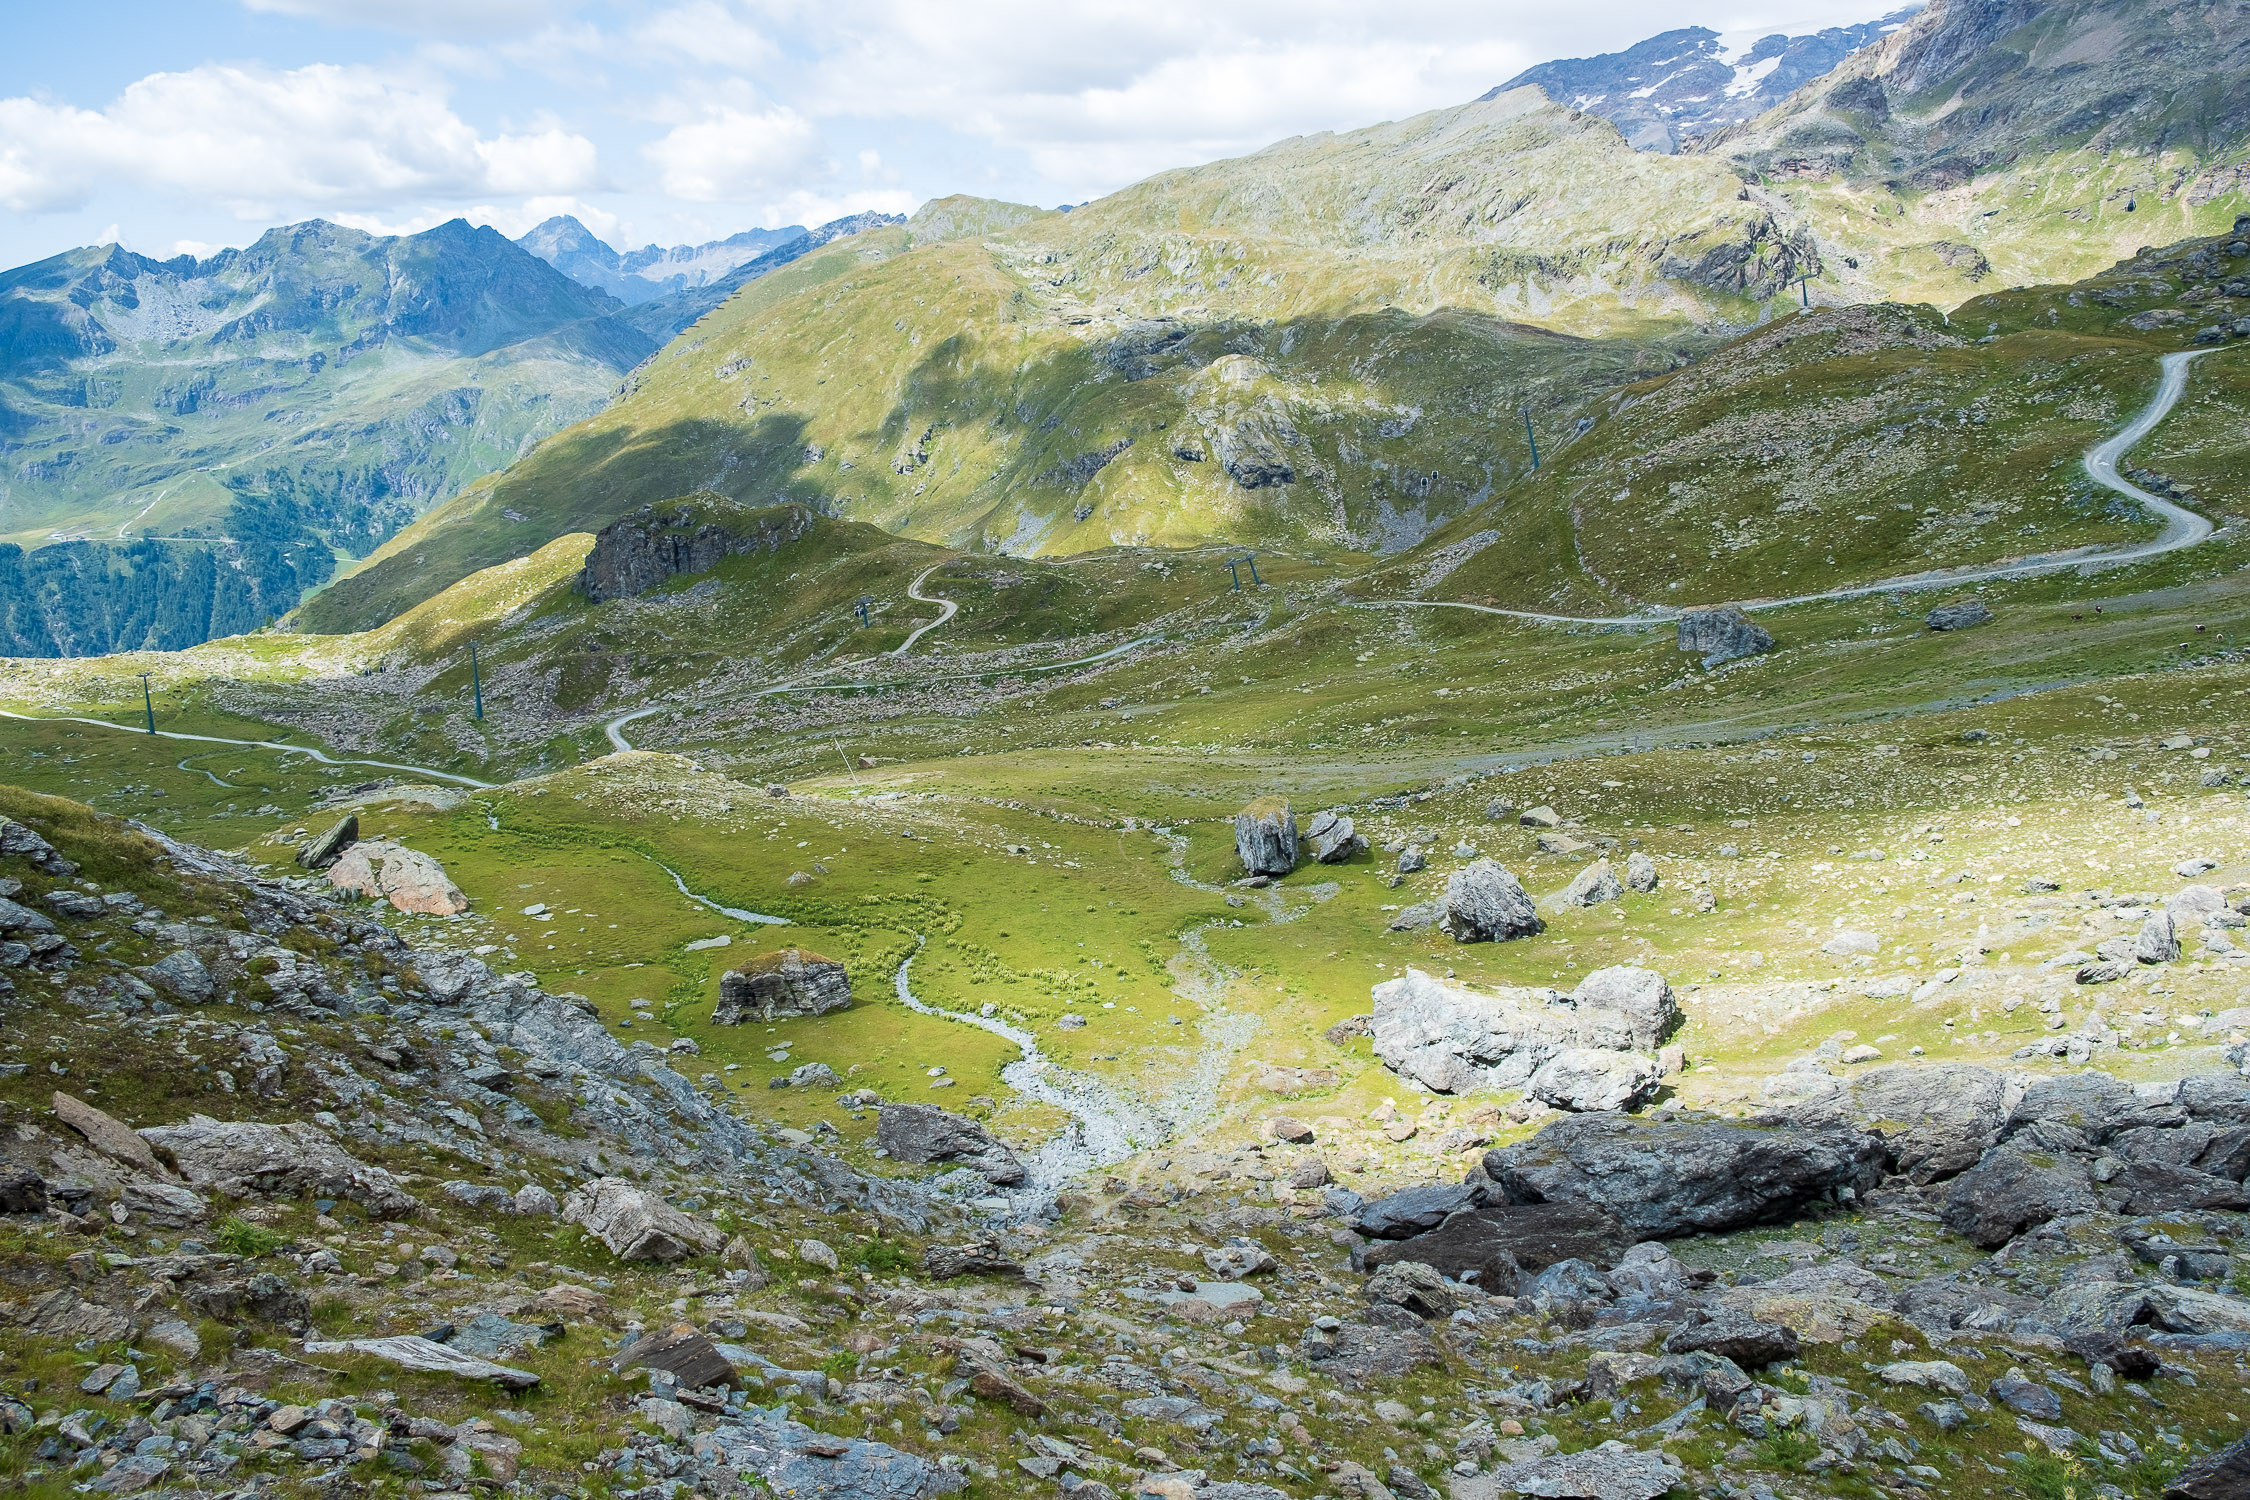
From the Gabiet refuge to Zube pass
(you can continue to the Red Horn/Rothòre).
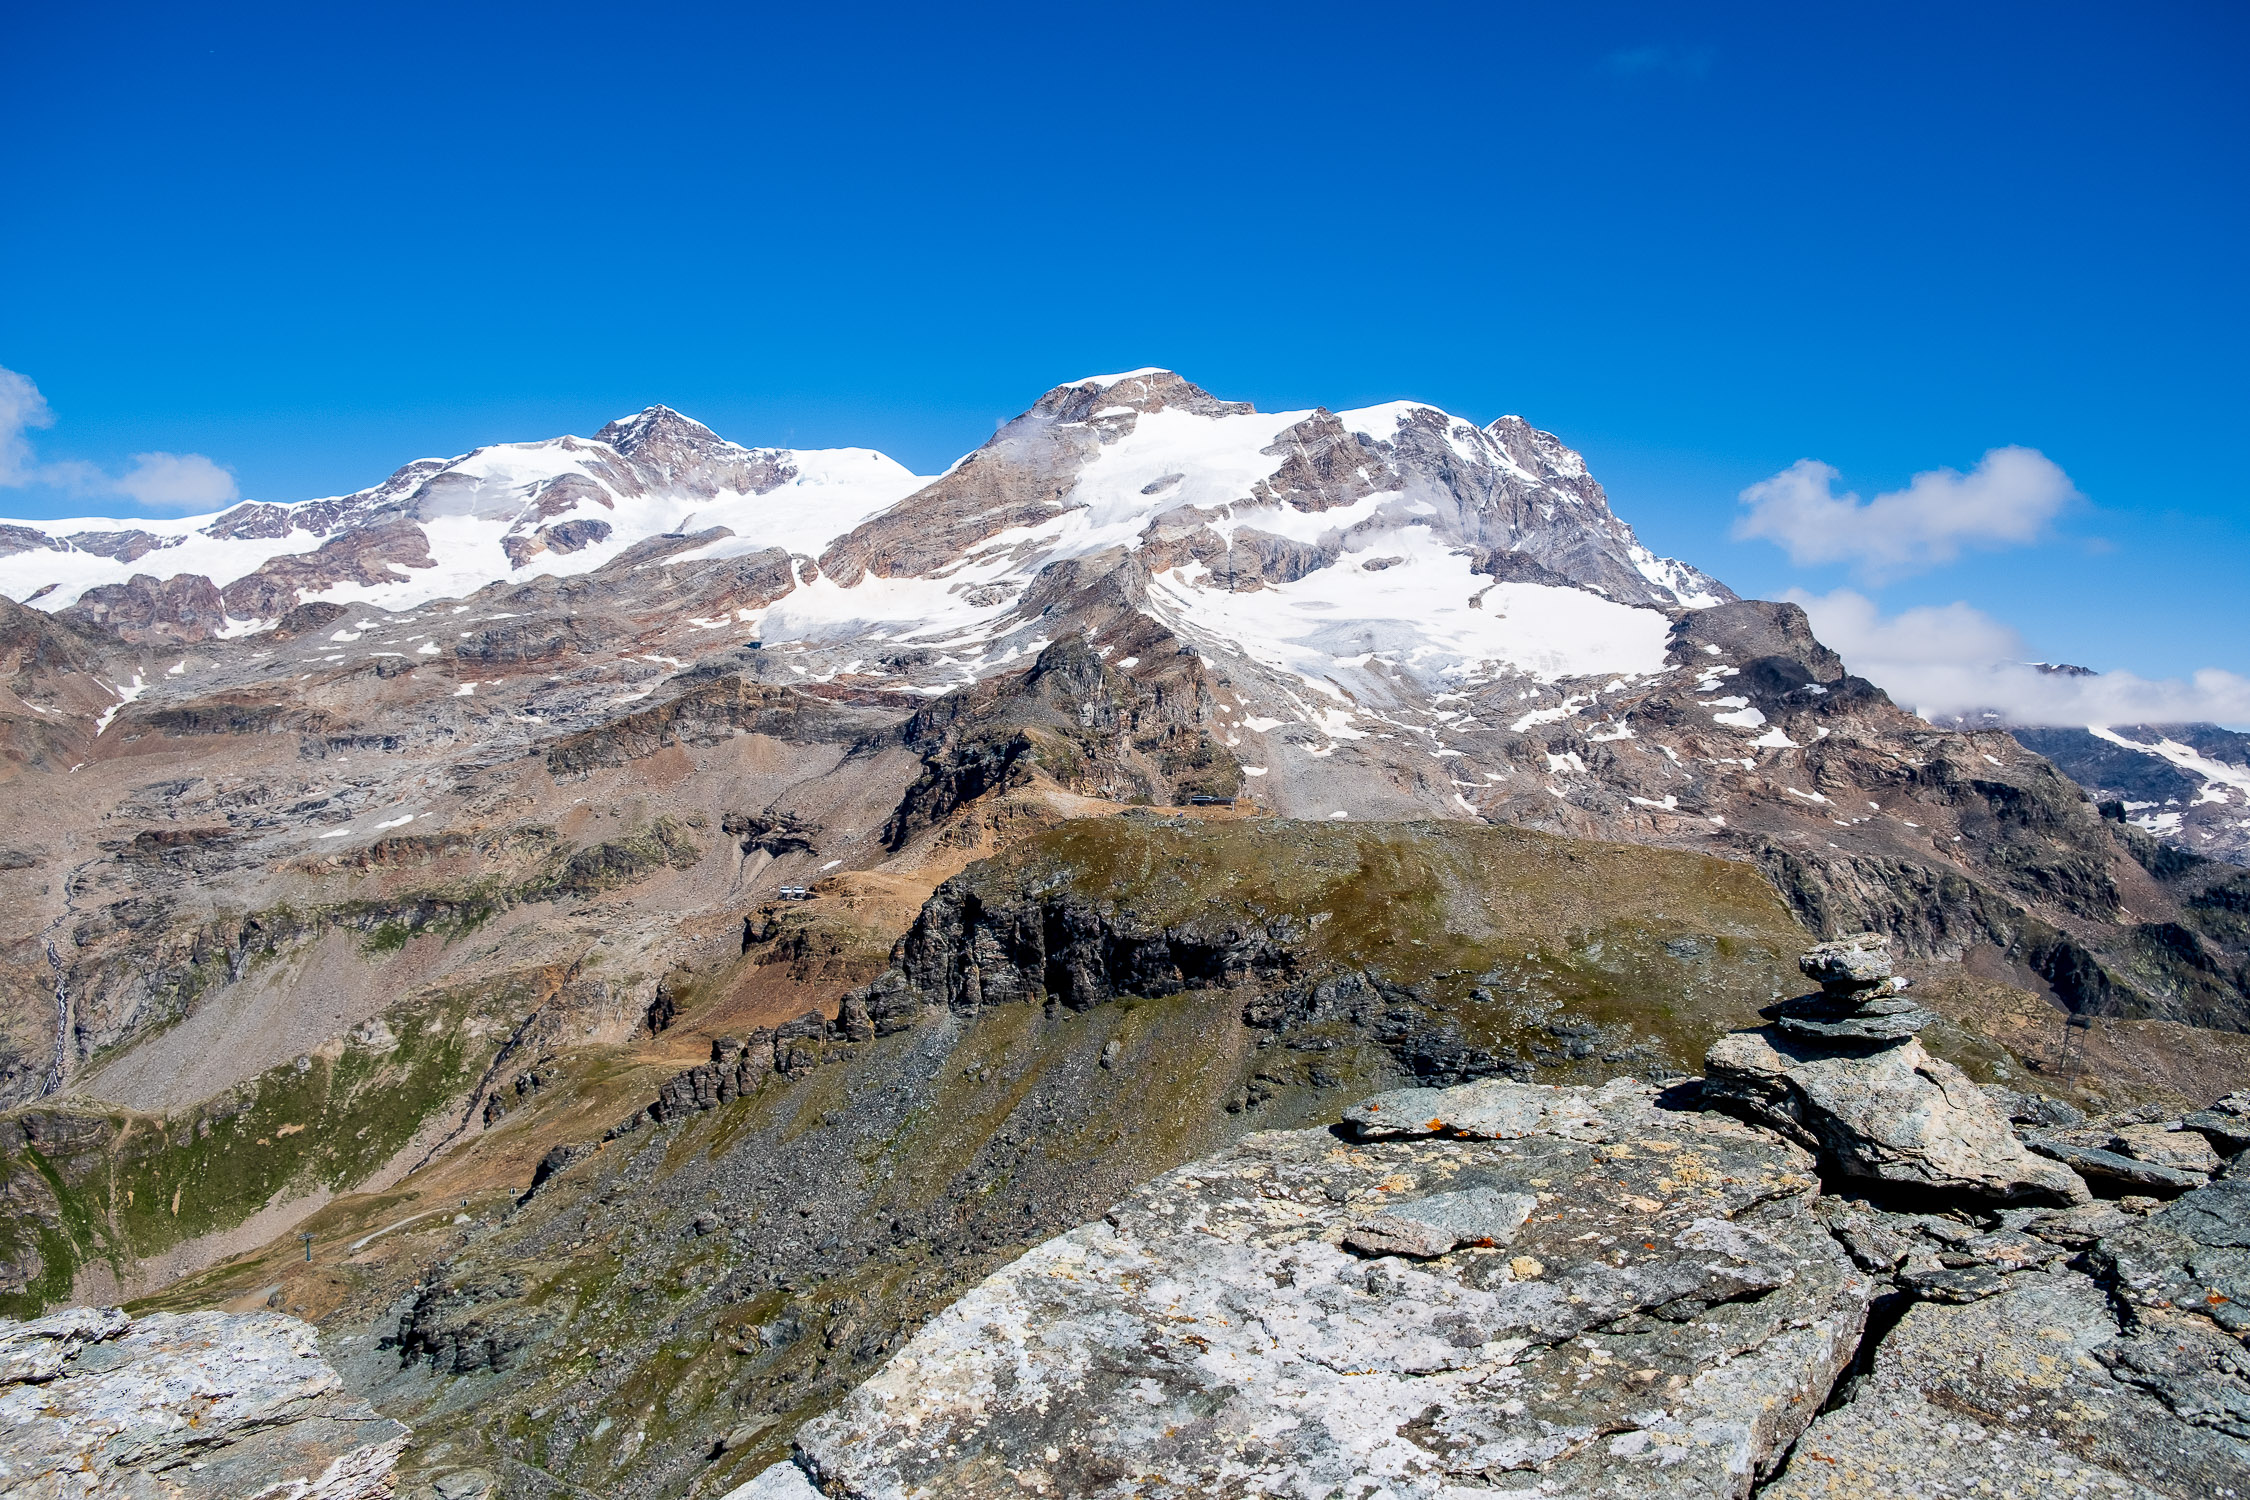
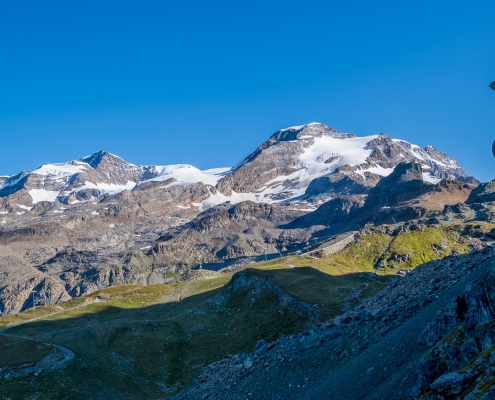
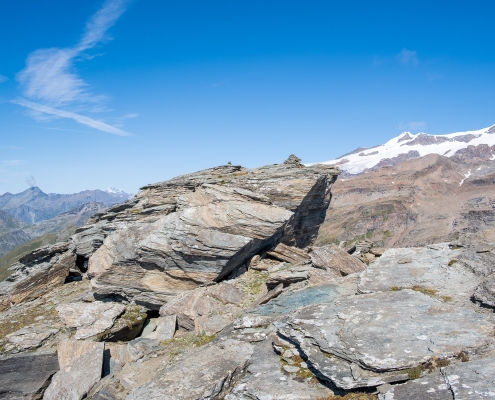
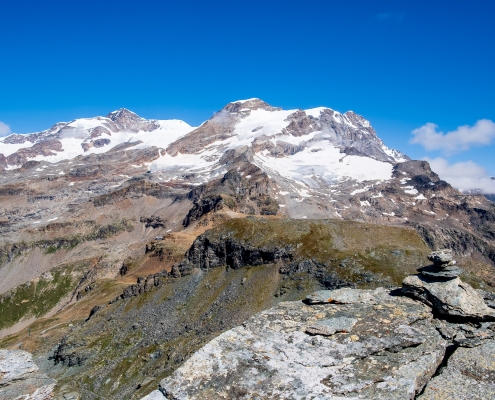
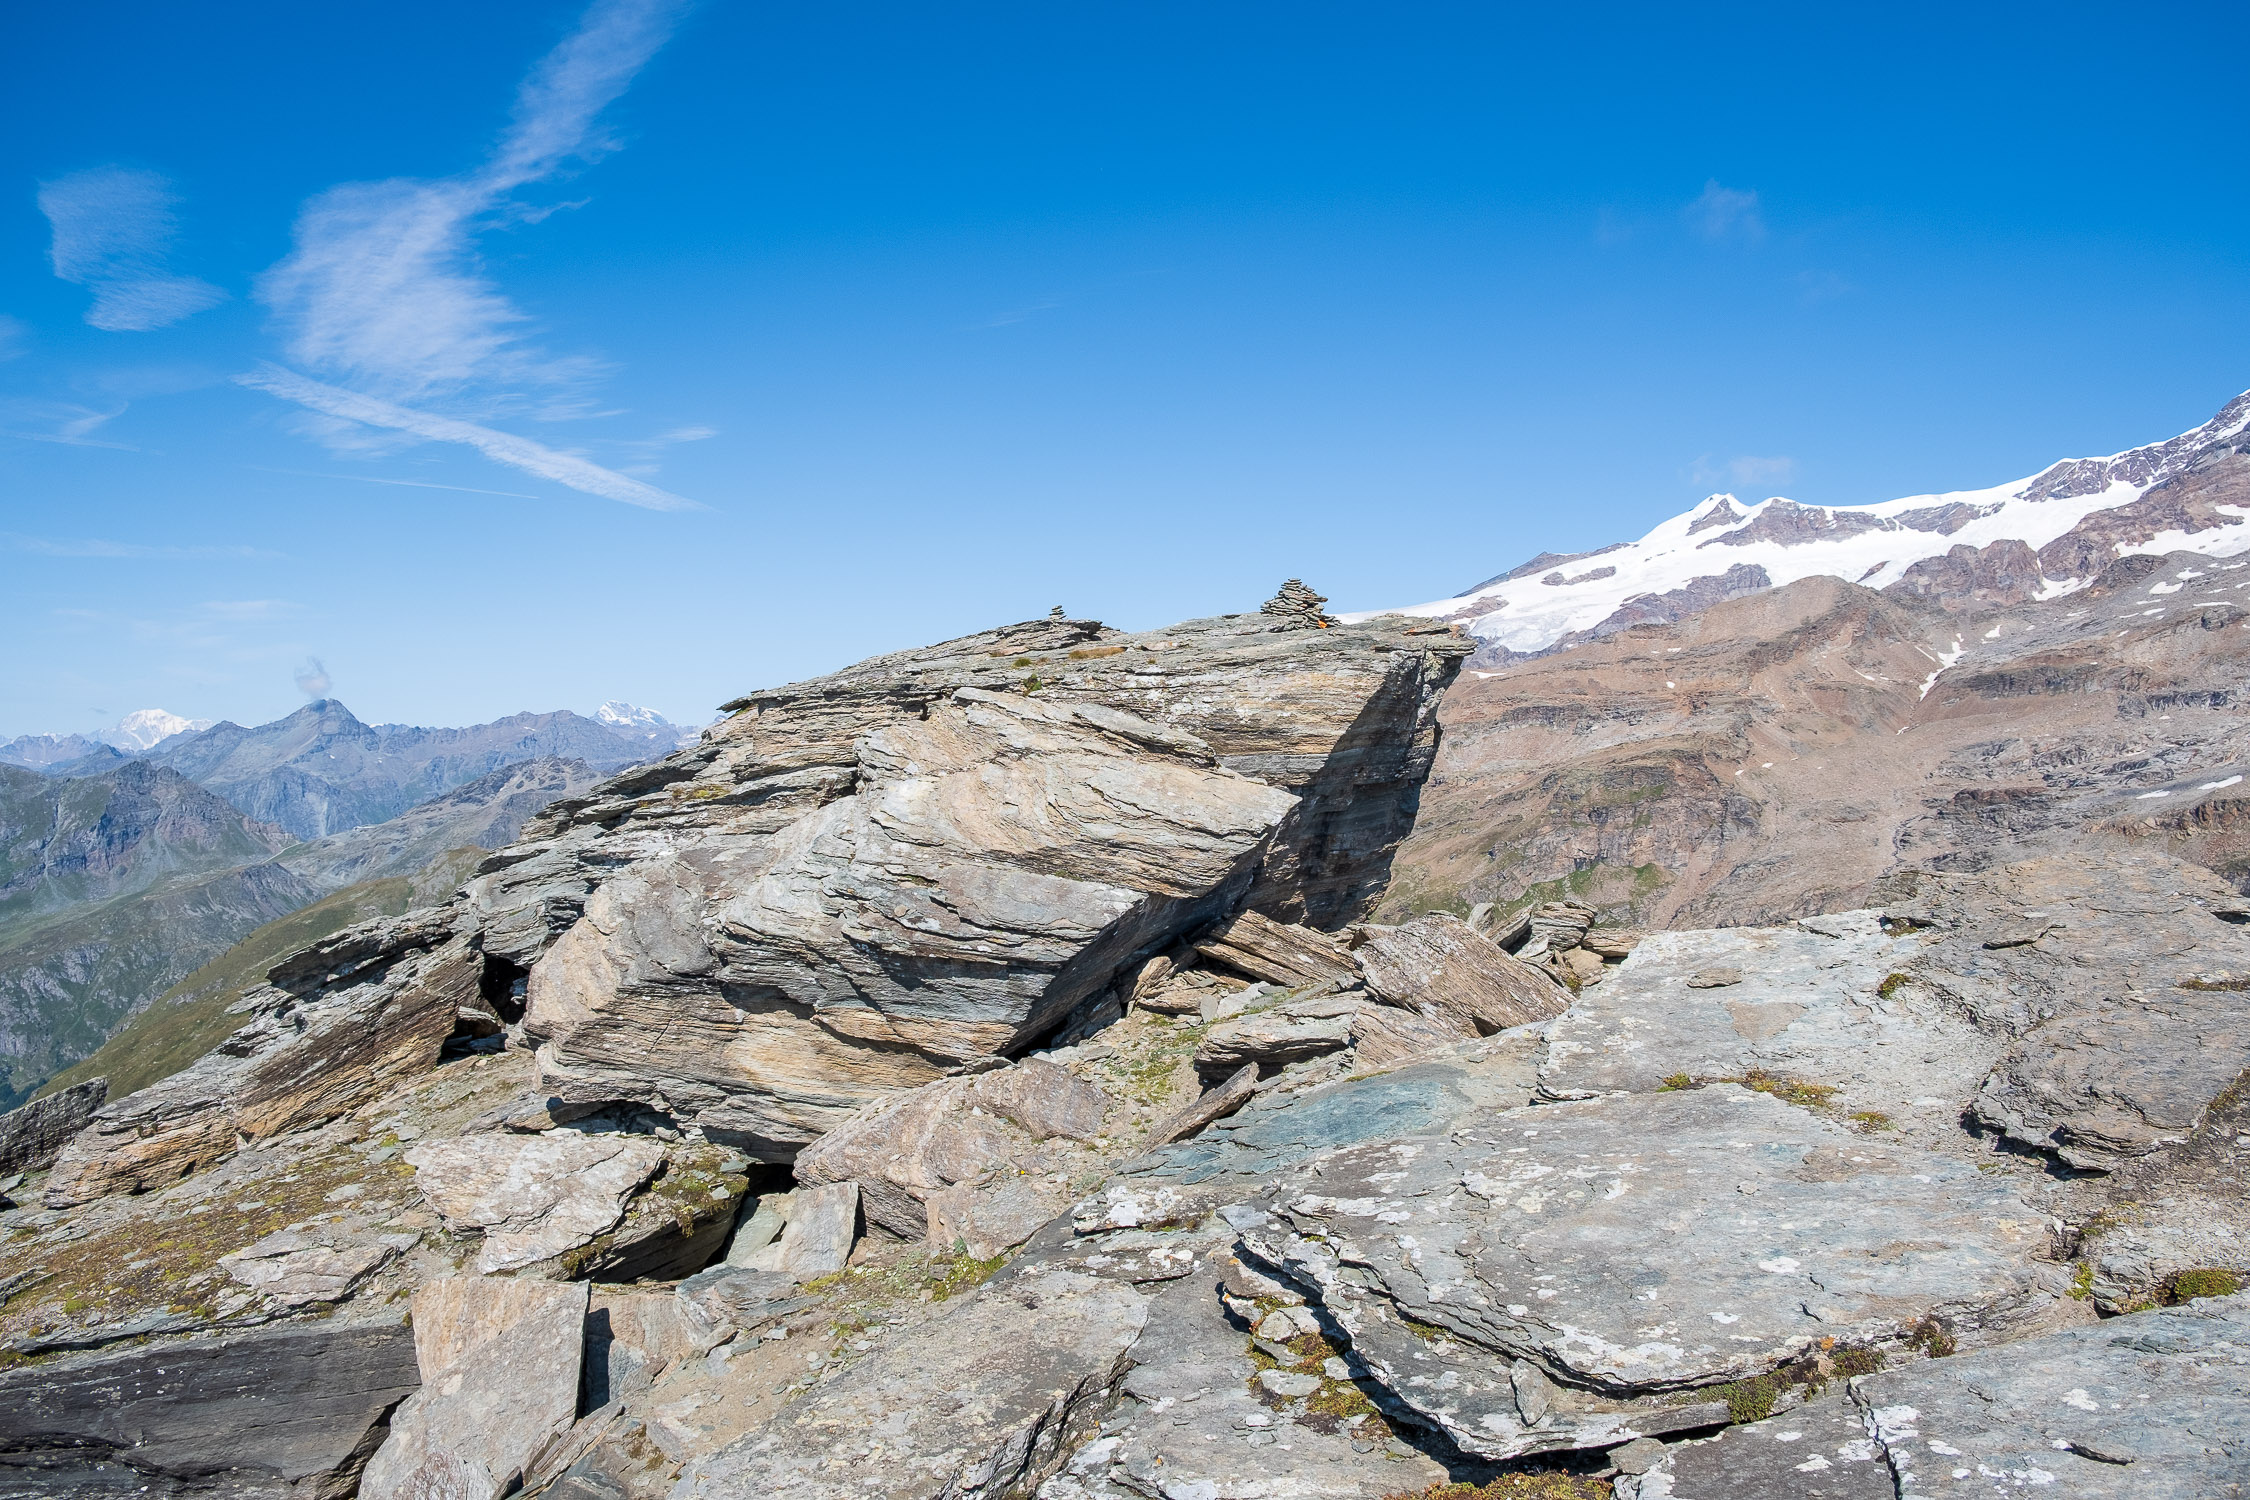
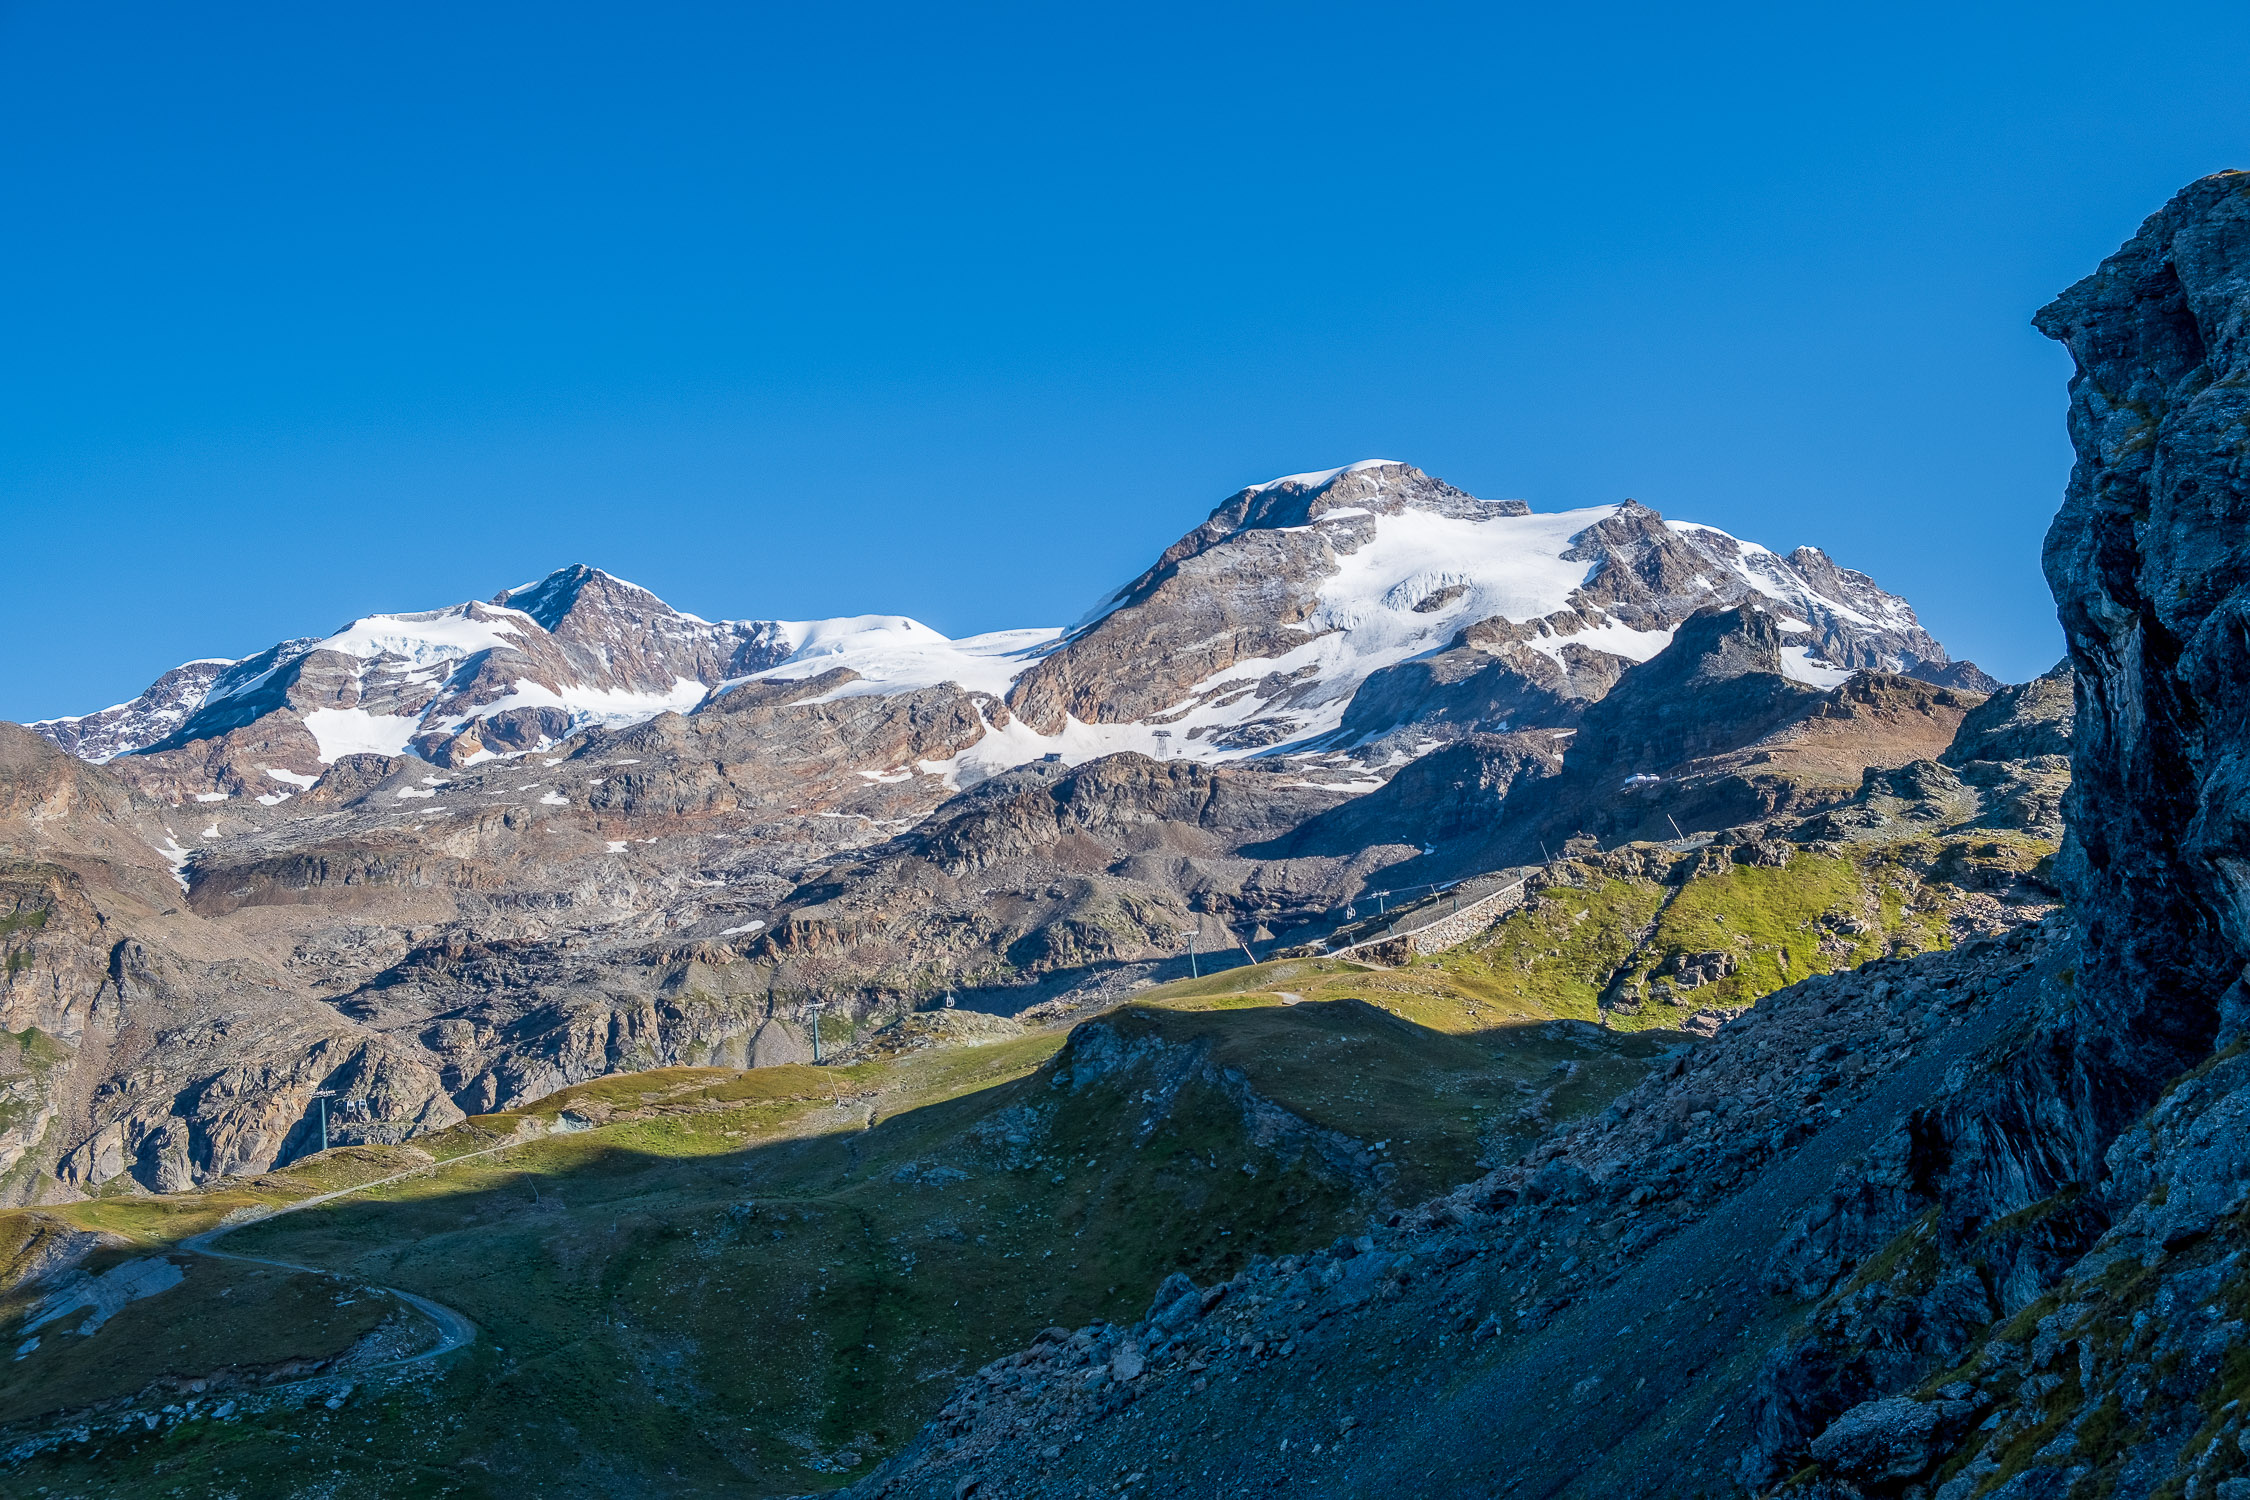
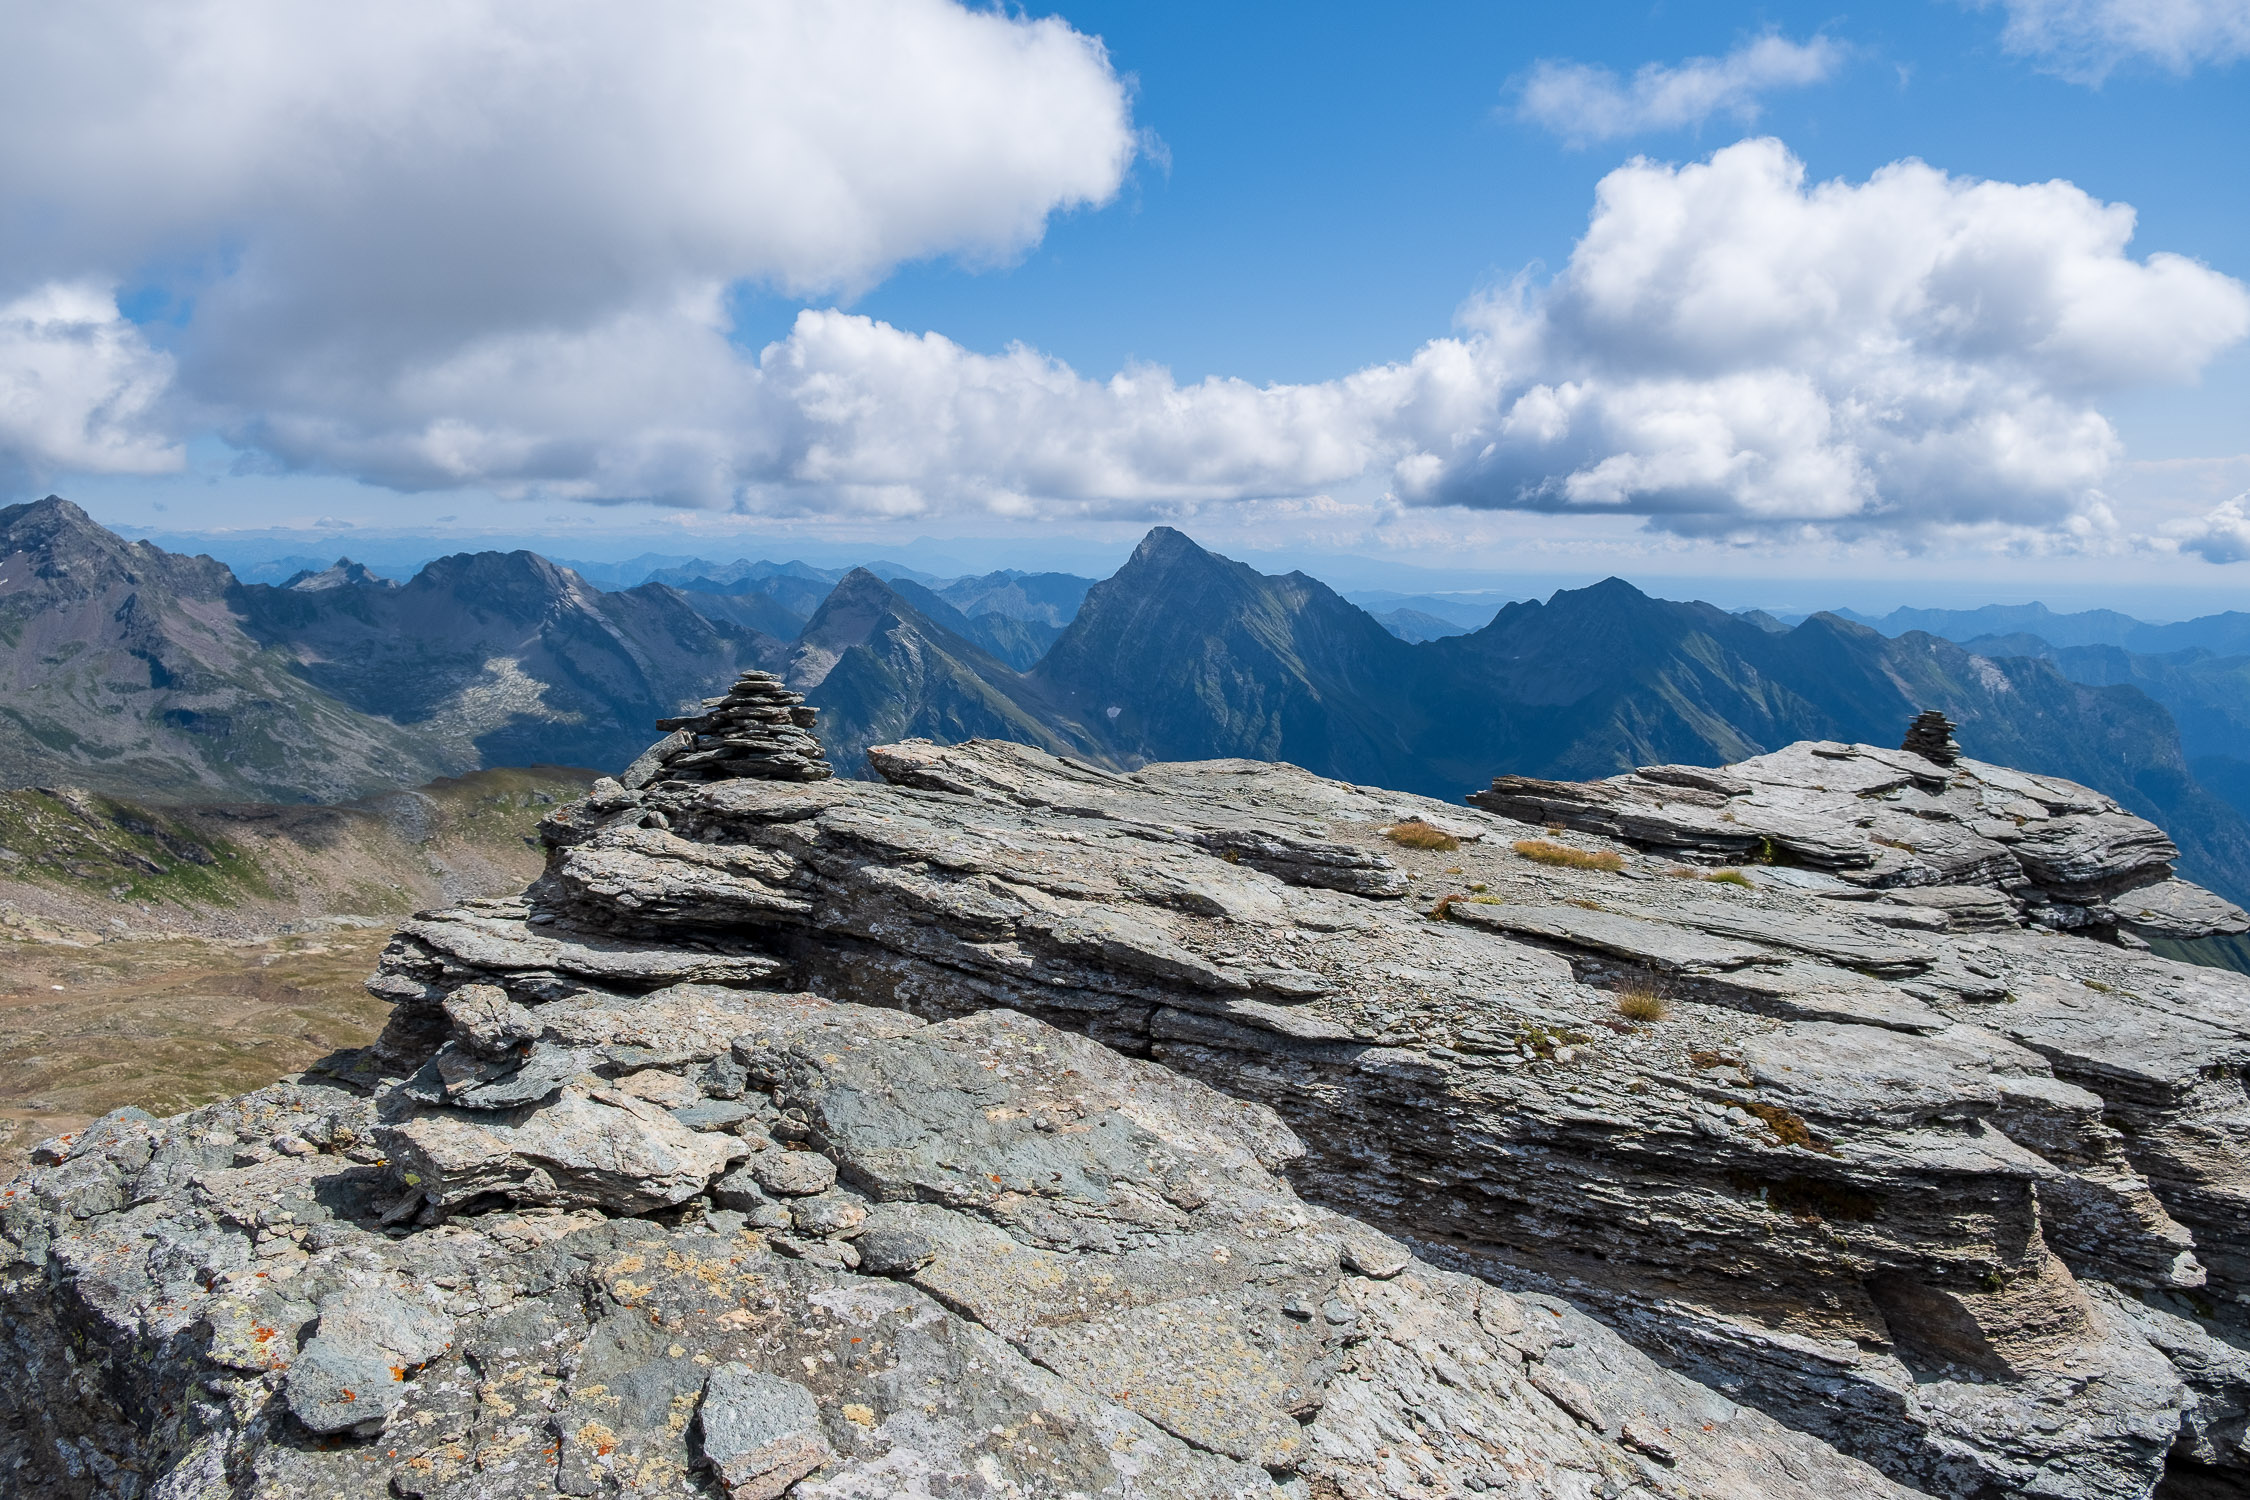
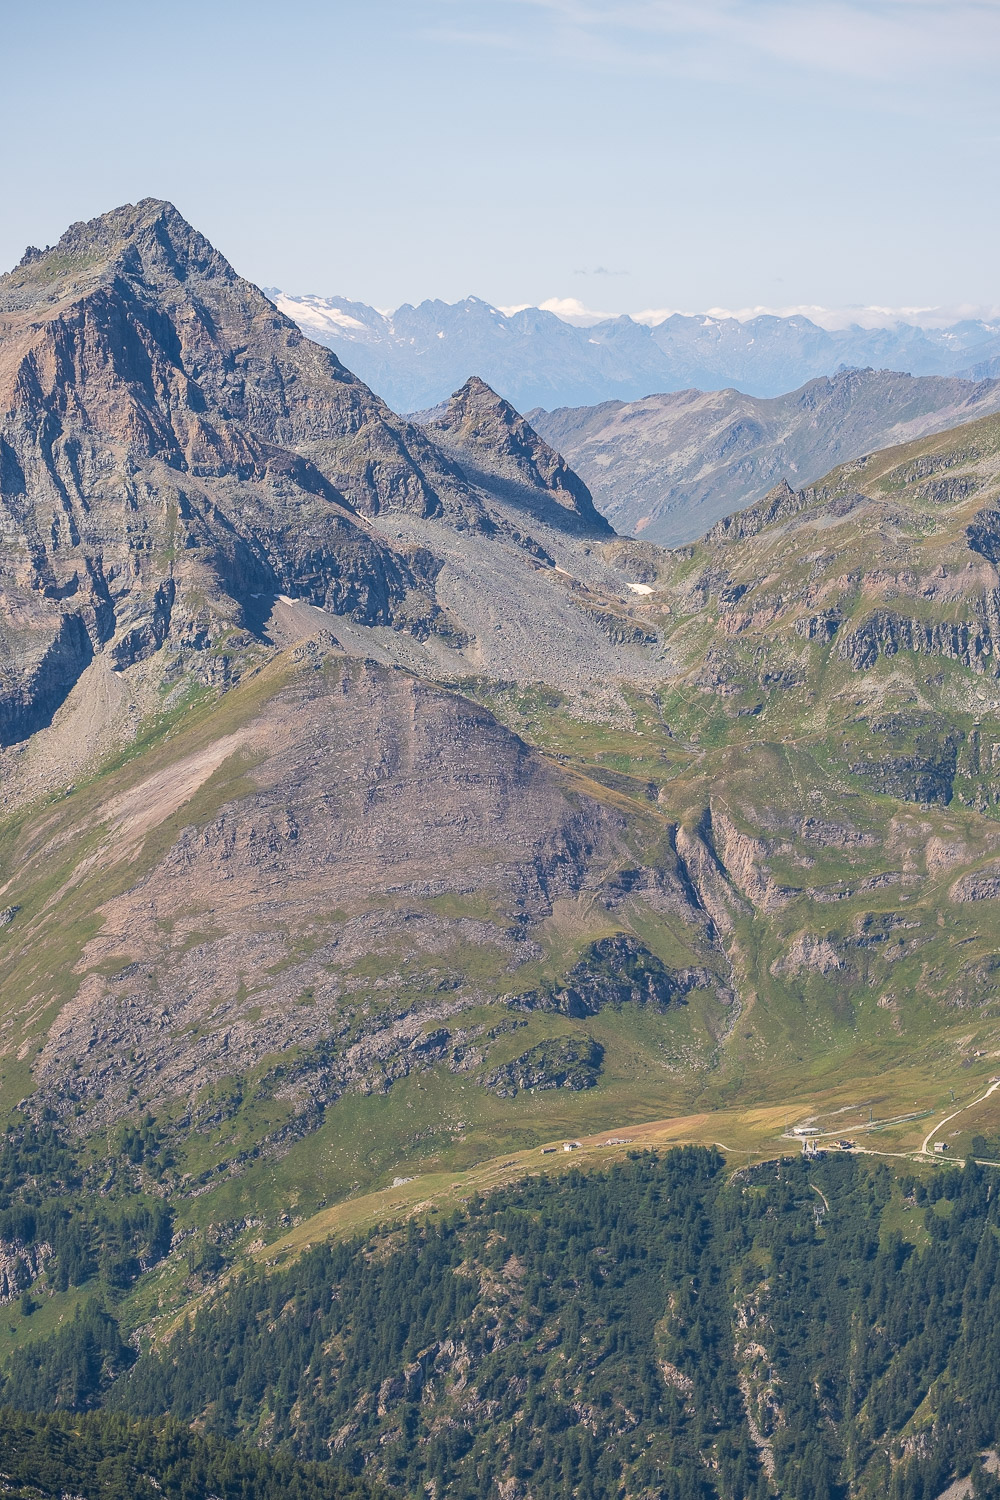
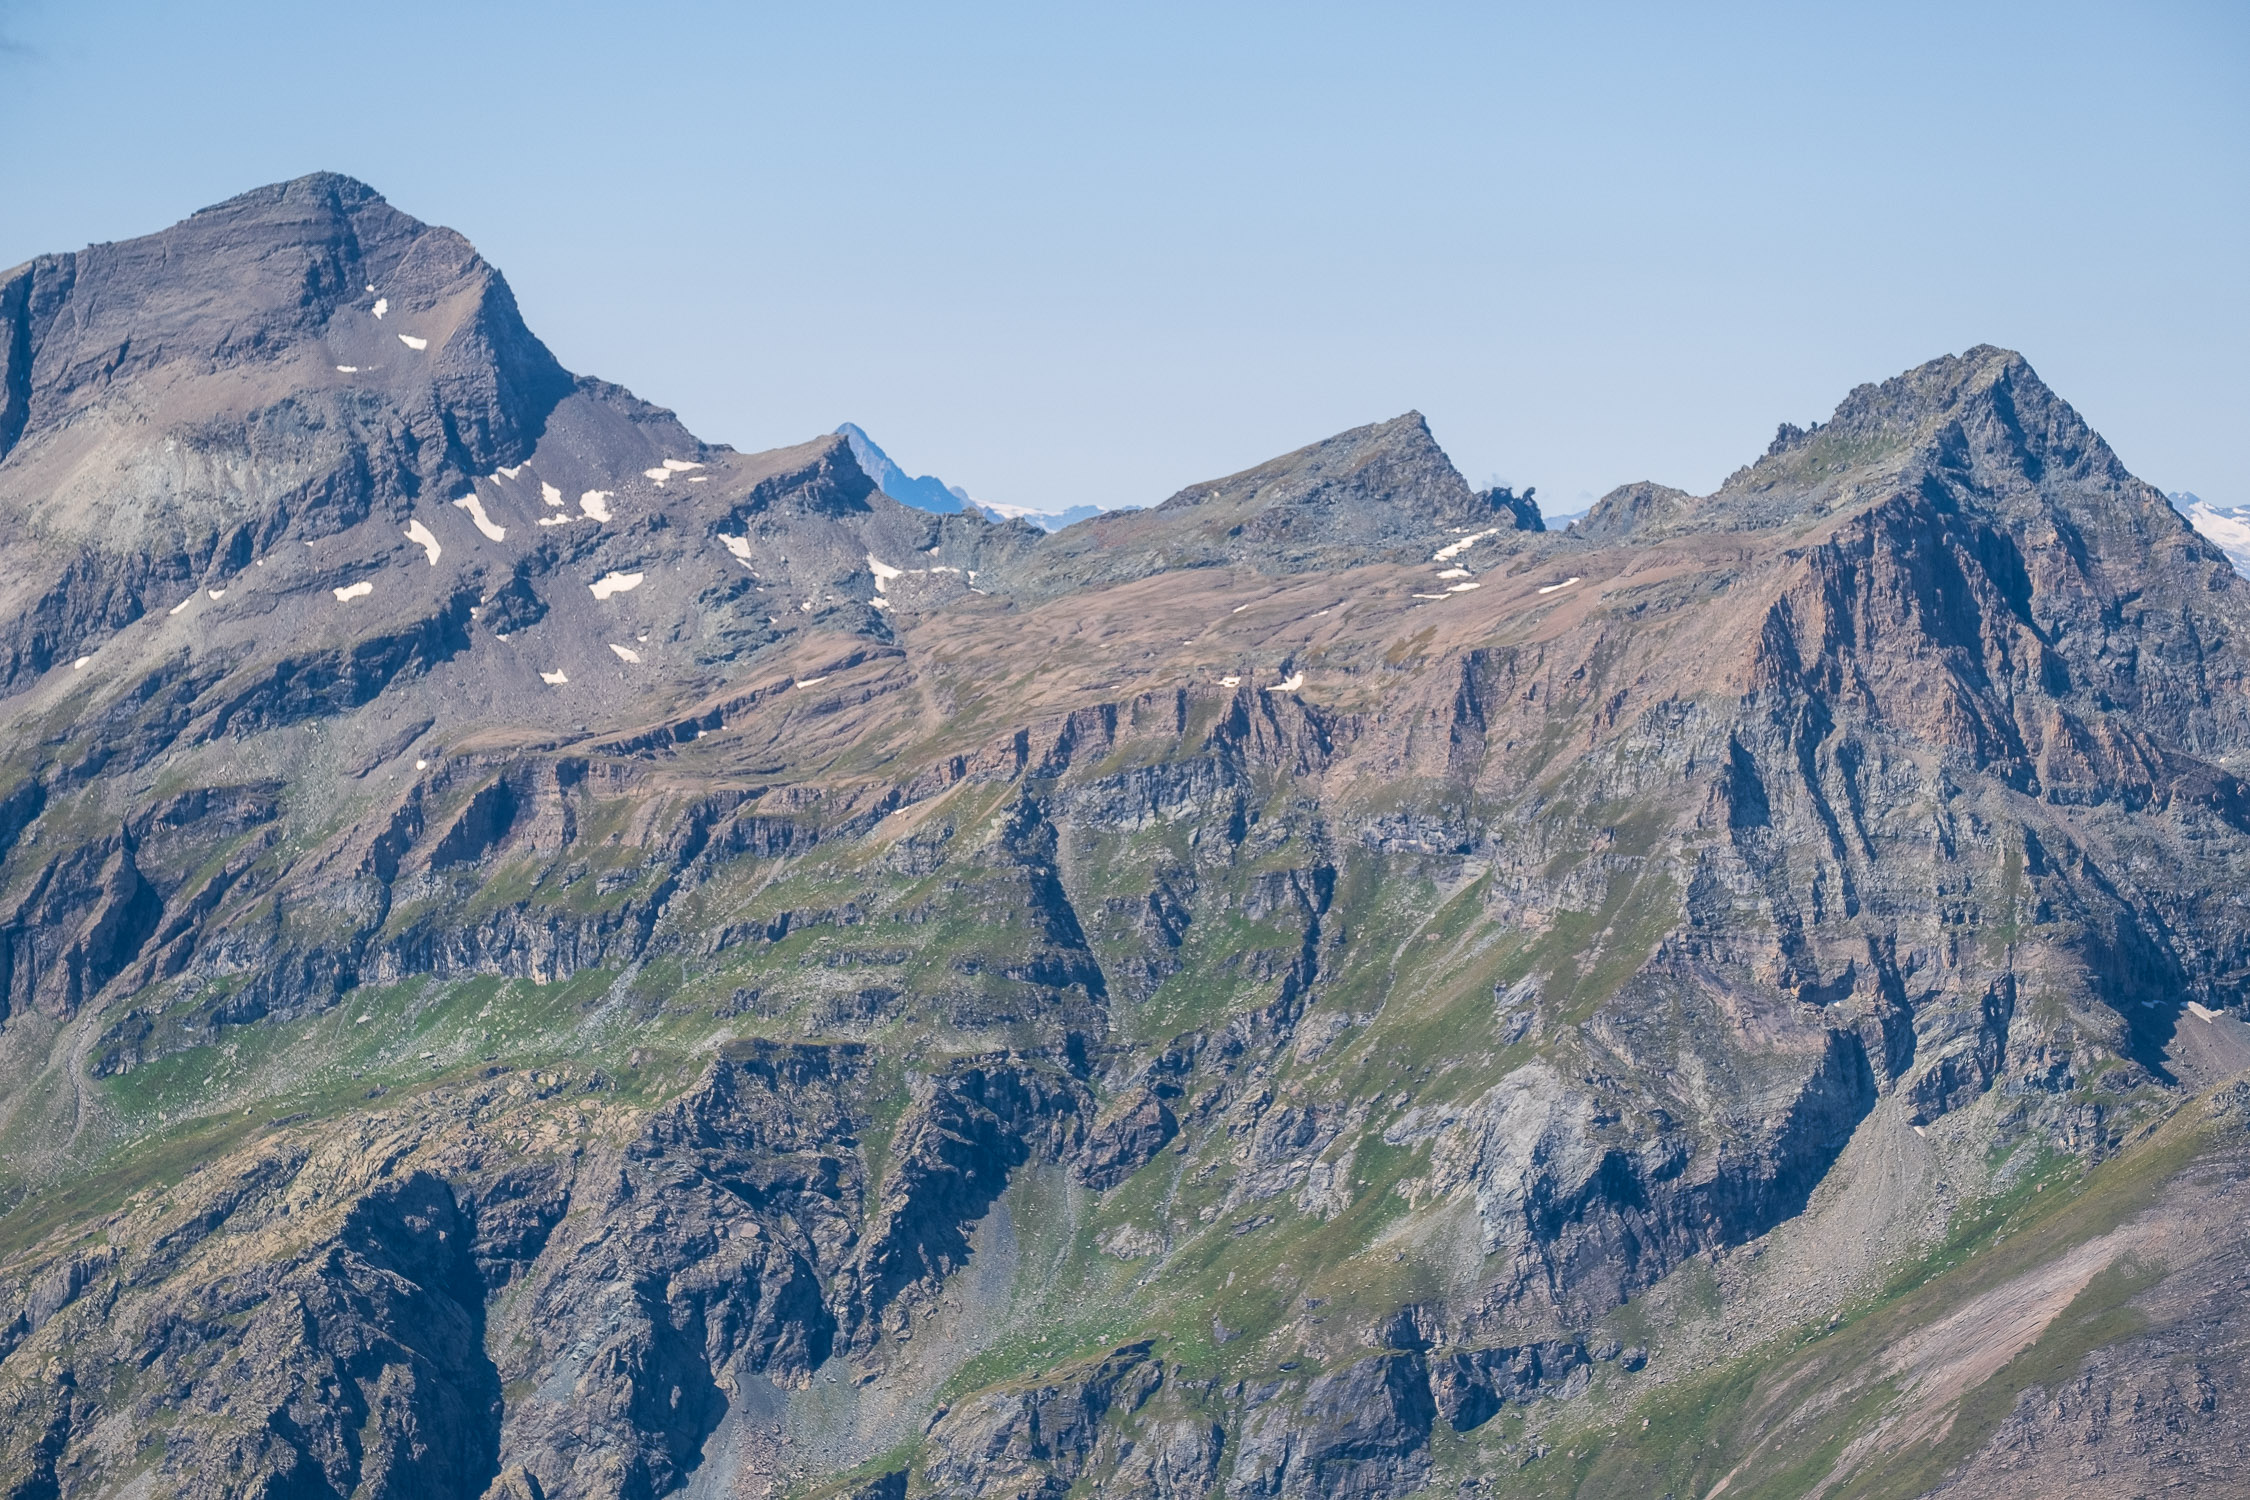
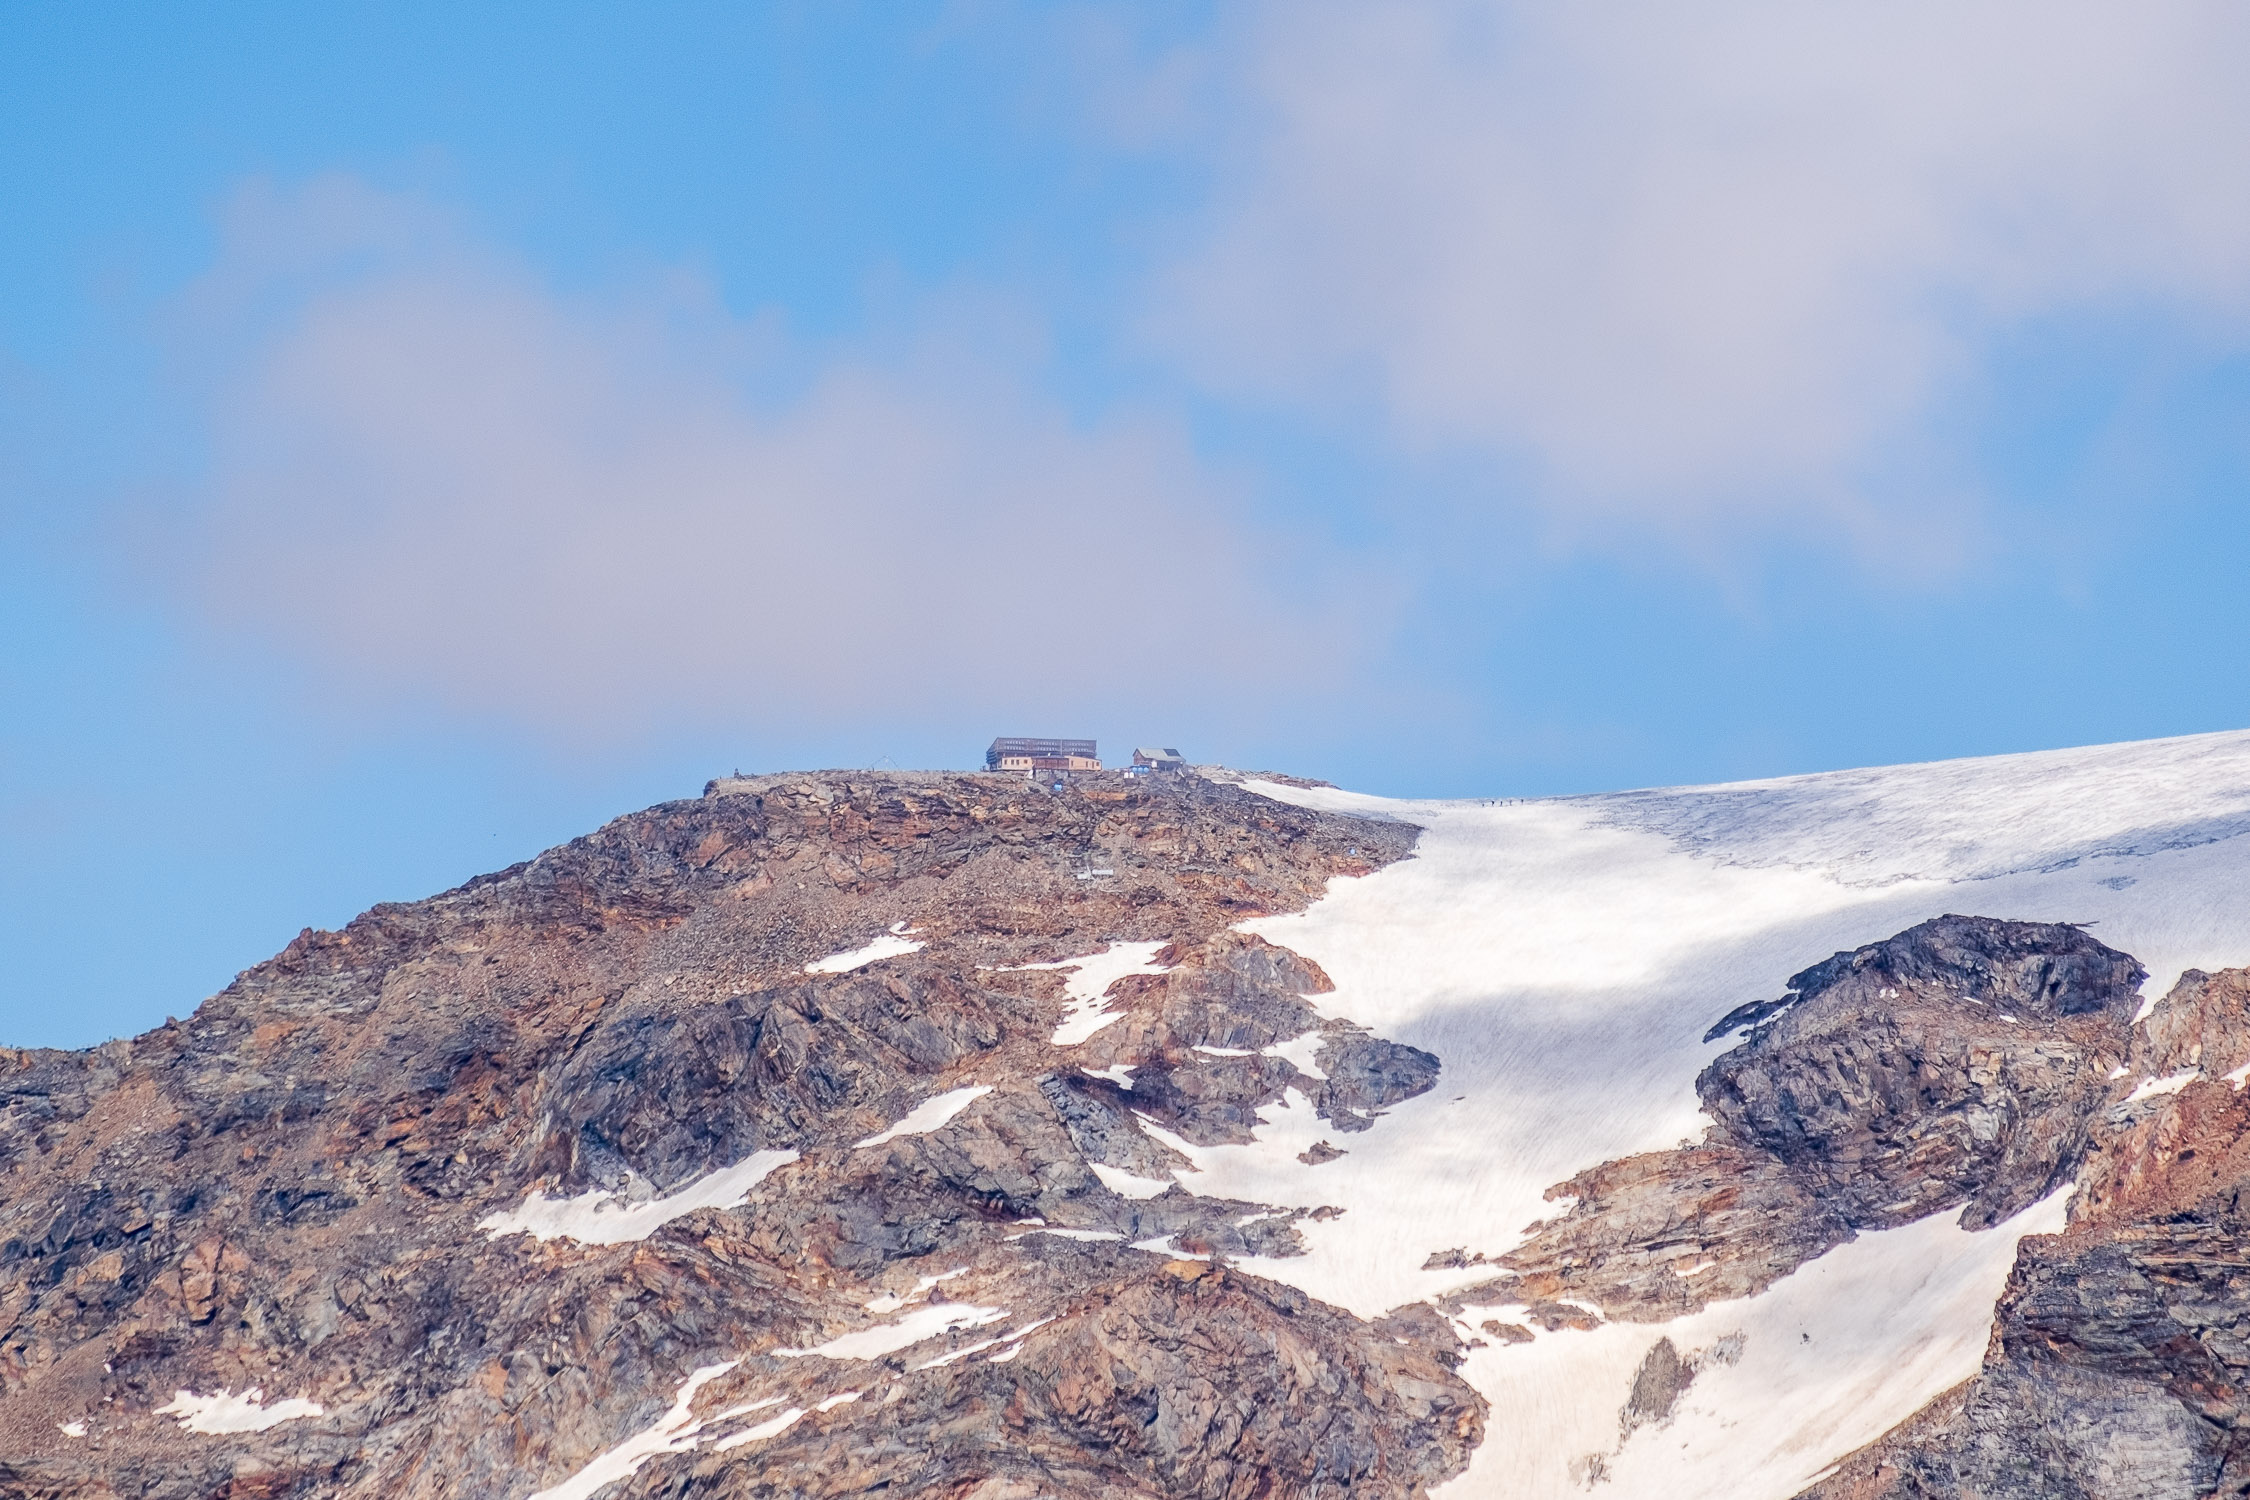
Lyskamm and Vincent Pyramid from the Rothòre
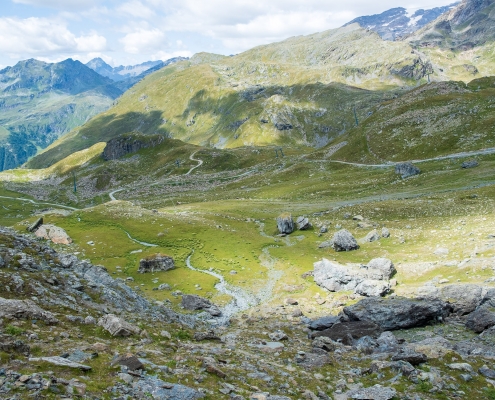
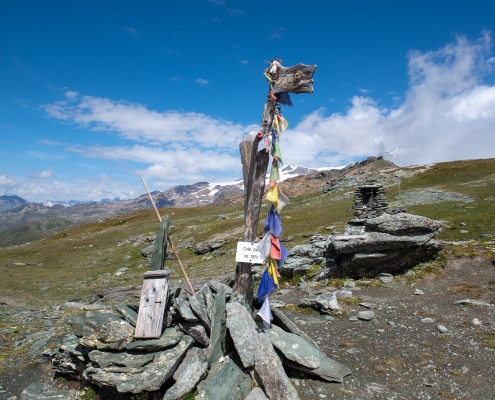
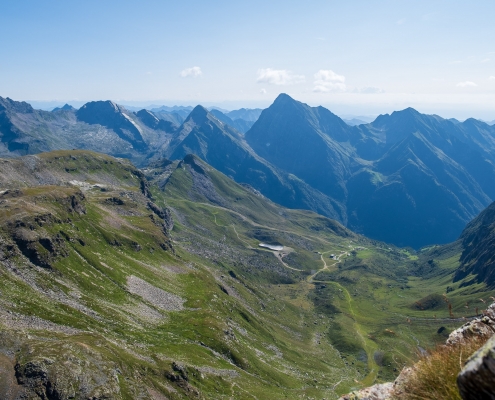
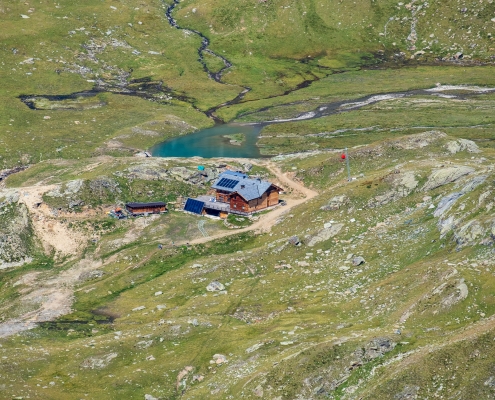
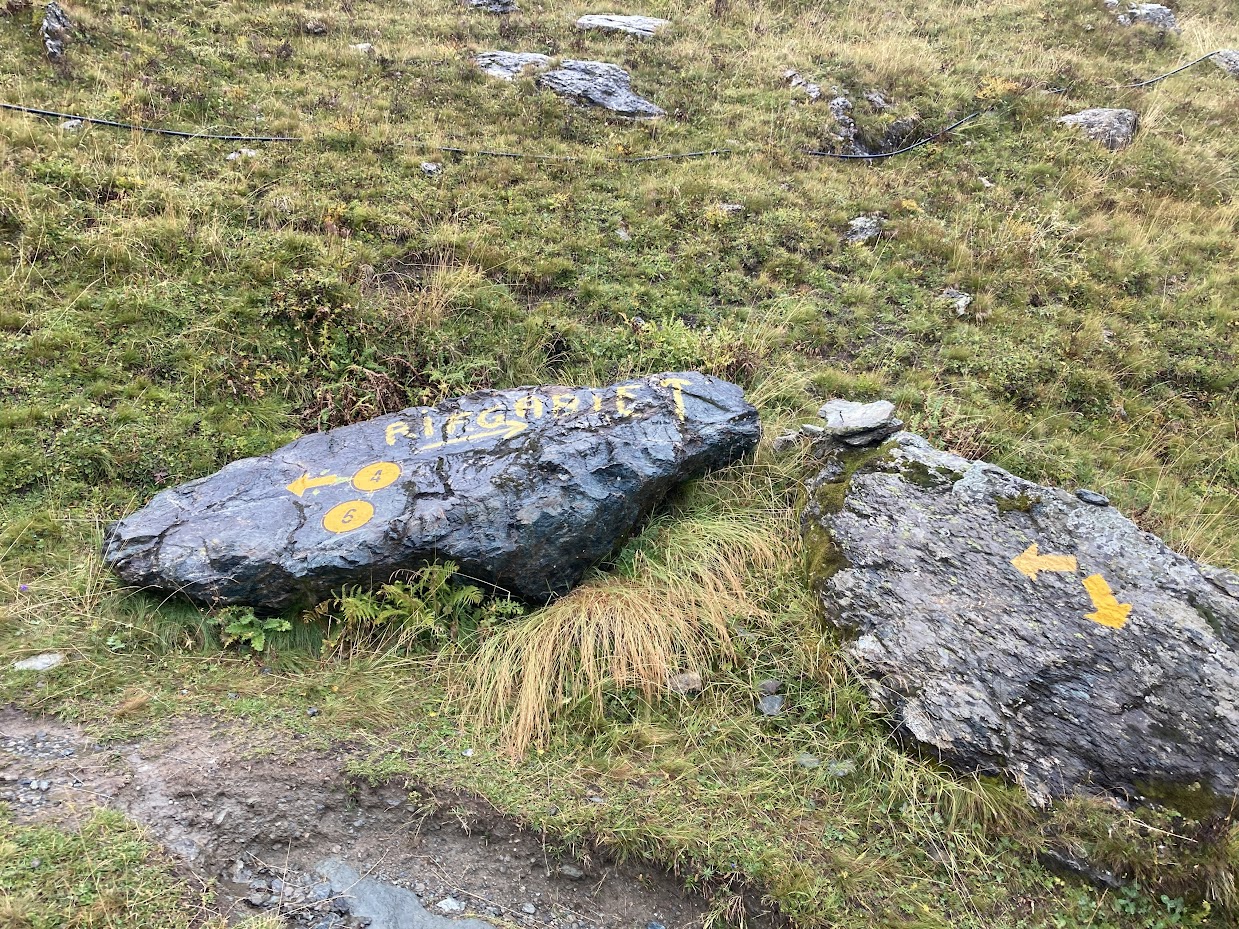
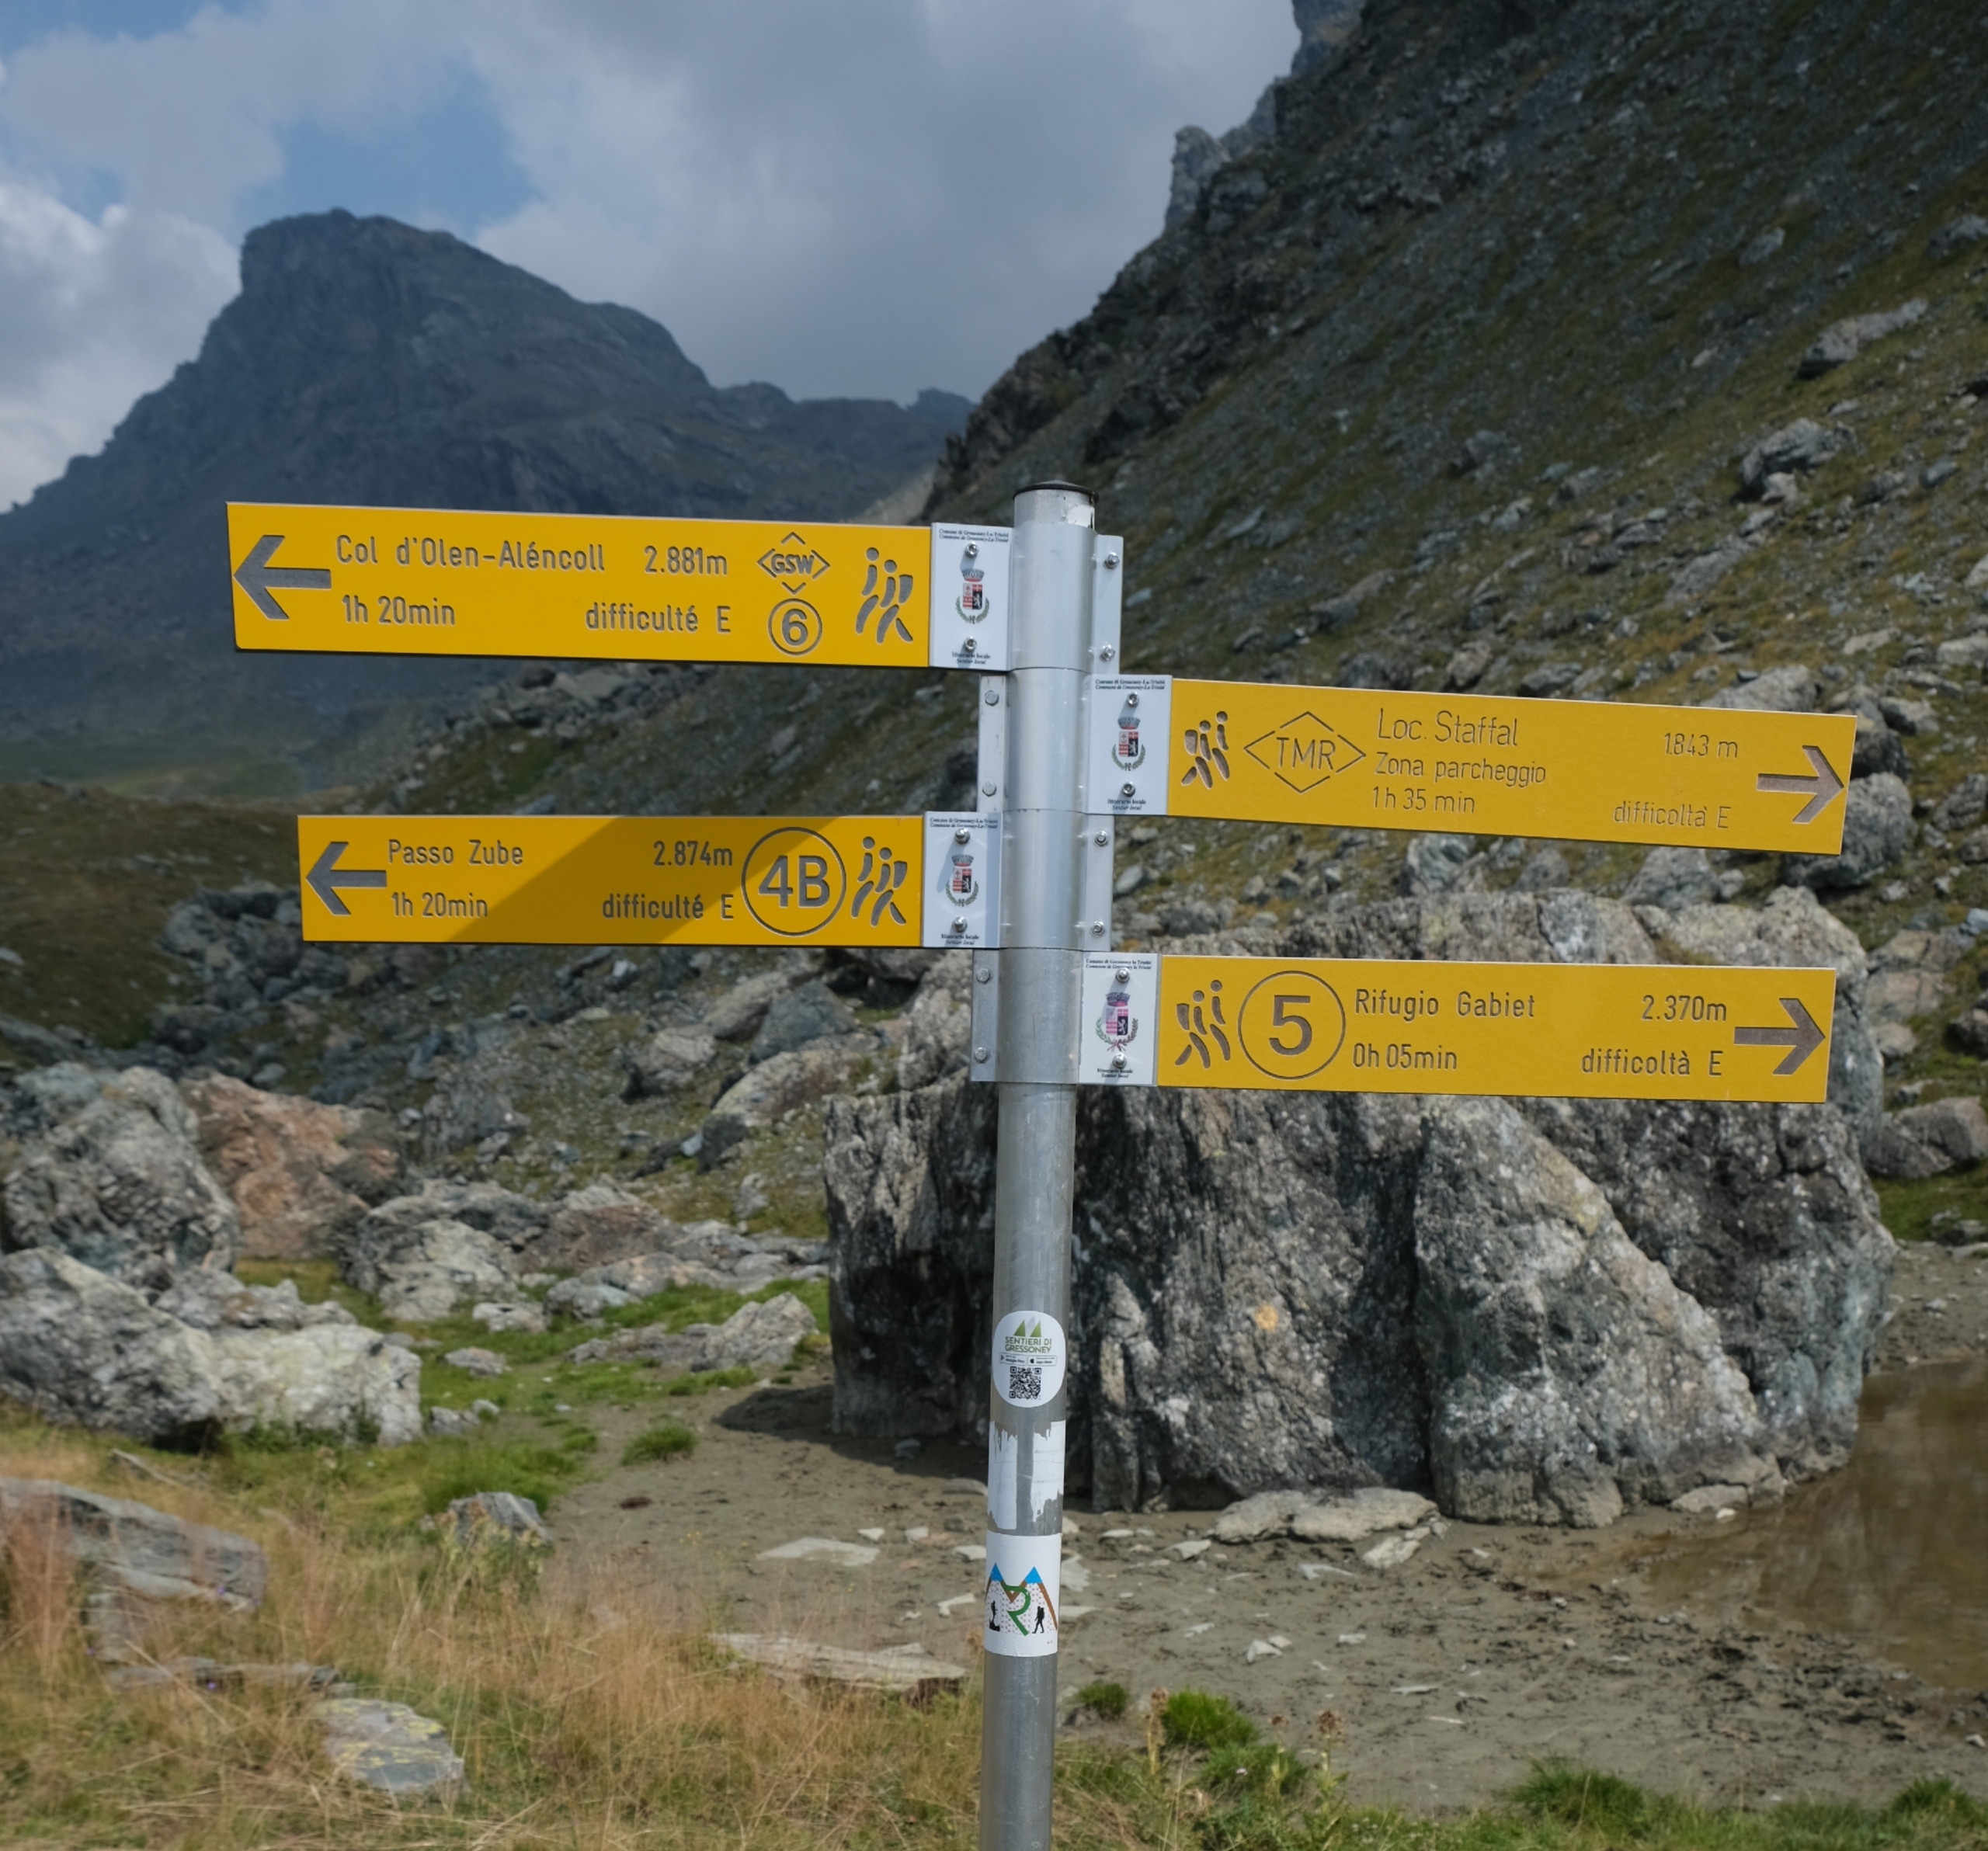
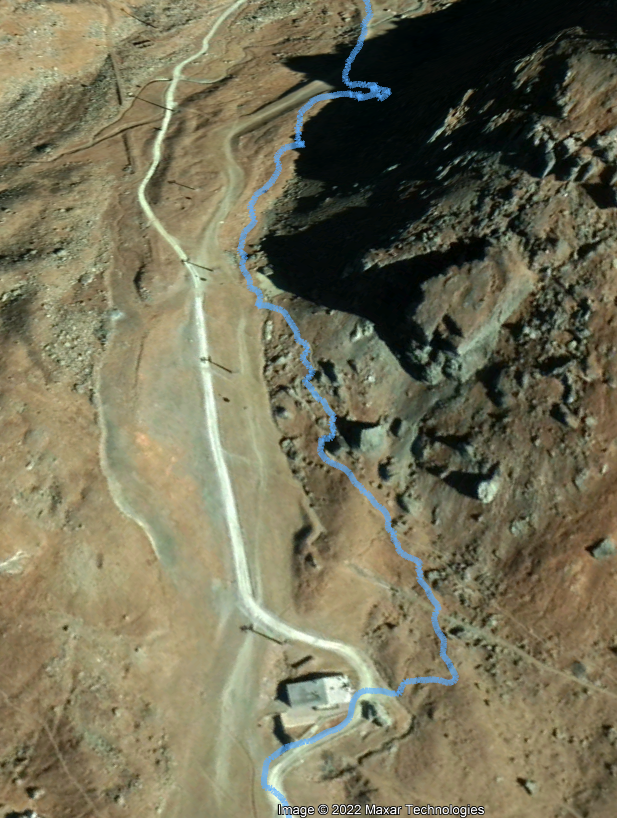
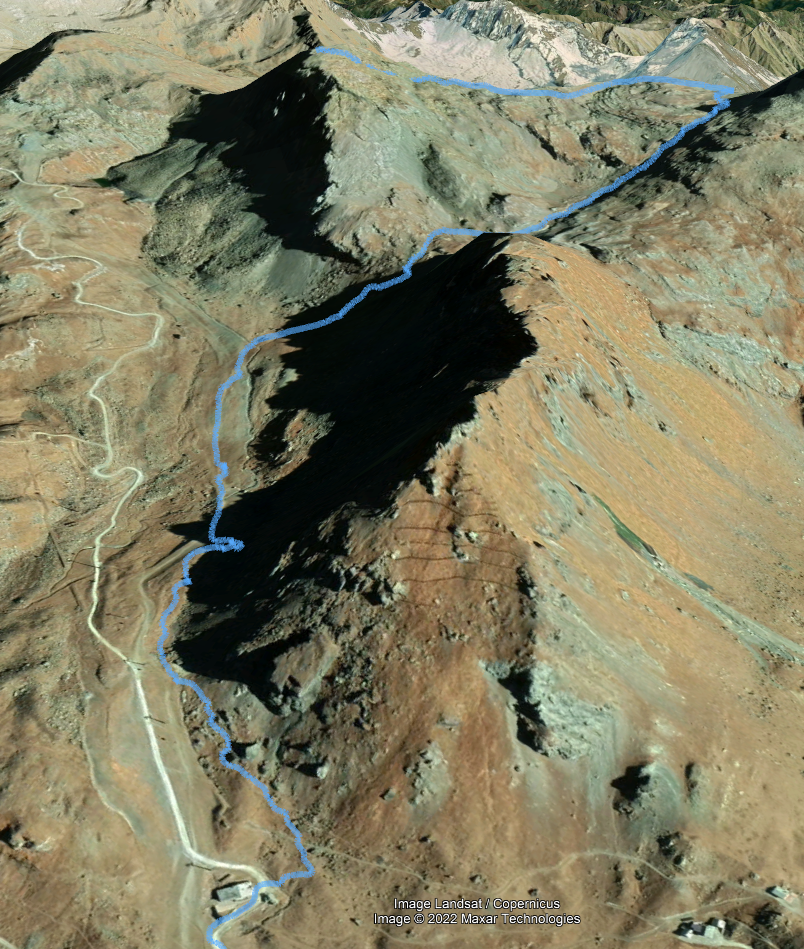
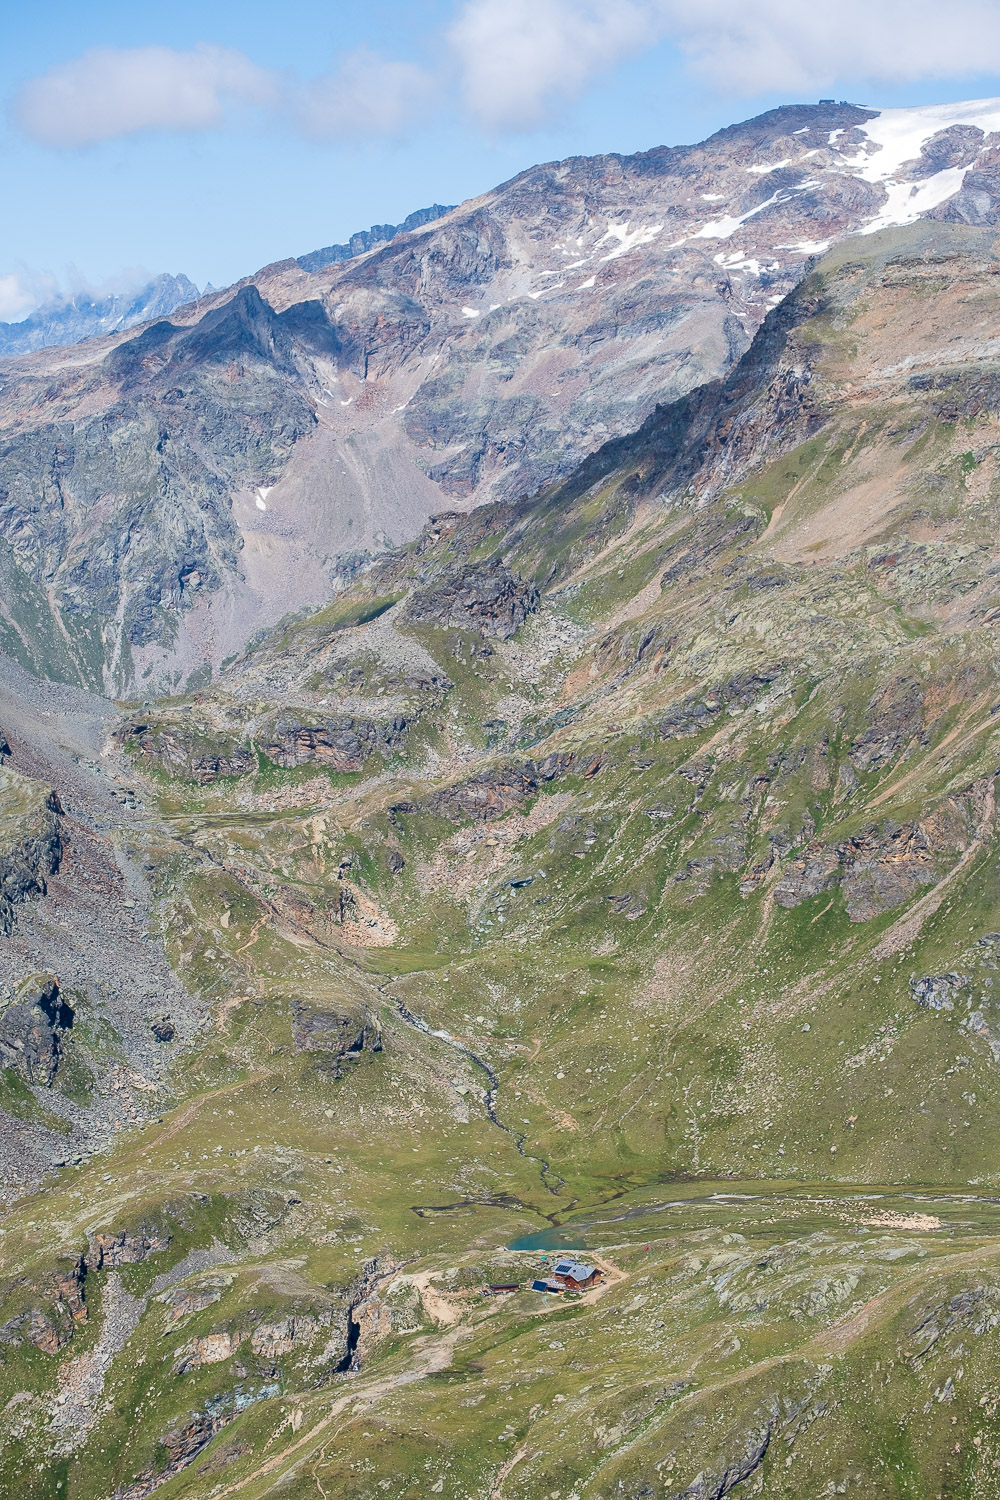
Trail 4B starts at the Gabiet refuge (2,364 m) and ends at Zube pass (2,871 m). It is 3,240 meters long, and the total elevation gain is 513 meters.
The estimated time for the ascent is 1 hour and 34 minutes. The trail is rated of difficulty E.
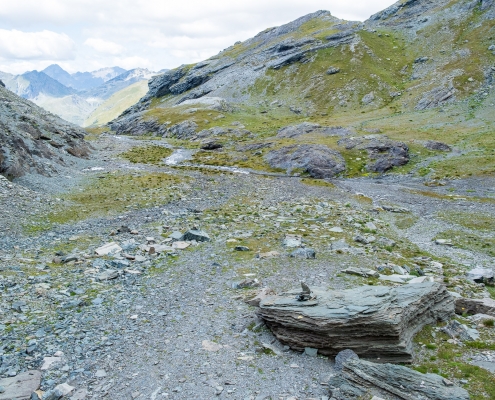
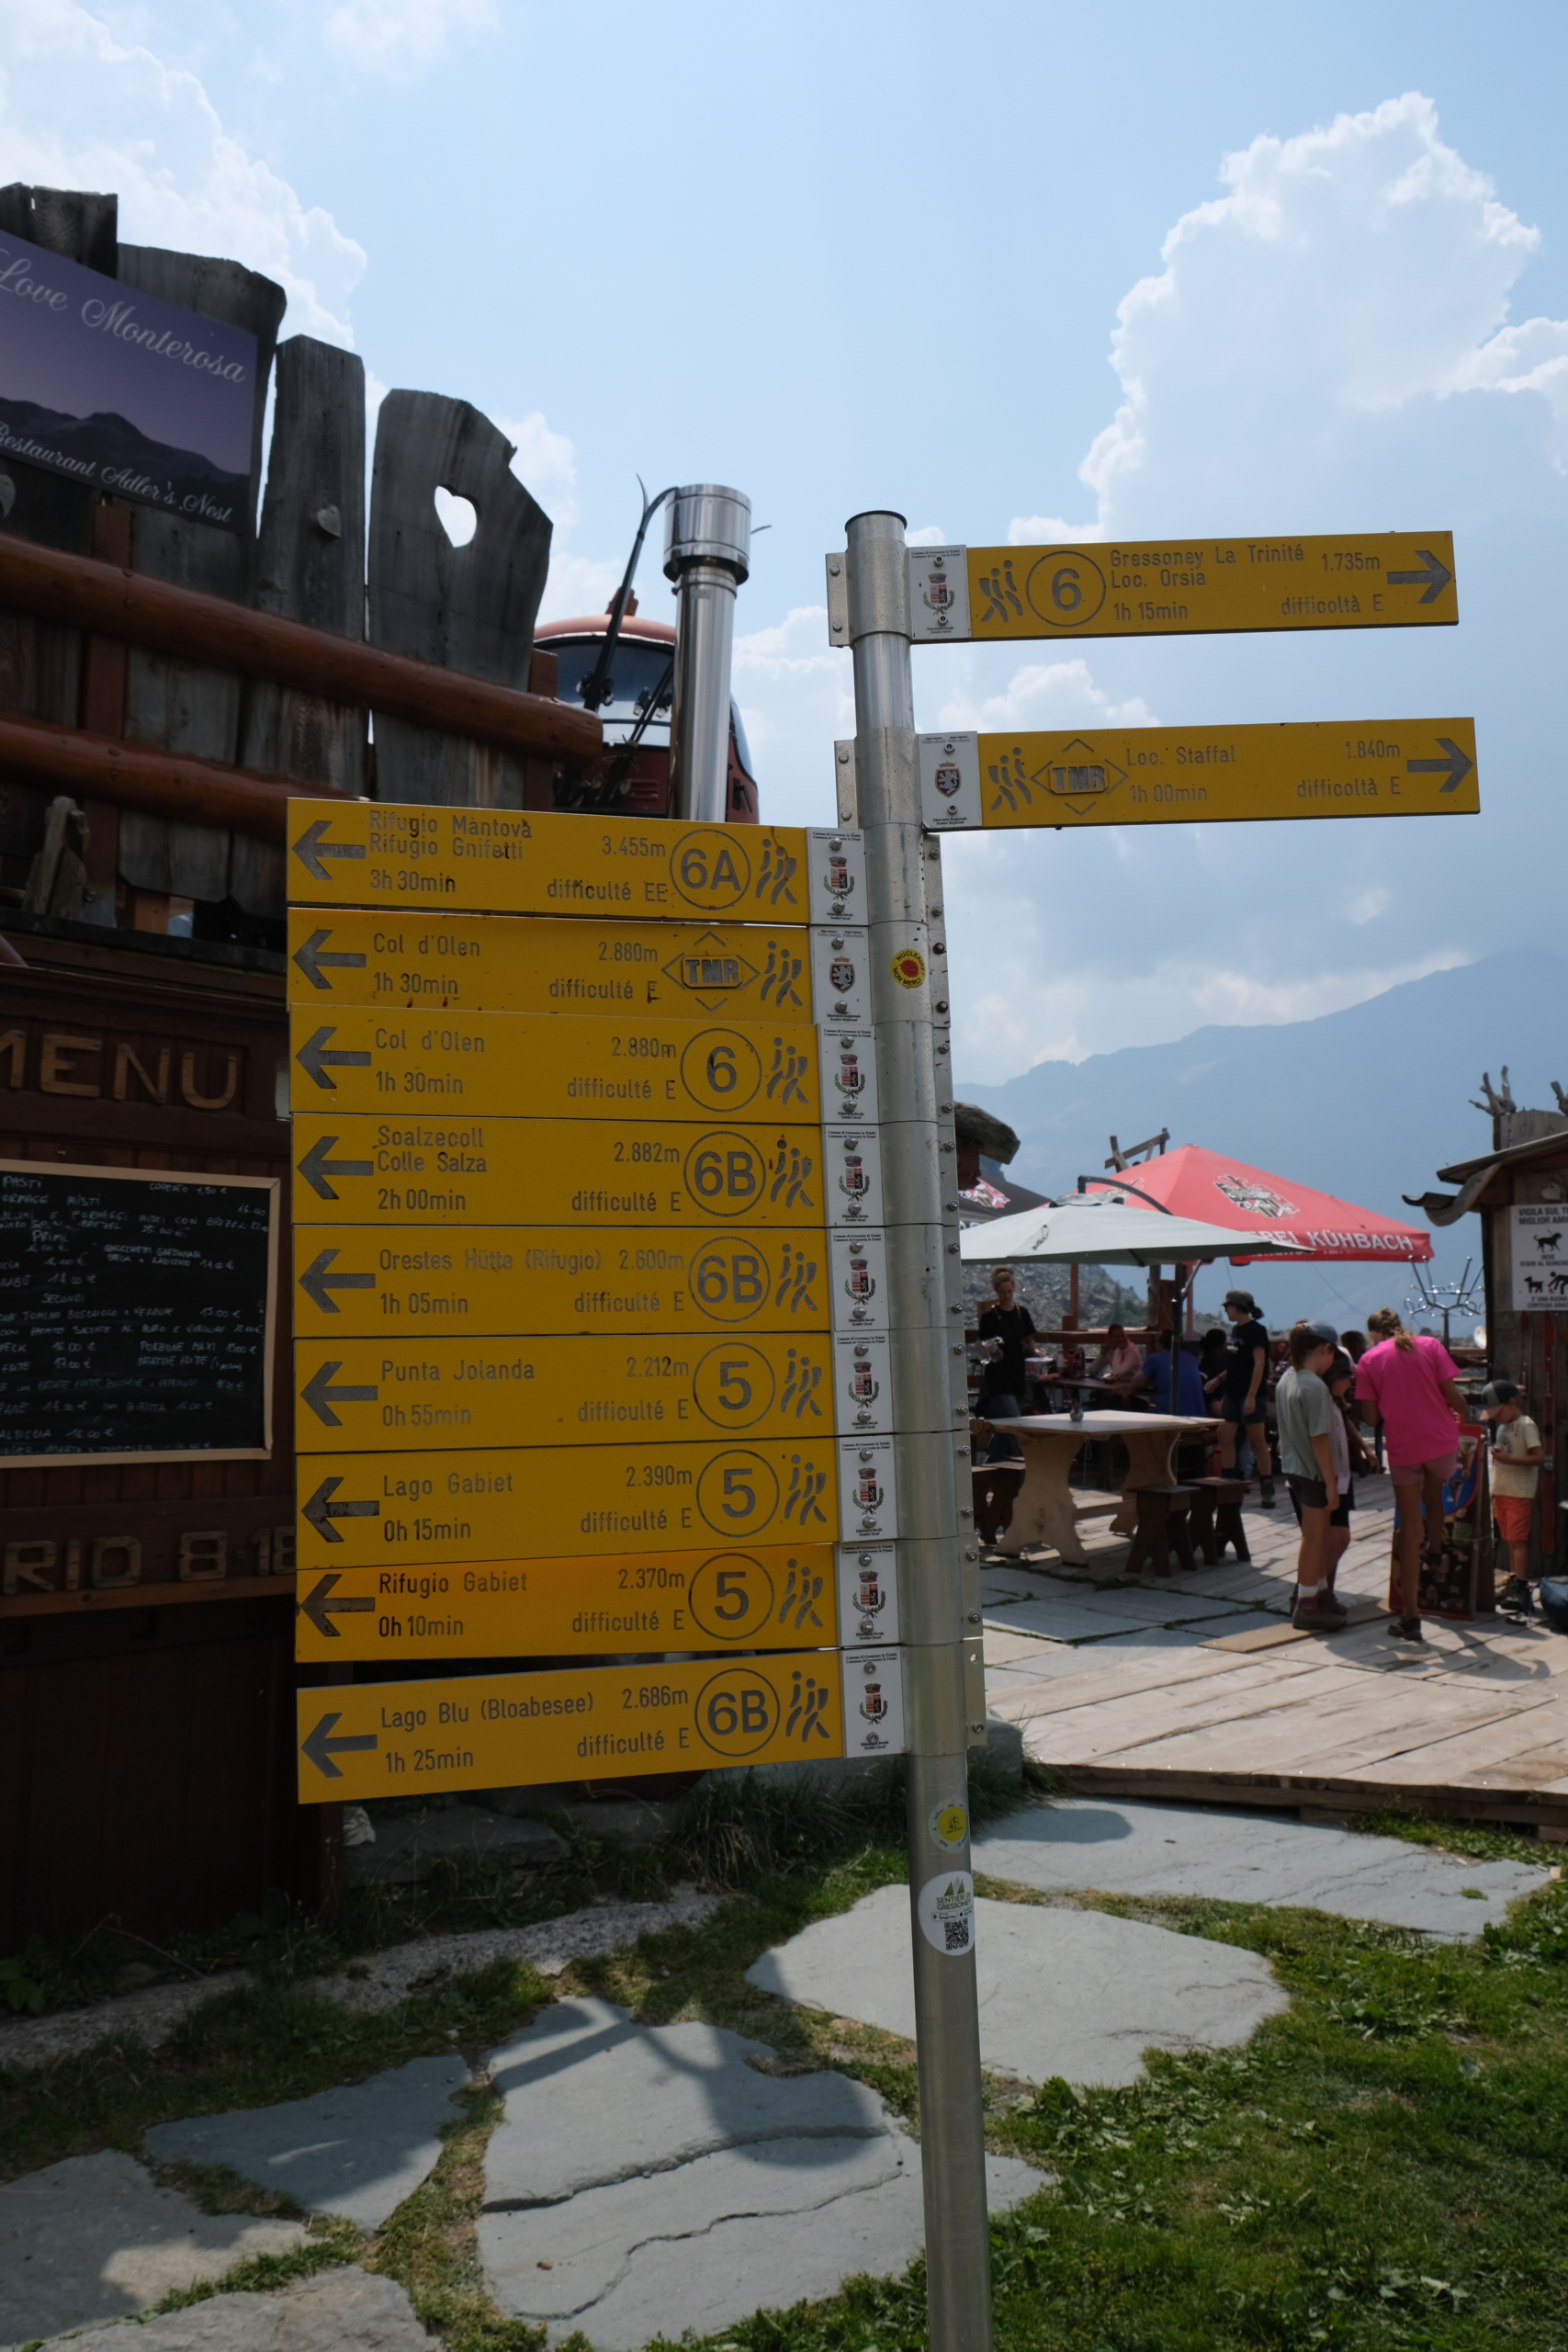
For the first section, the trail runs along the same route as TRAIL 6 , which leads to Olen pass.
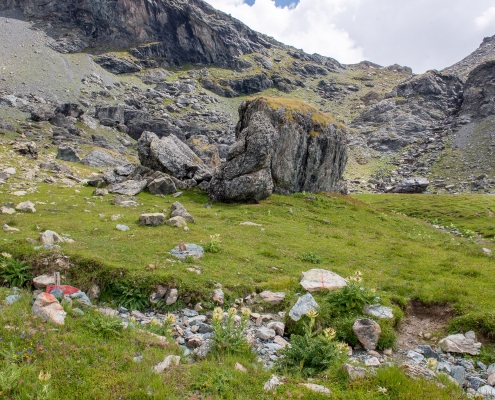
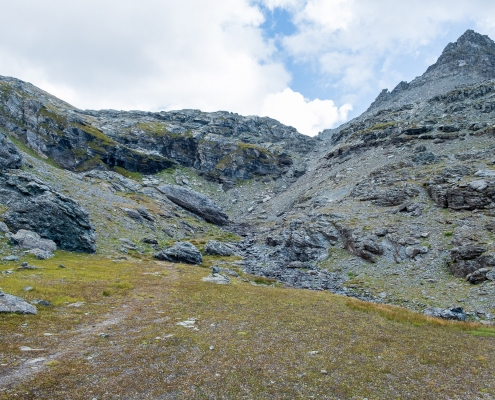
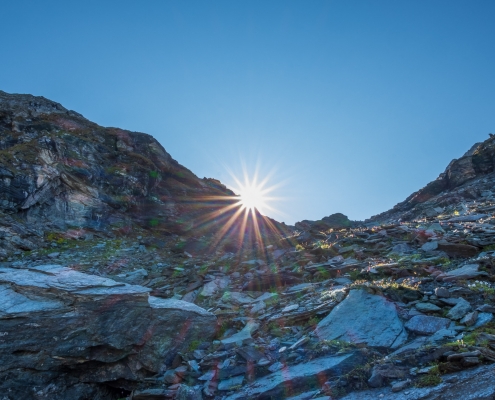
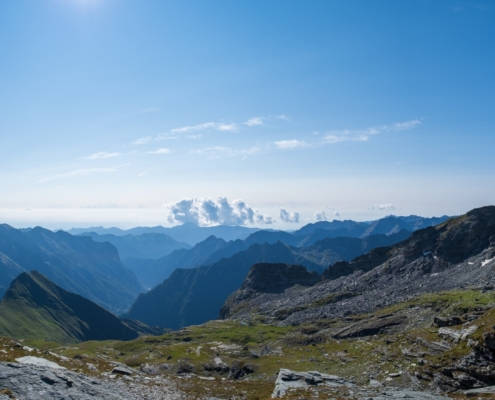
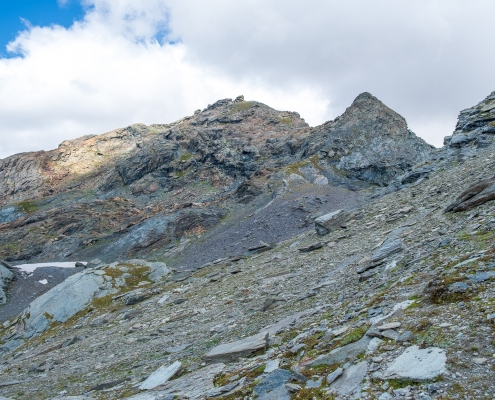
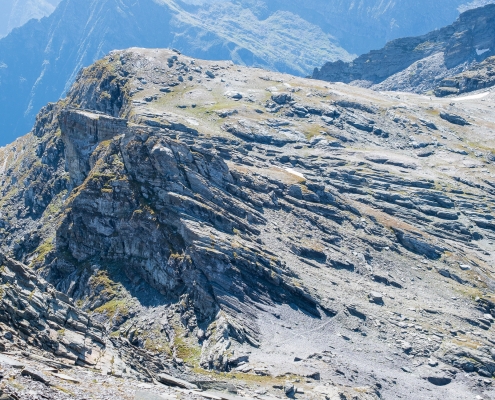
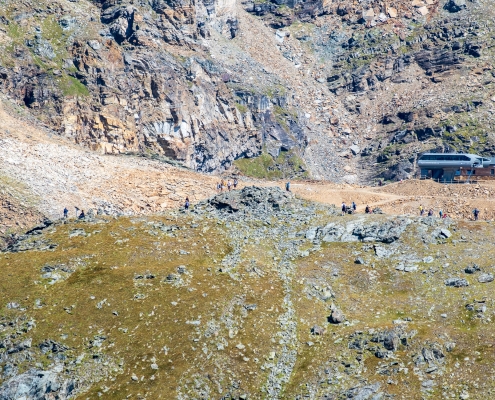
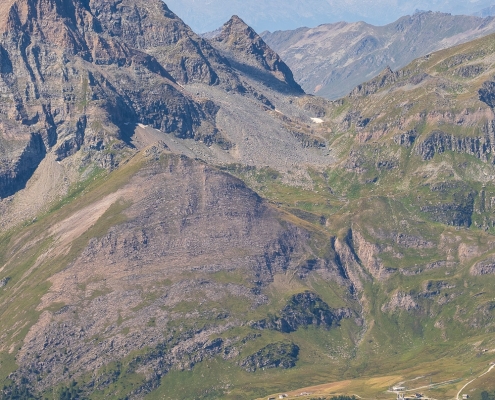
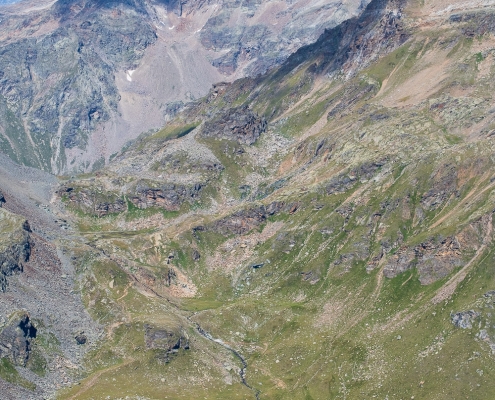
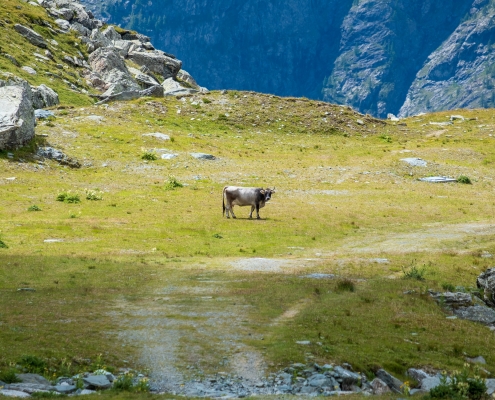
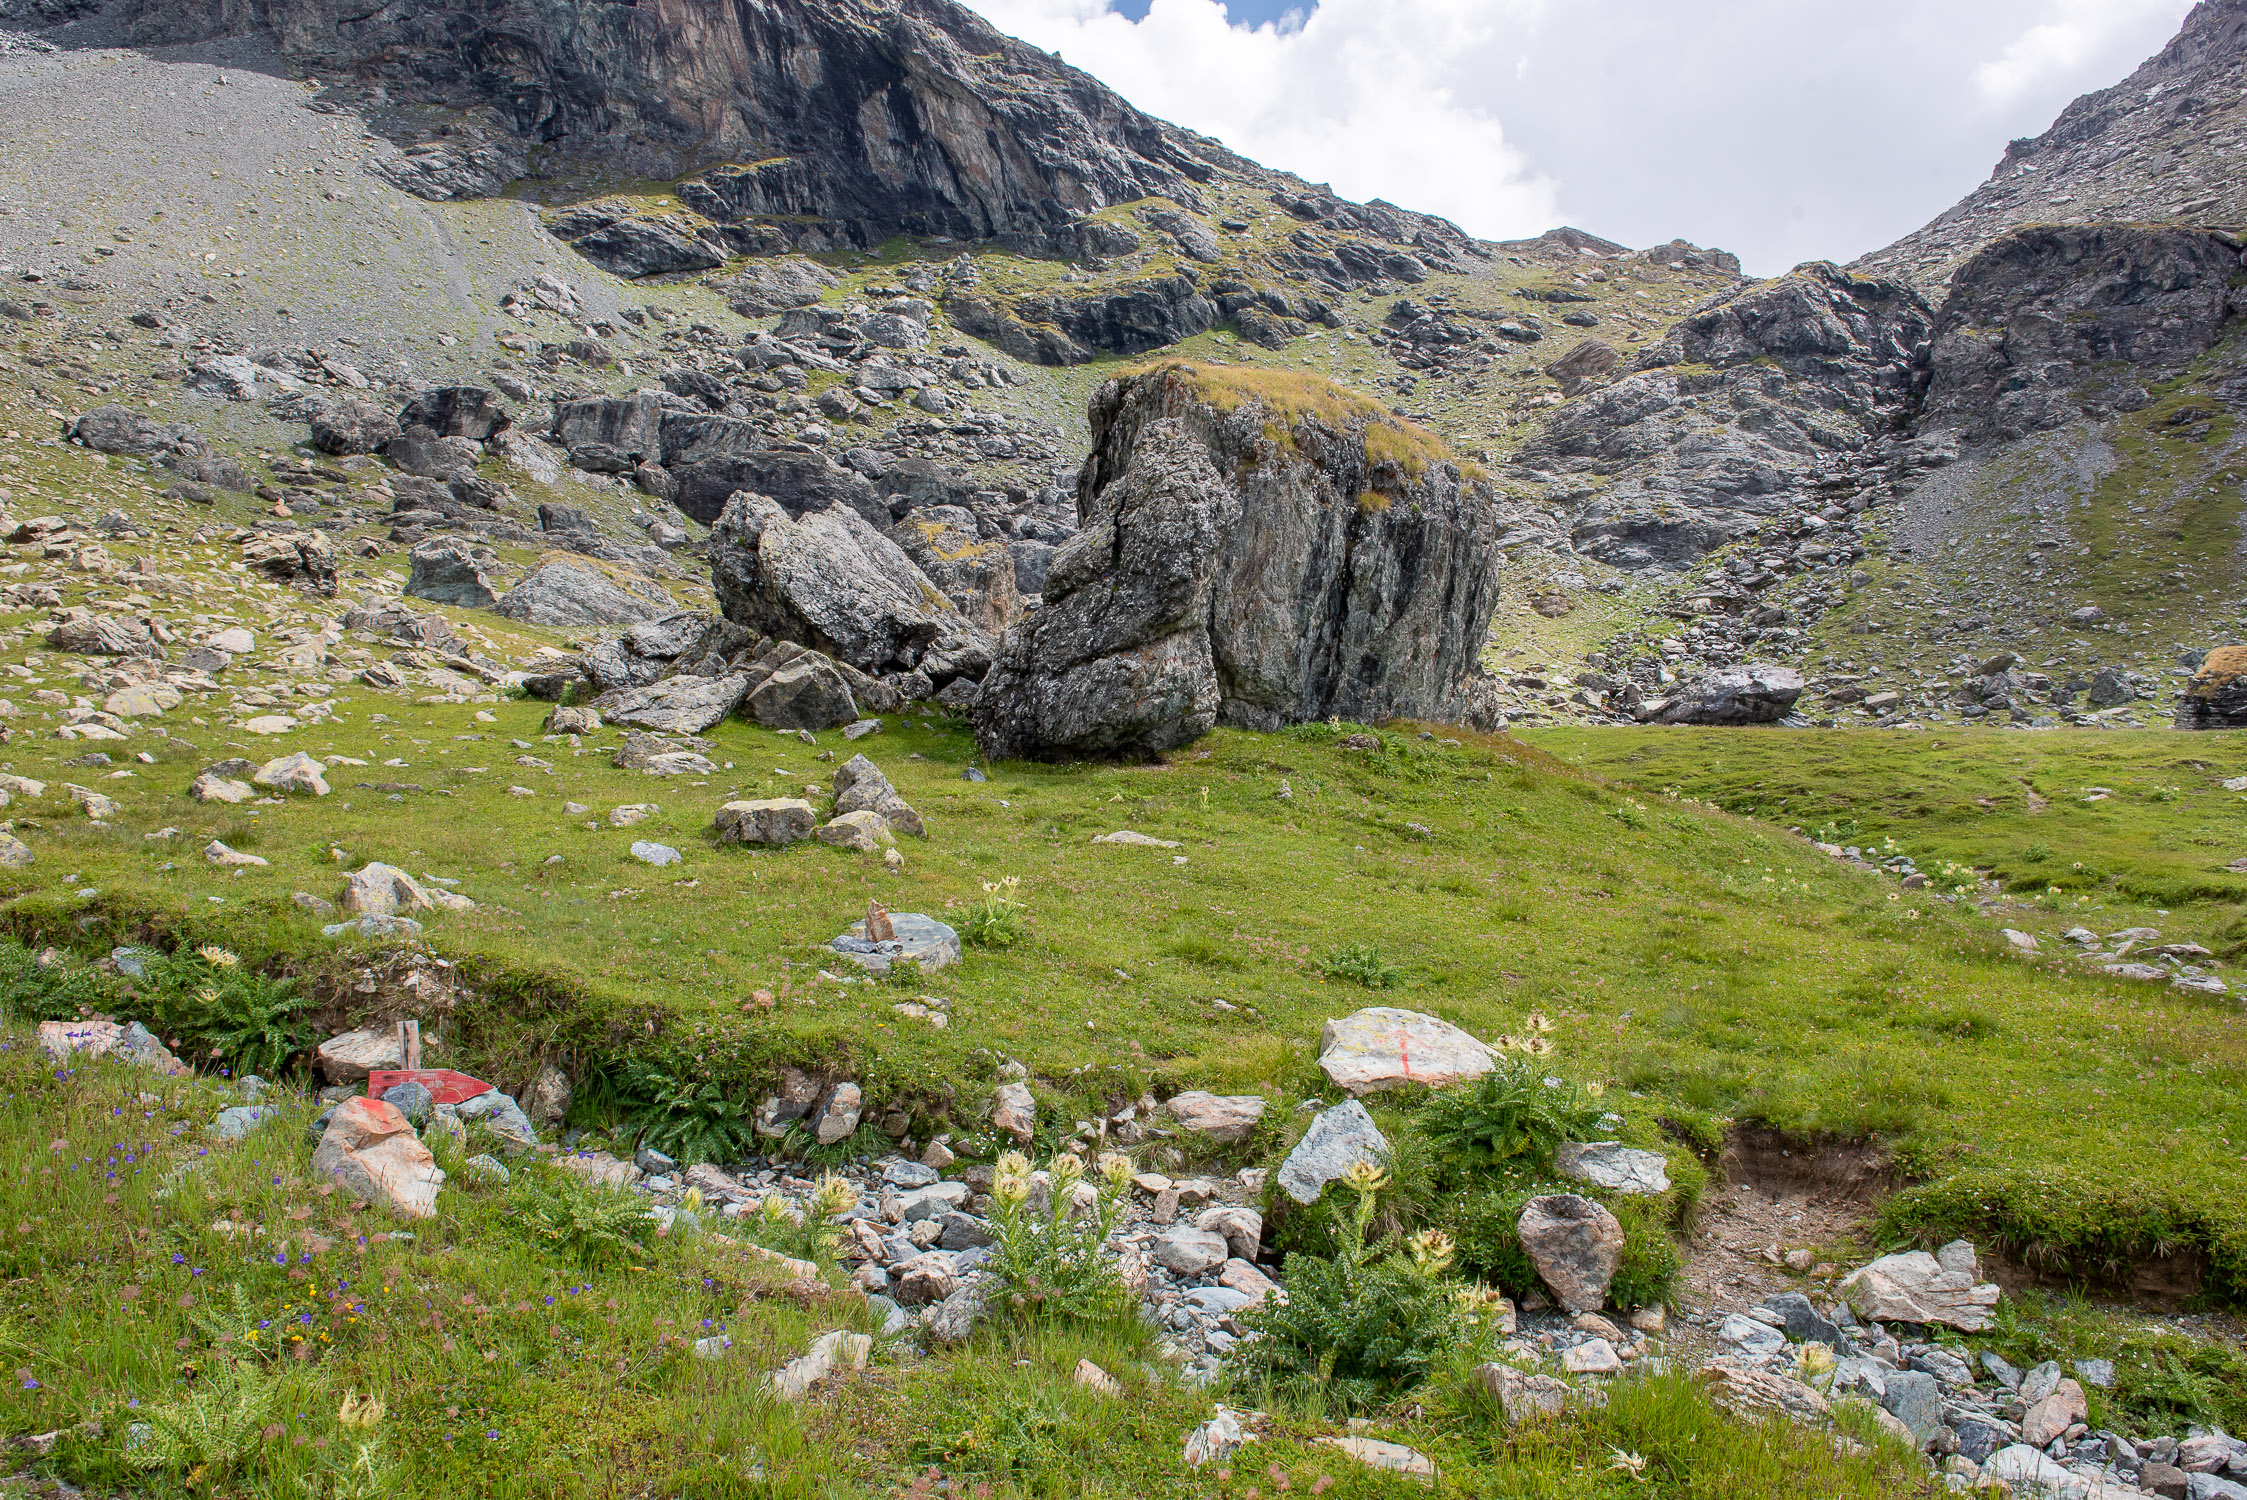
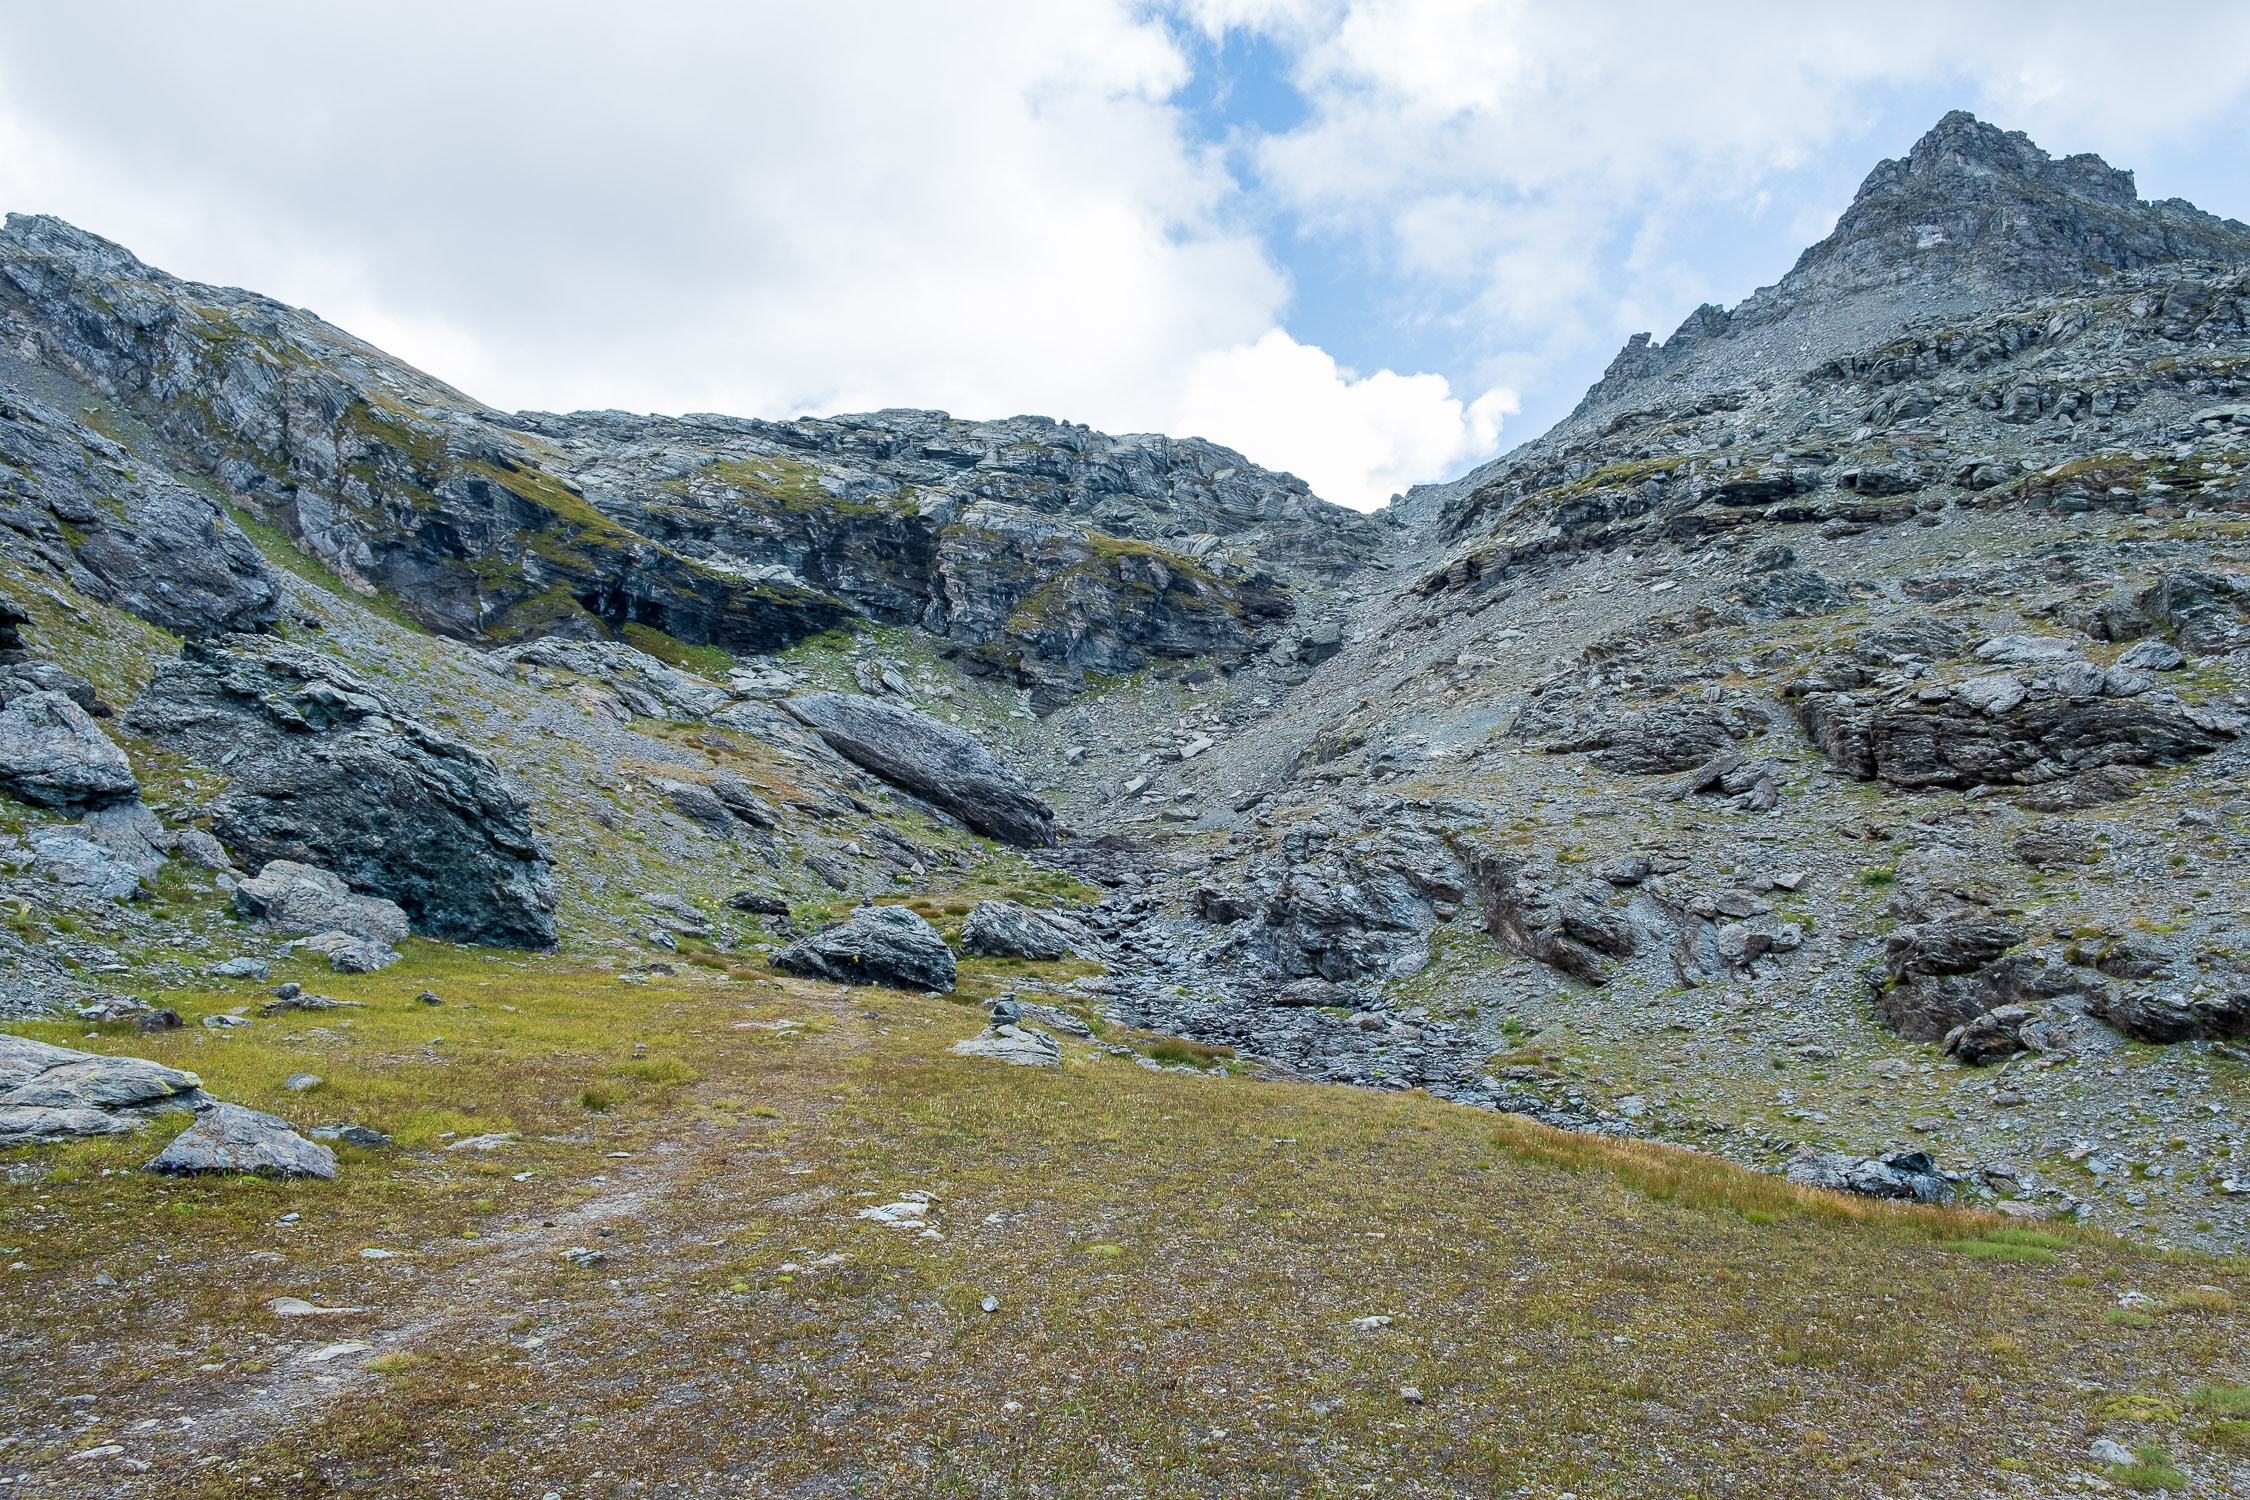
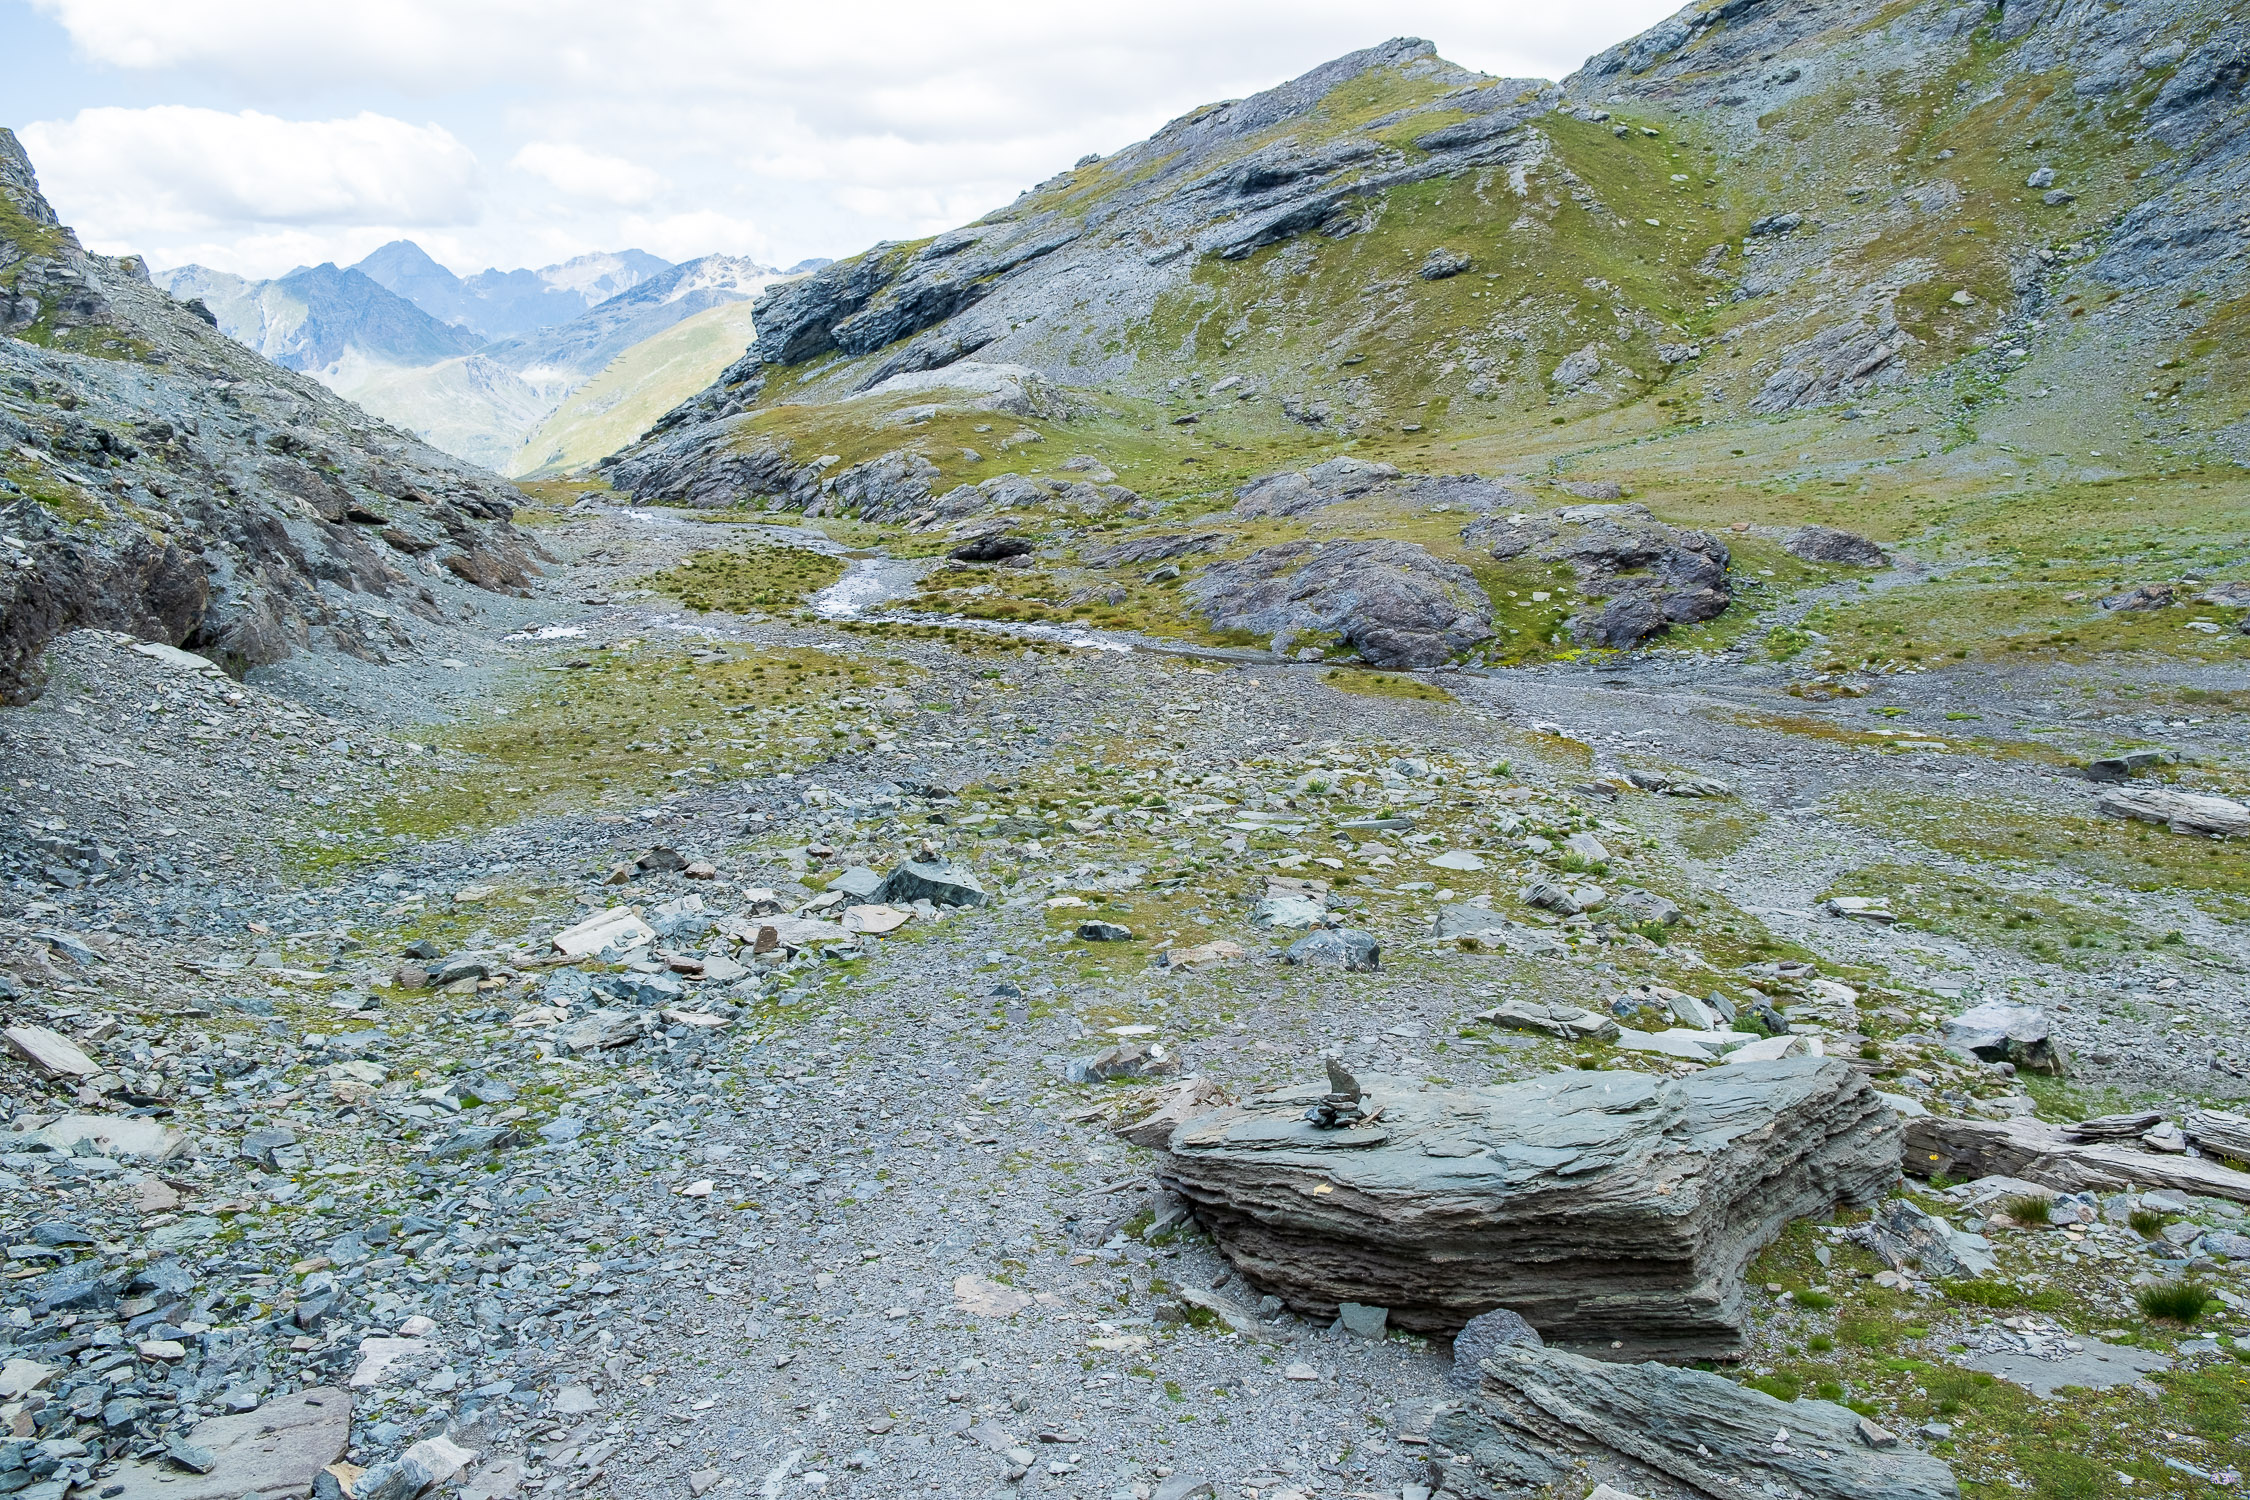
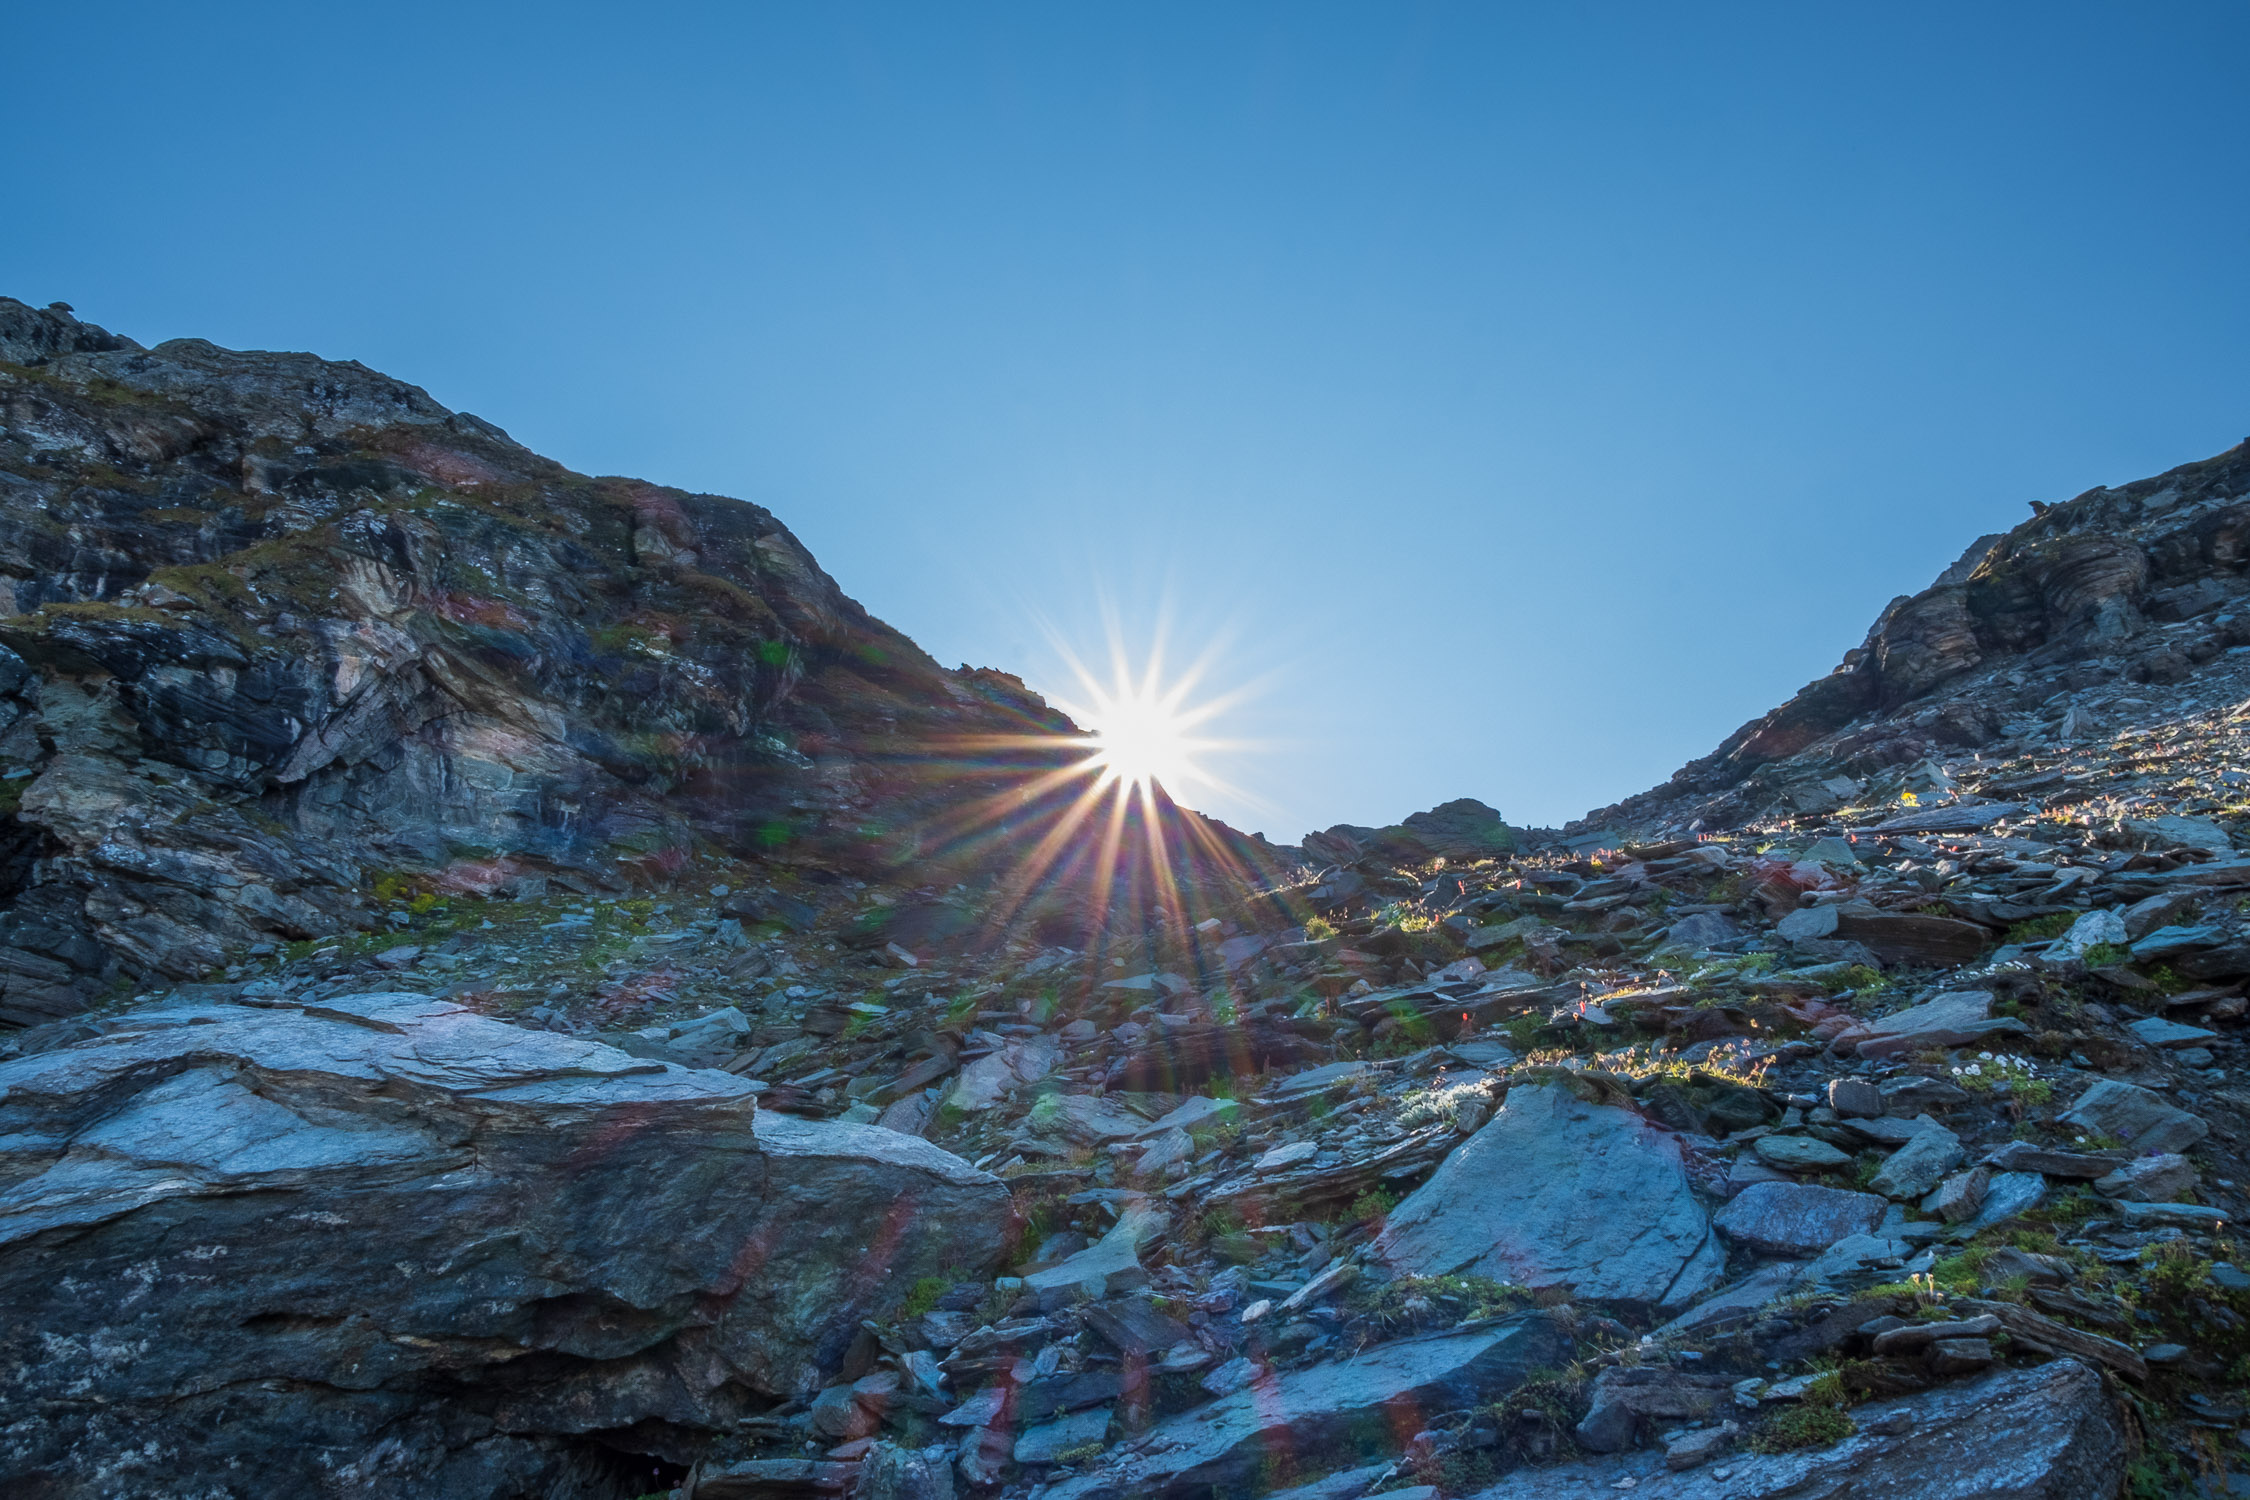
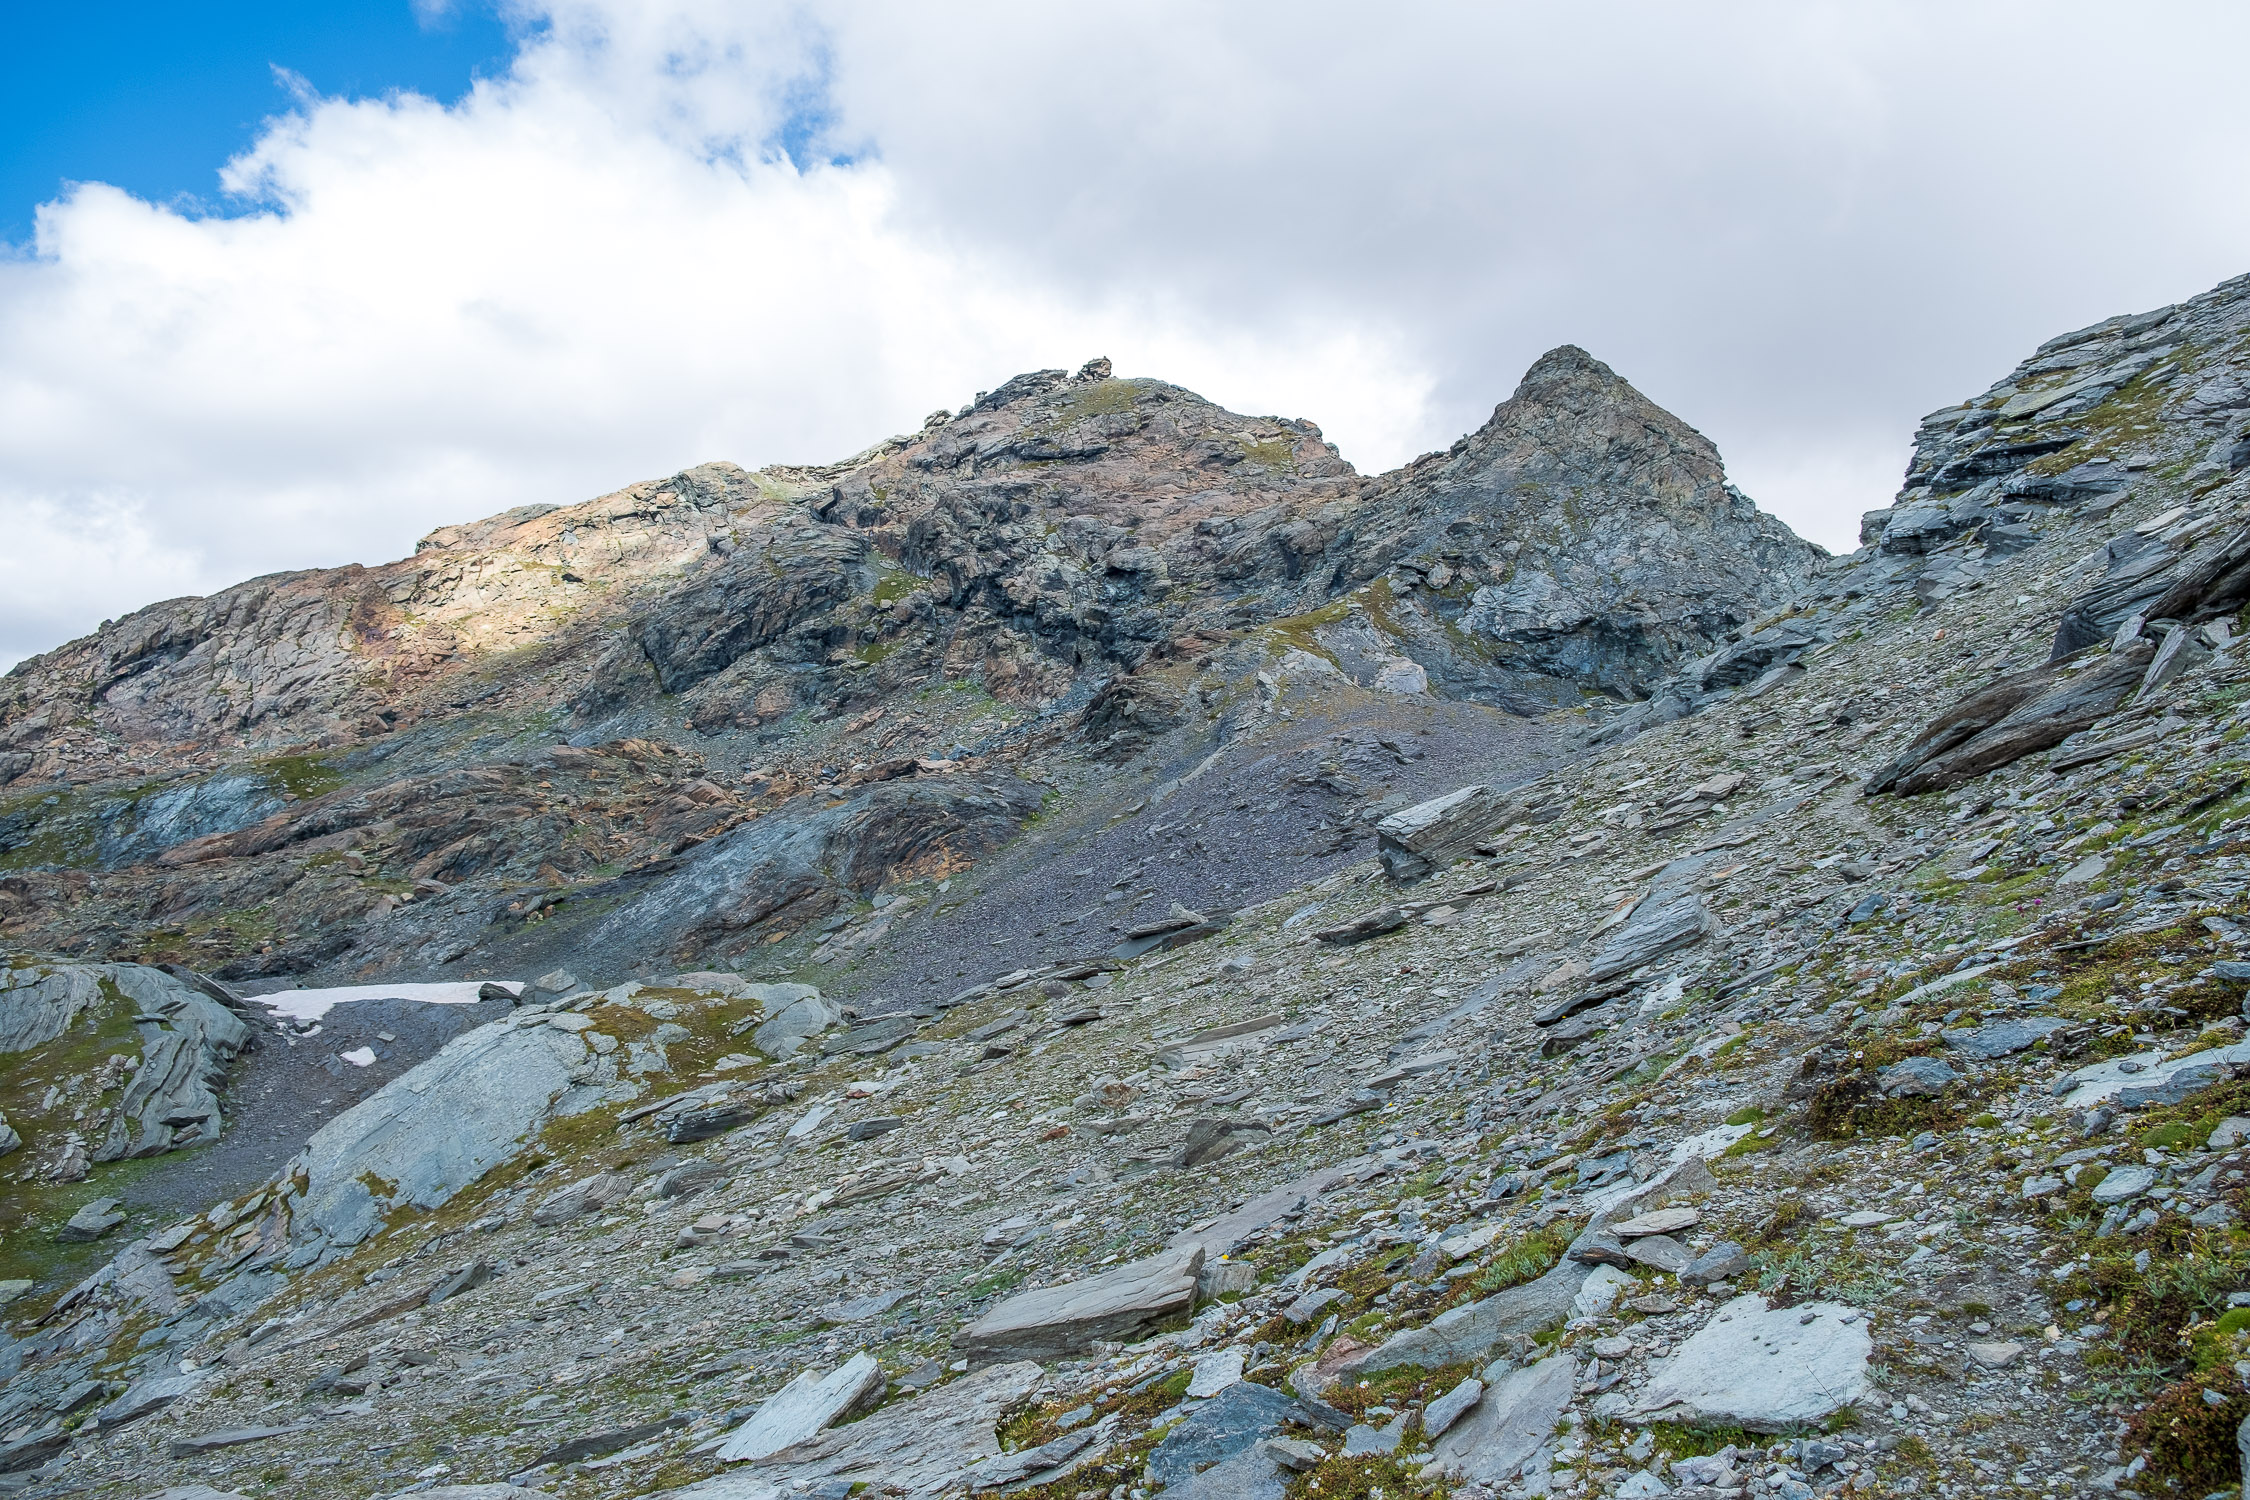
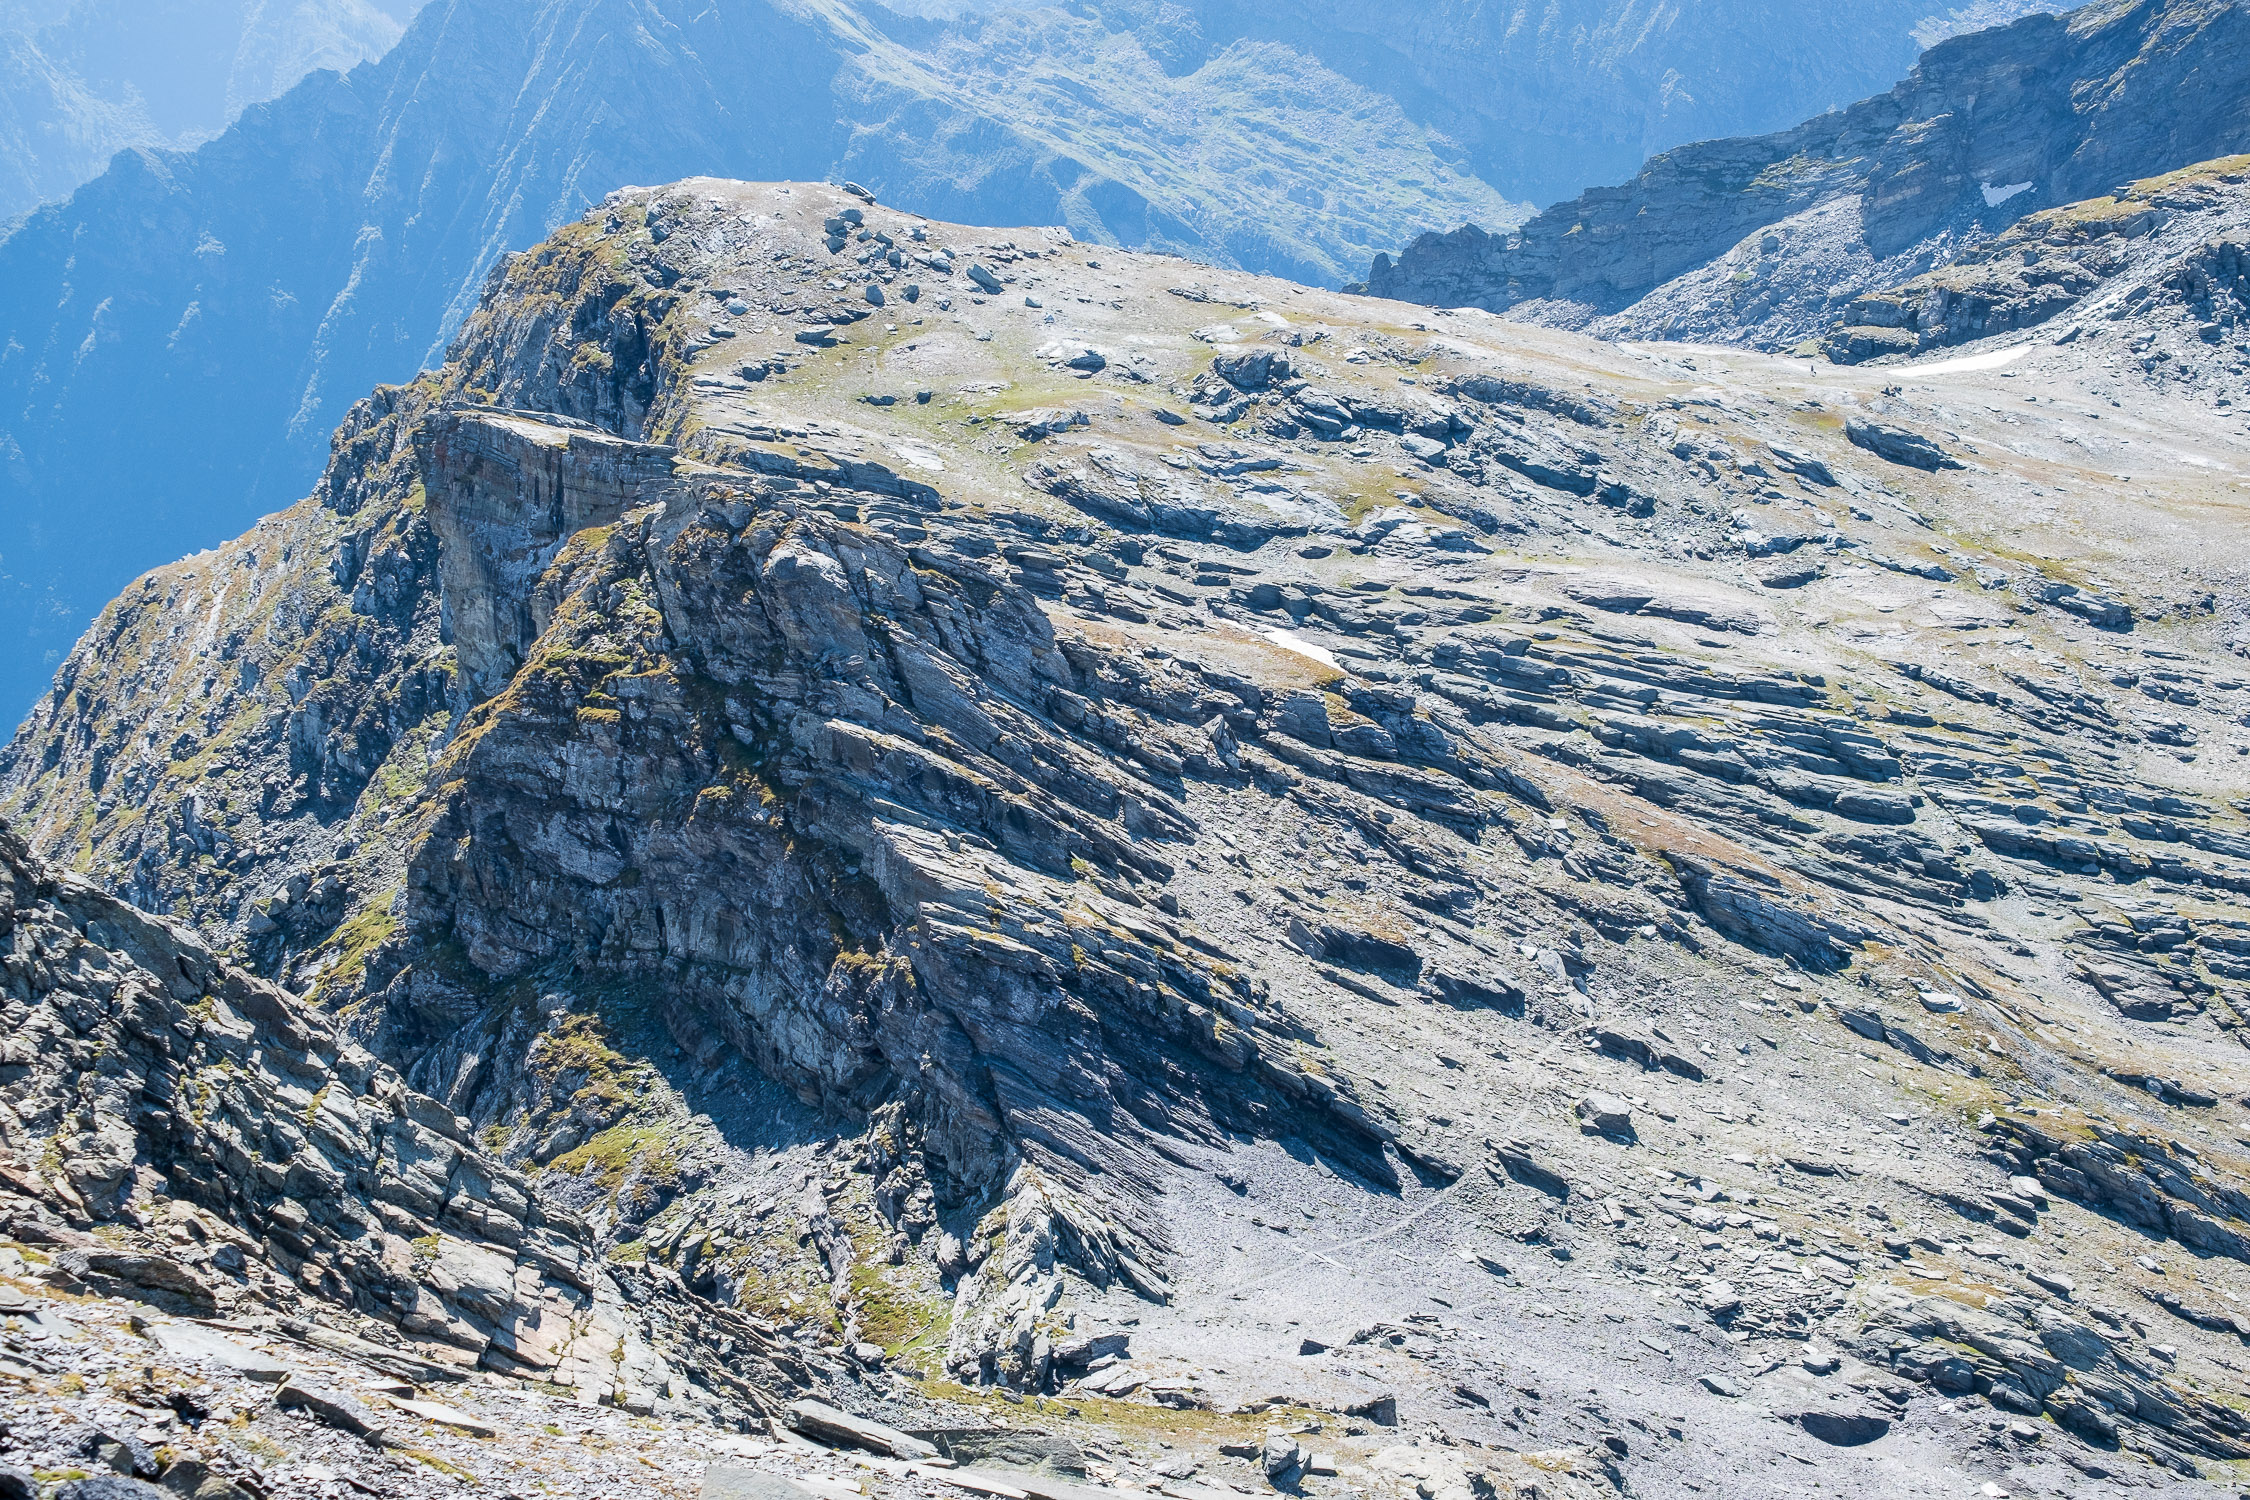
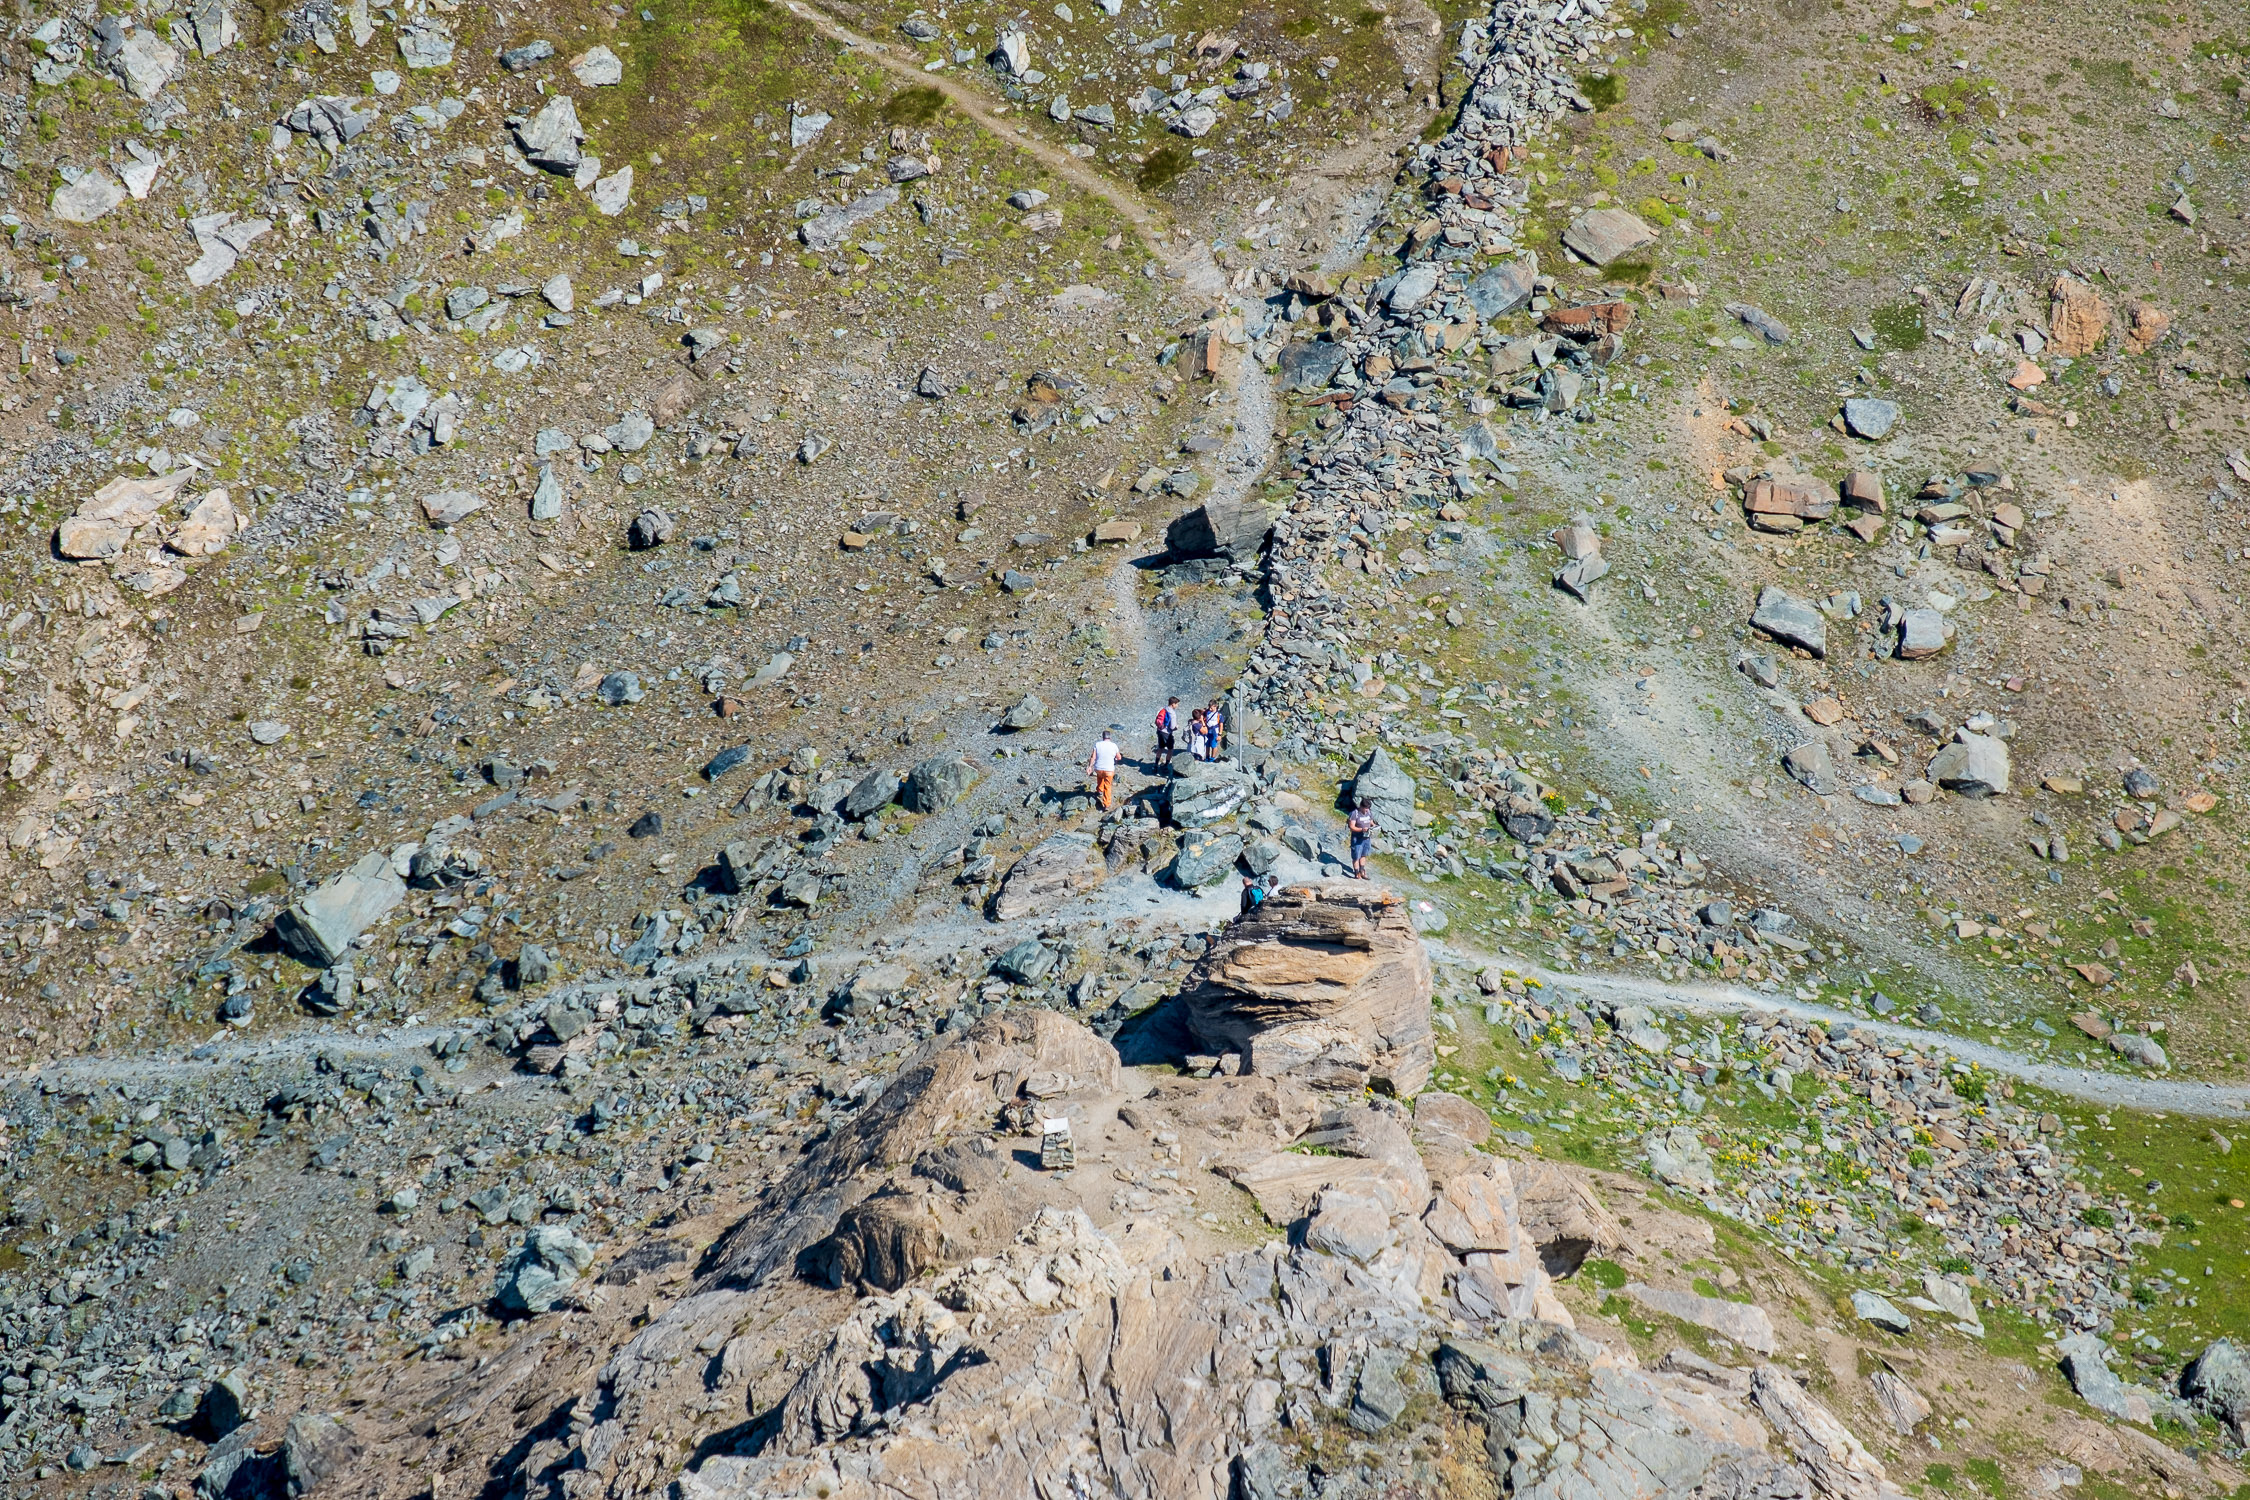
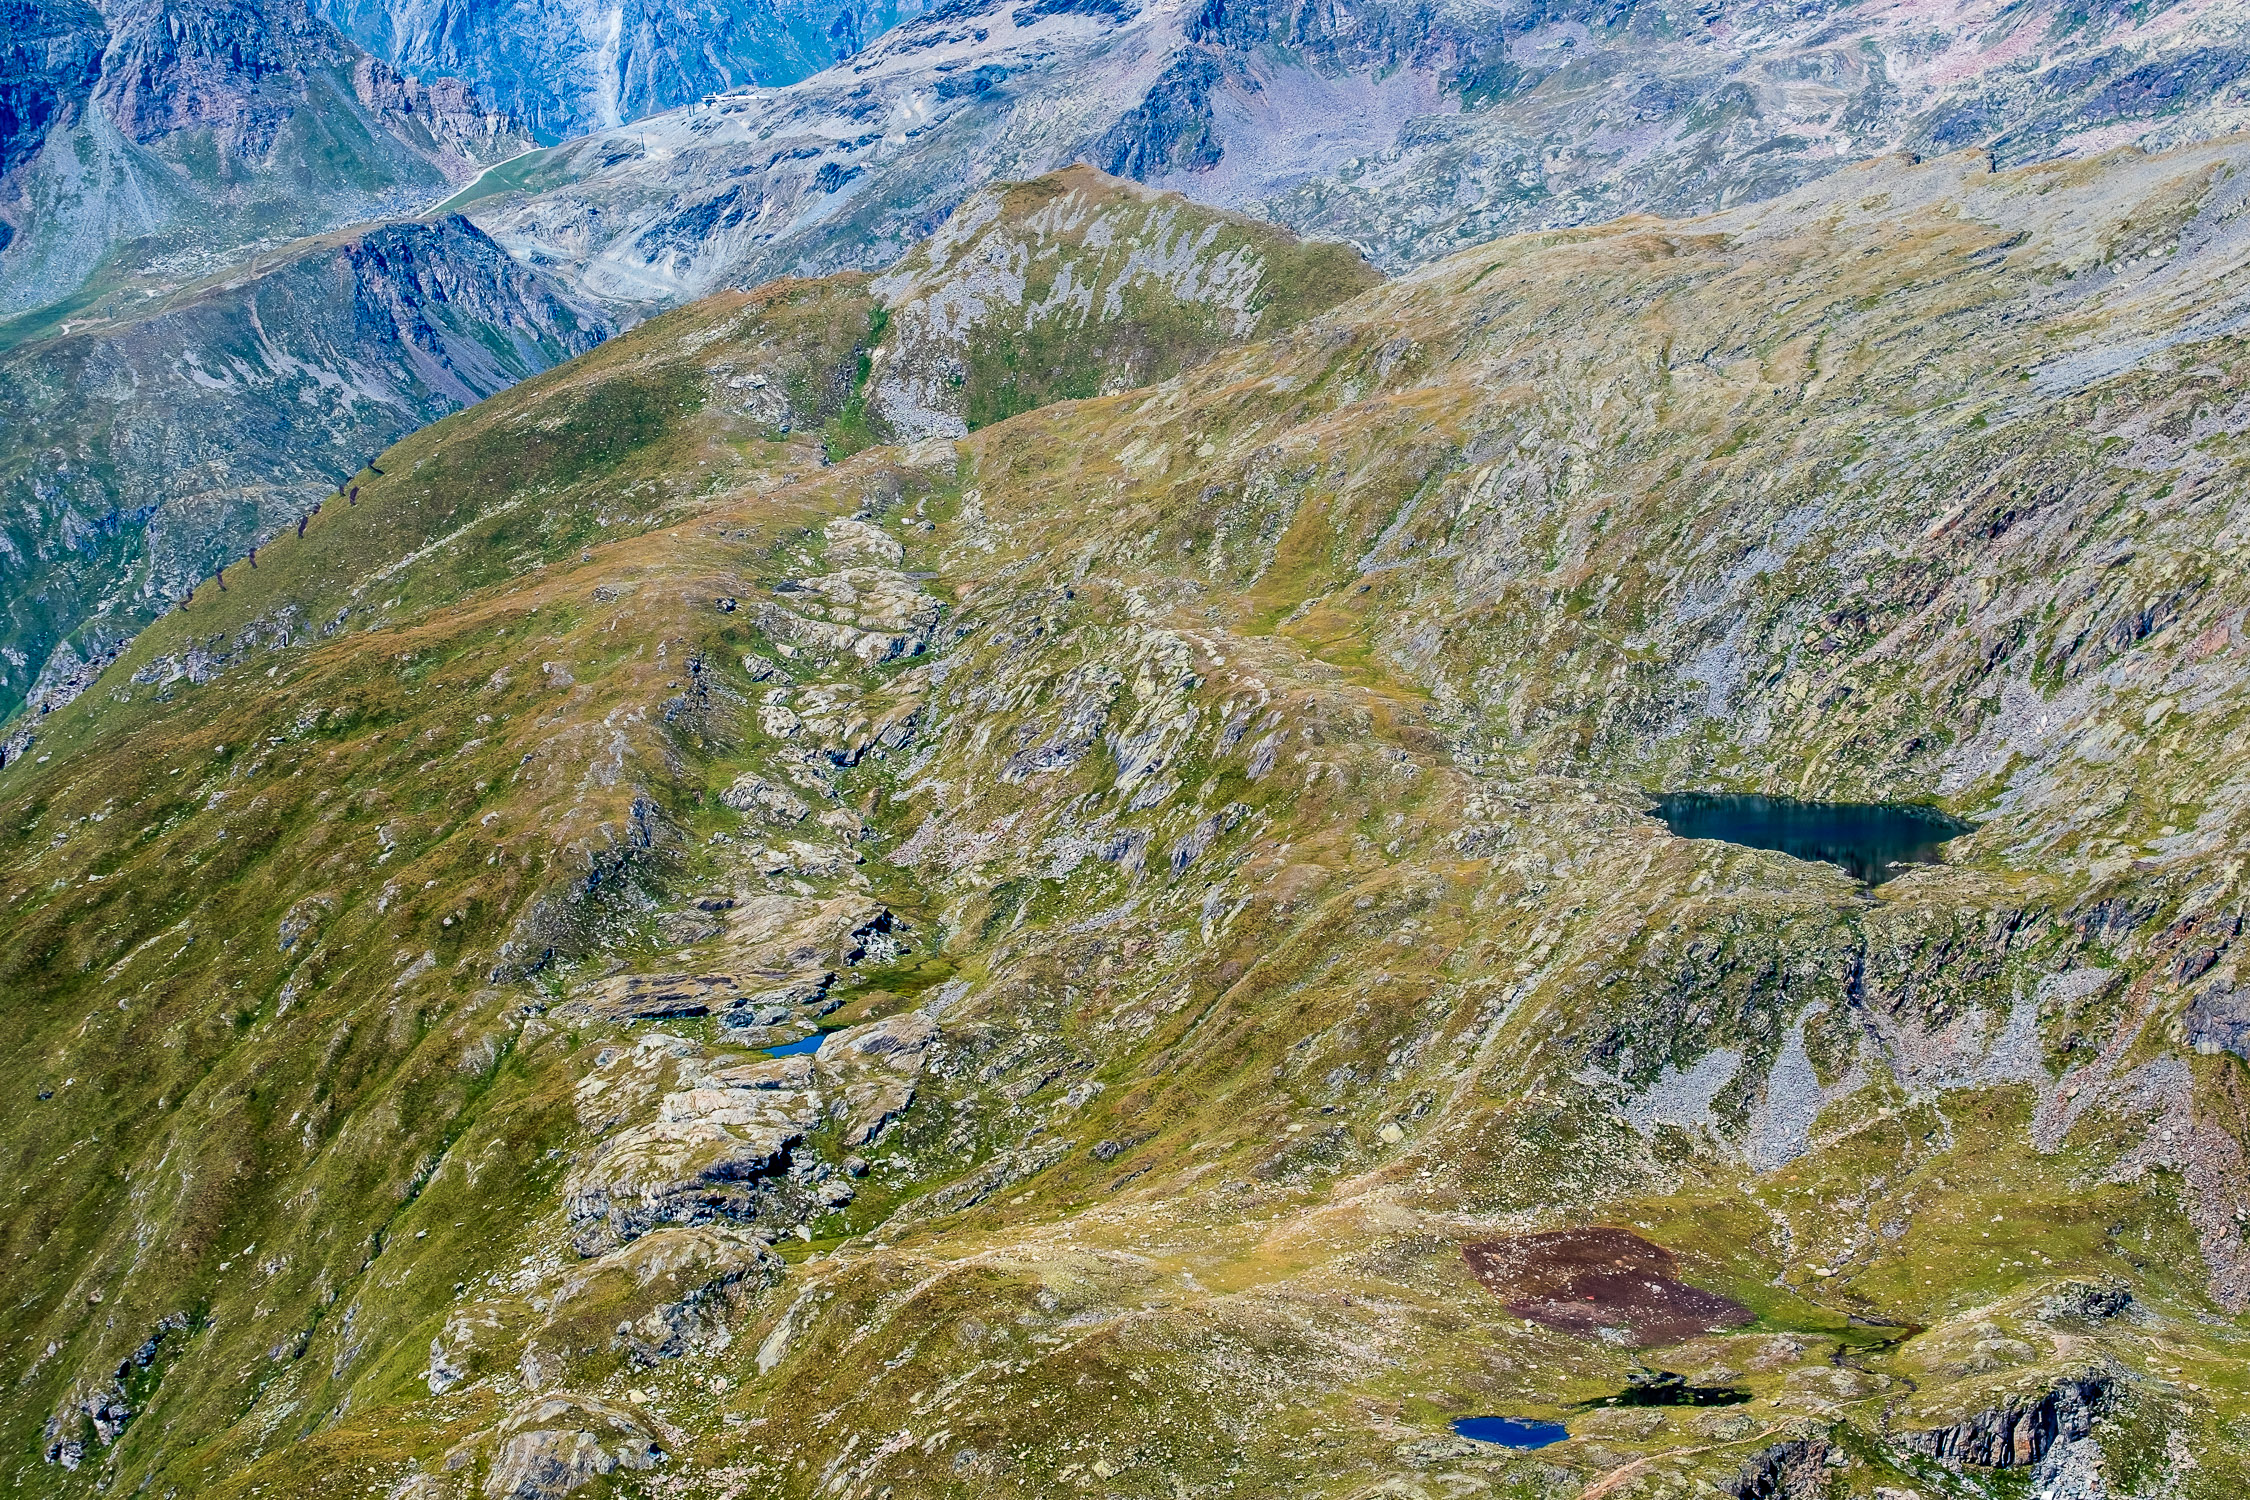
Zube Pass is located at the end of the first little valley that opens up on the right (east-southeast), coming up from Gabiet, before reaching Col d’Olen. After passing the short access step, the short gully is rather narrow and often, even in summer, a small snowfield covers parts of it.
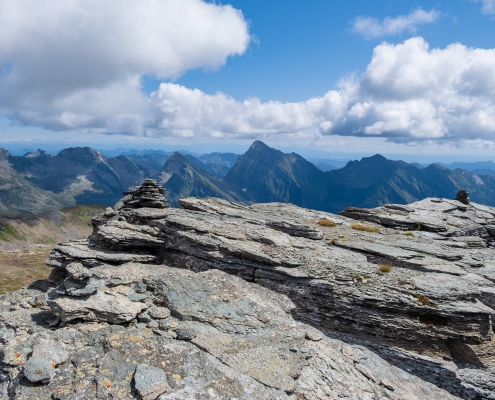
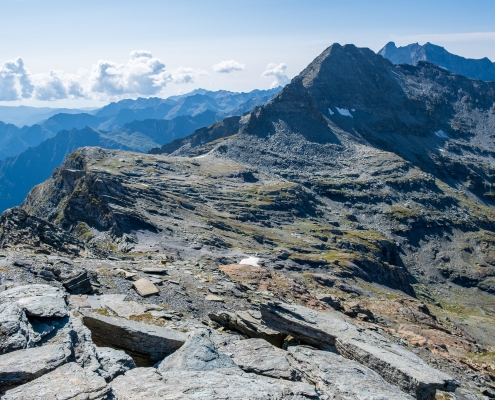
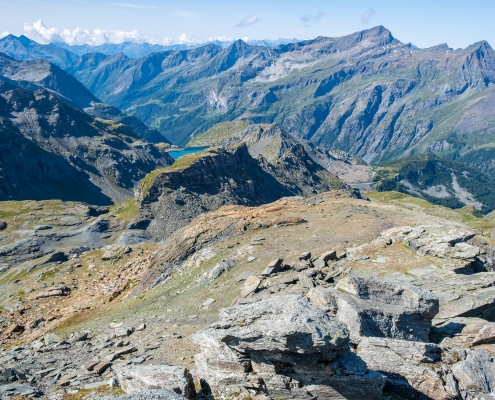
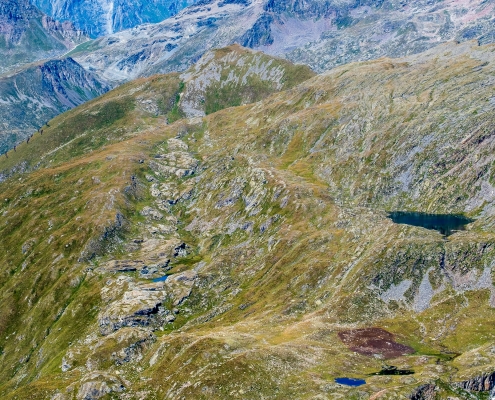
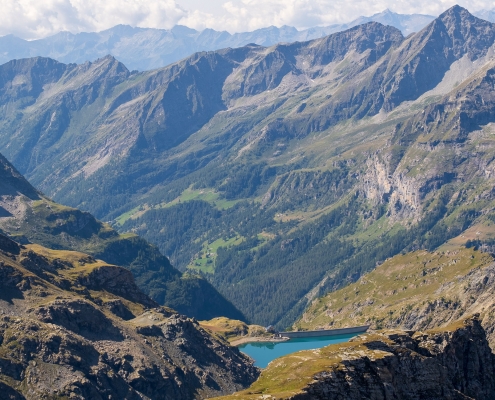
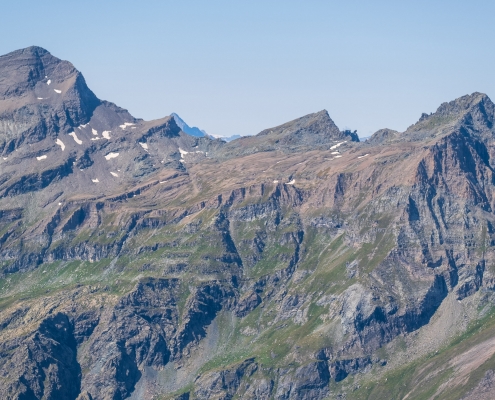
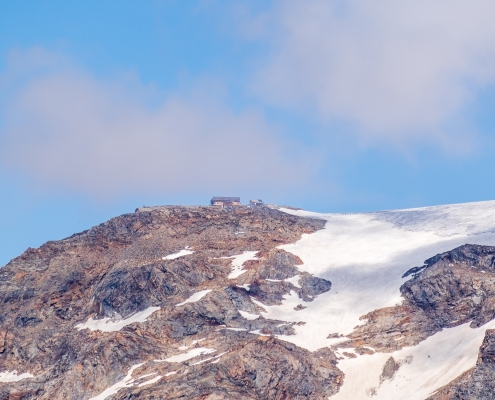
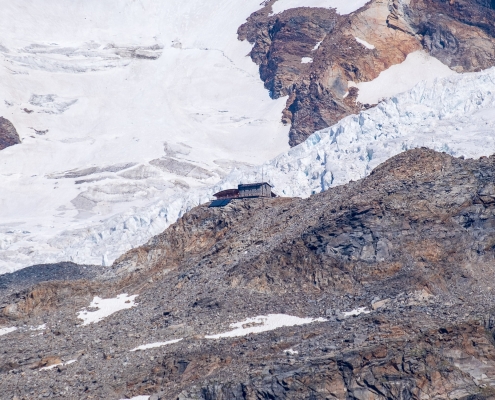
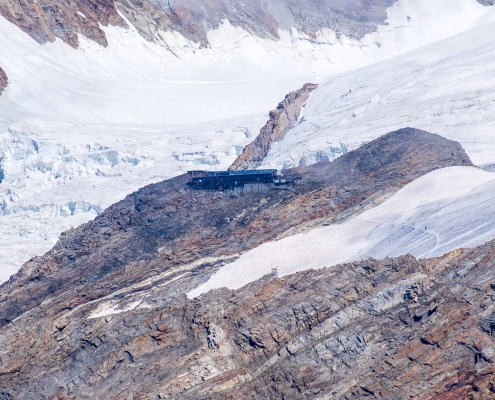
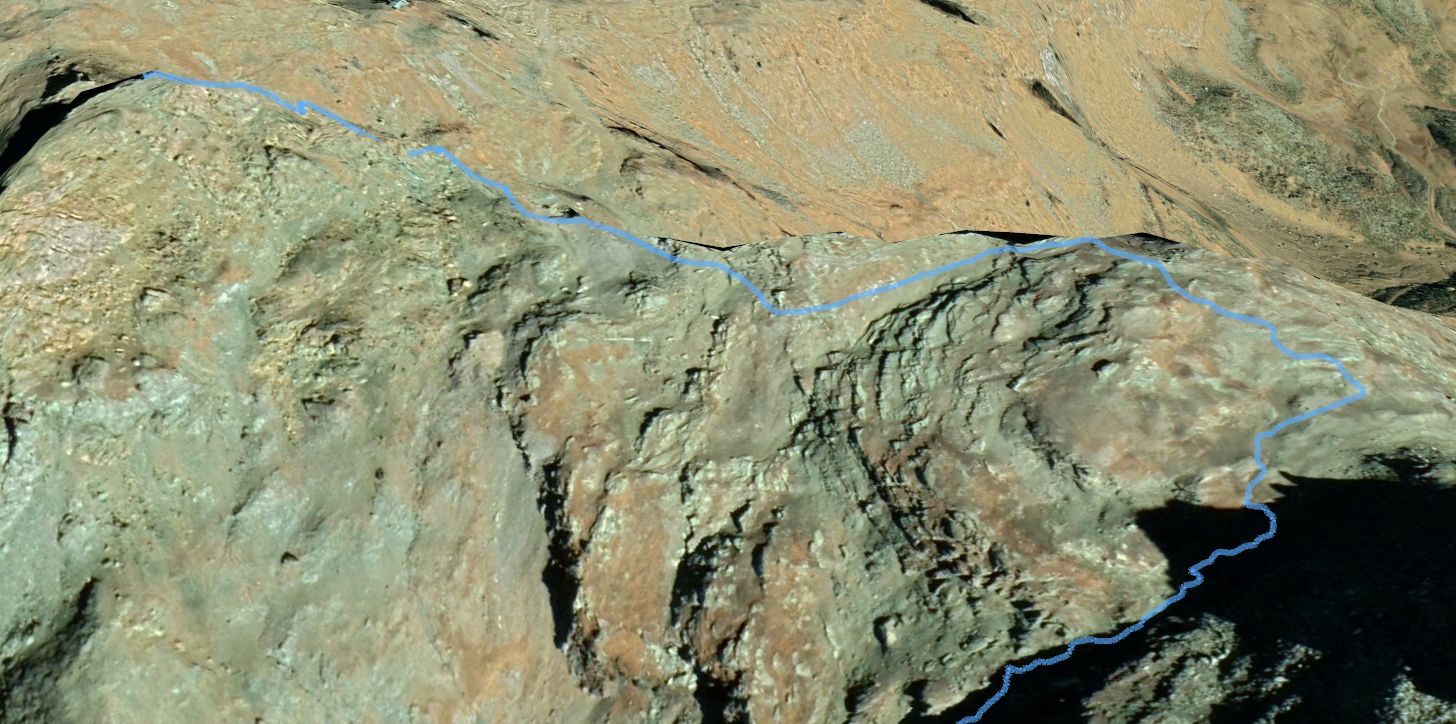
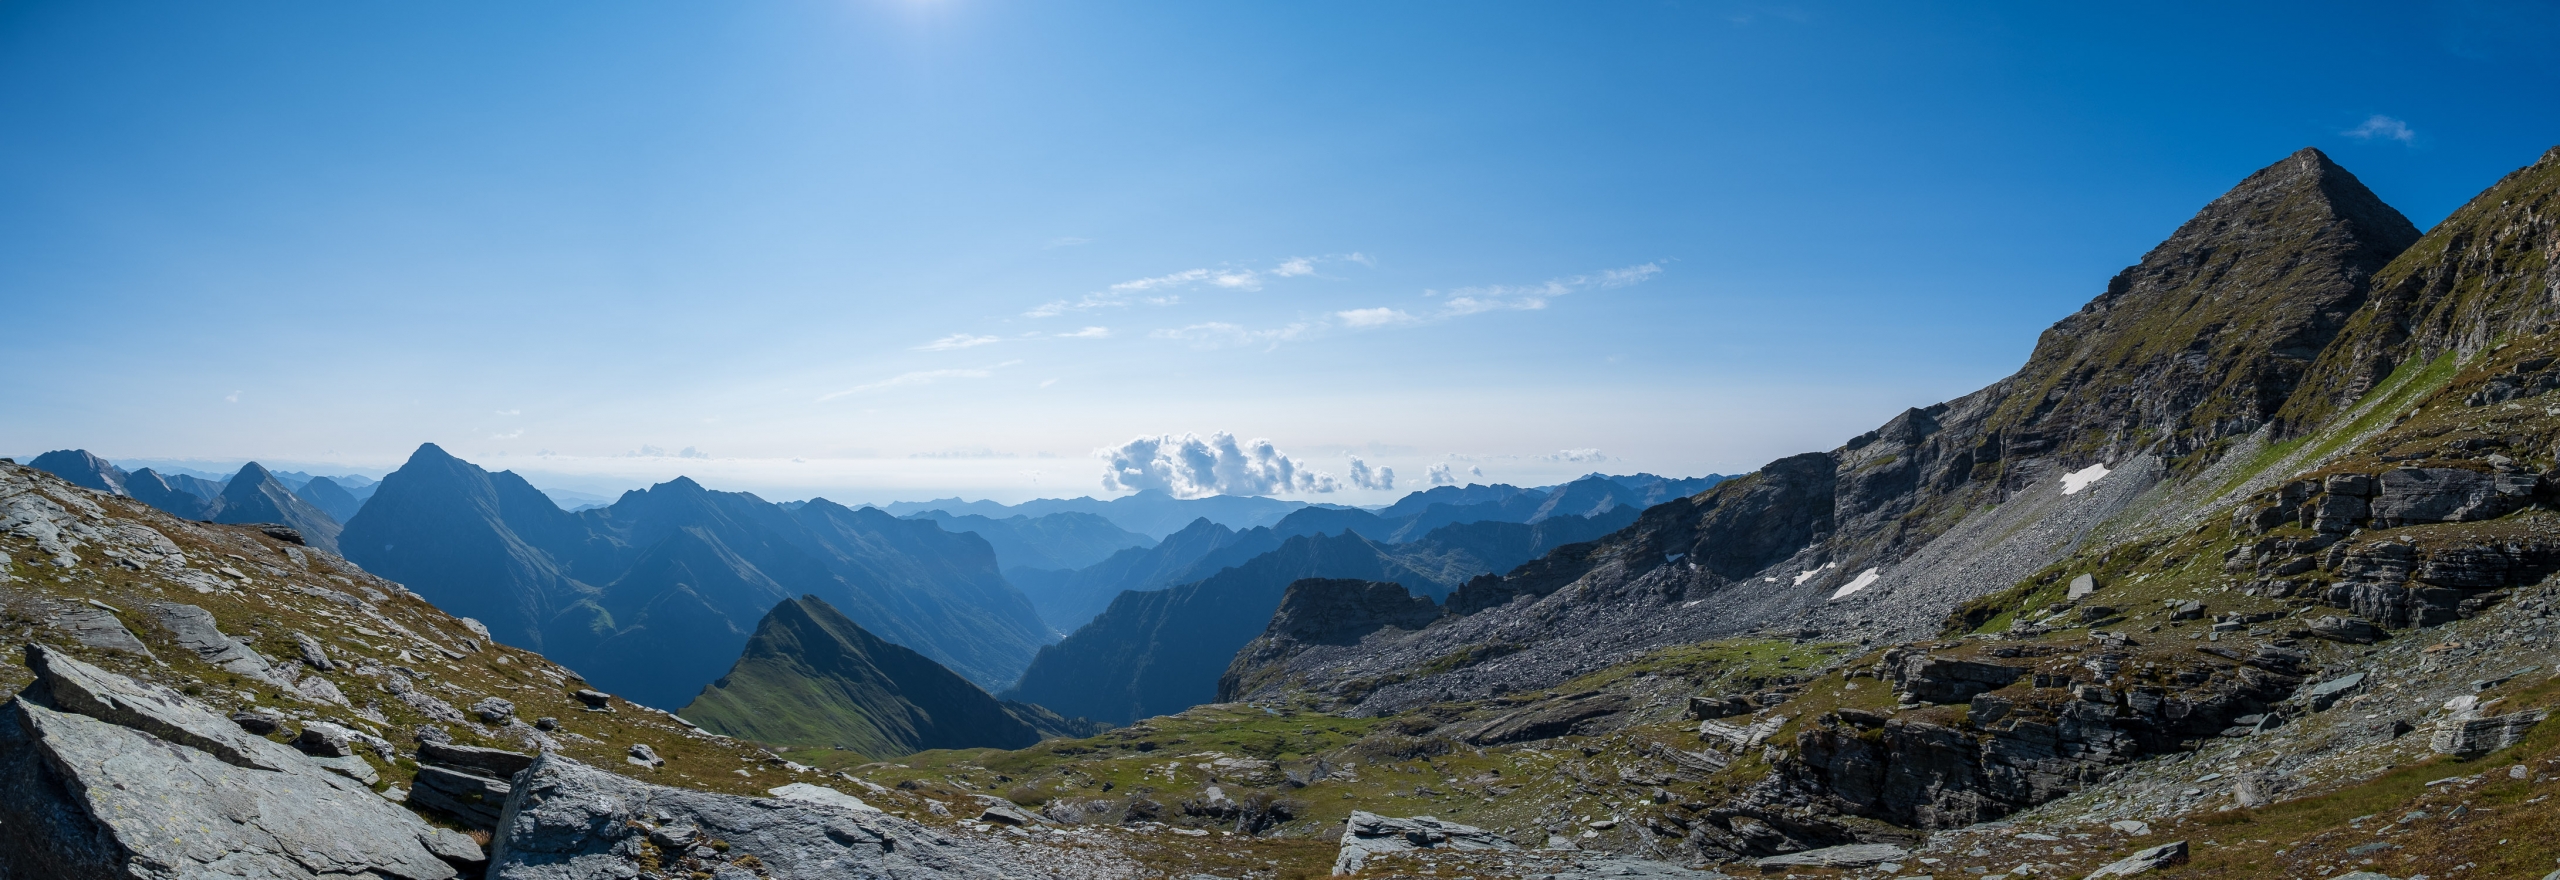
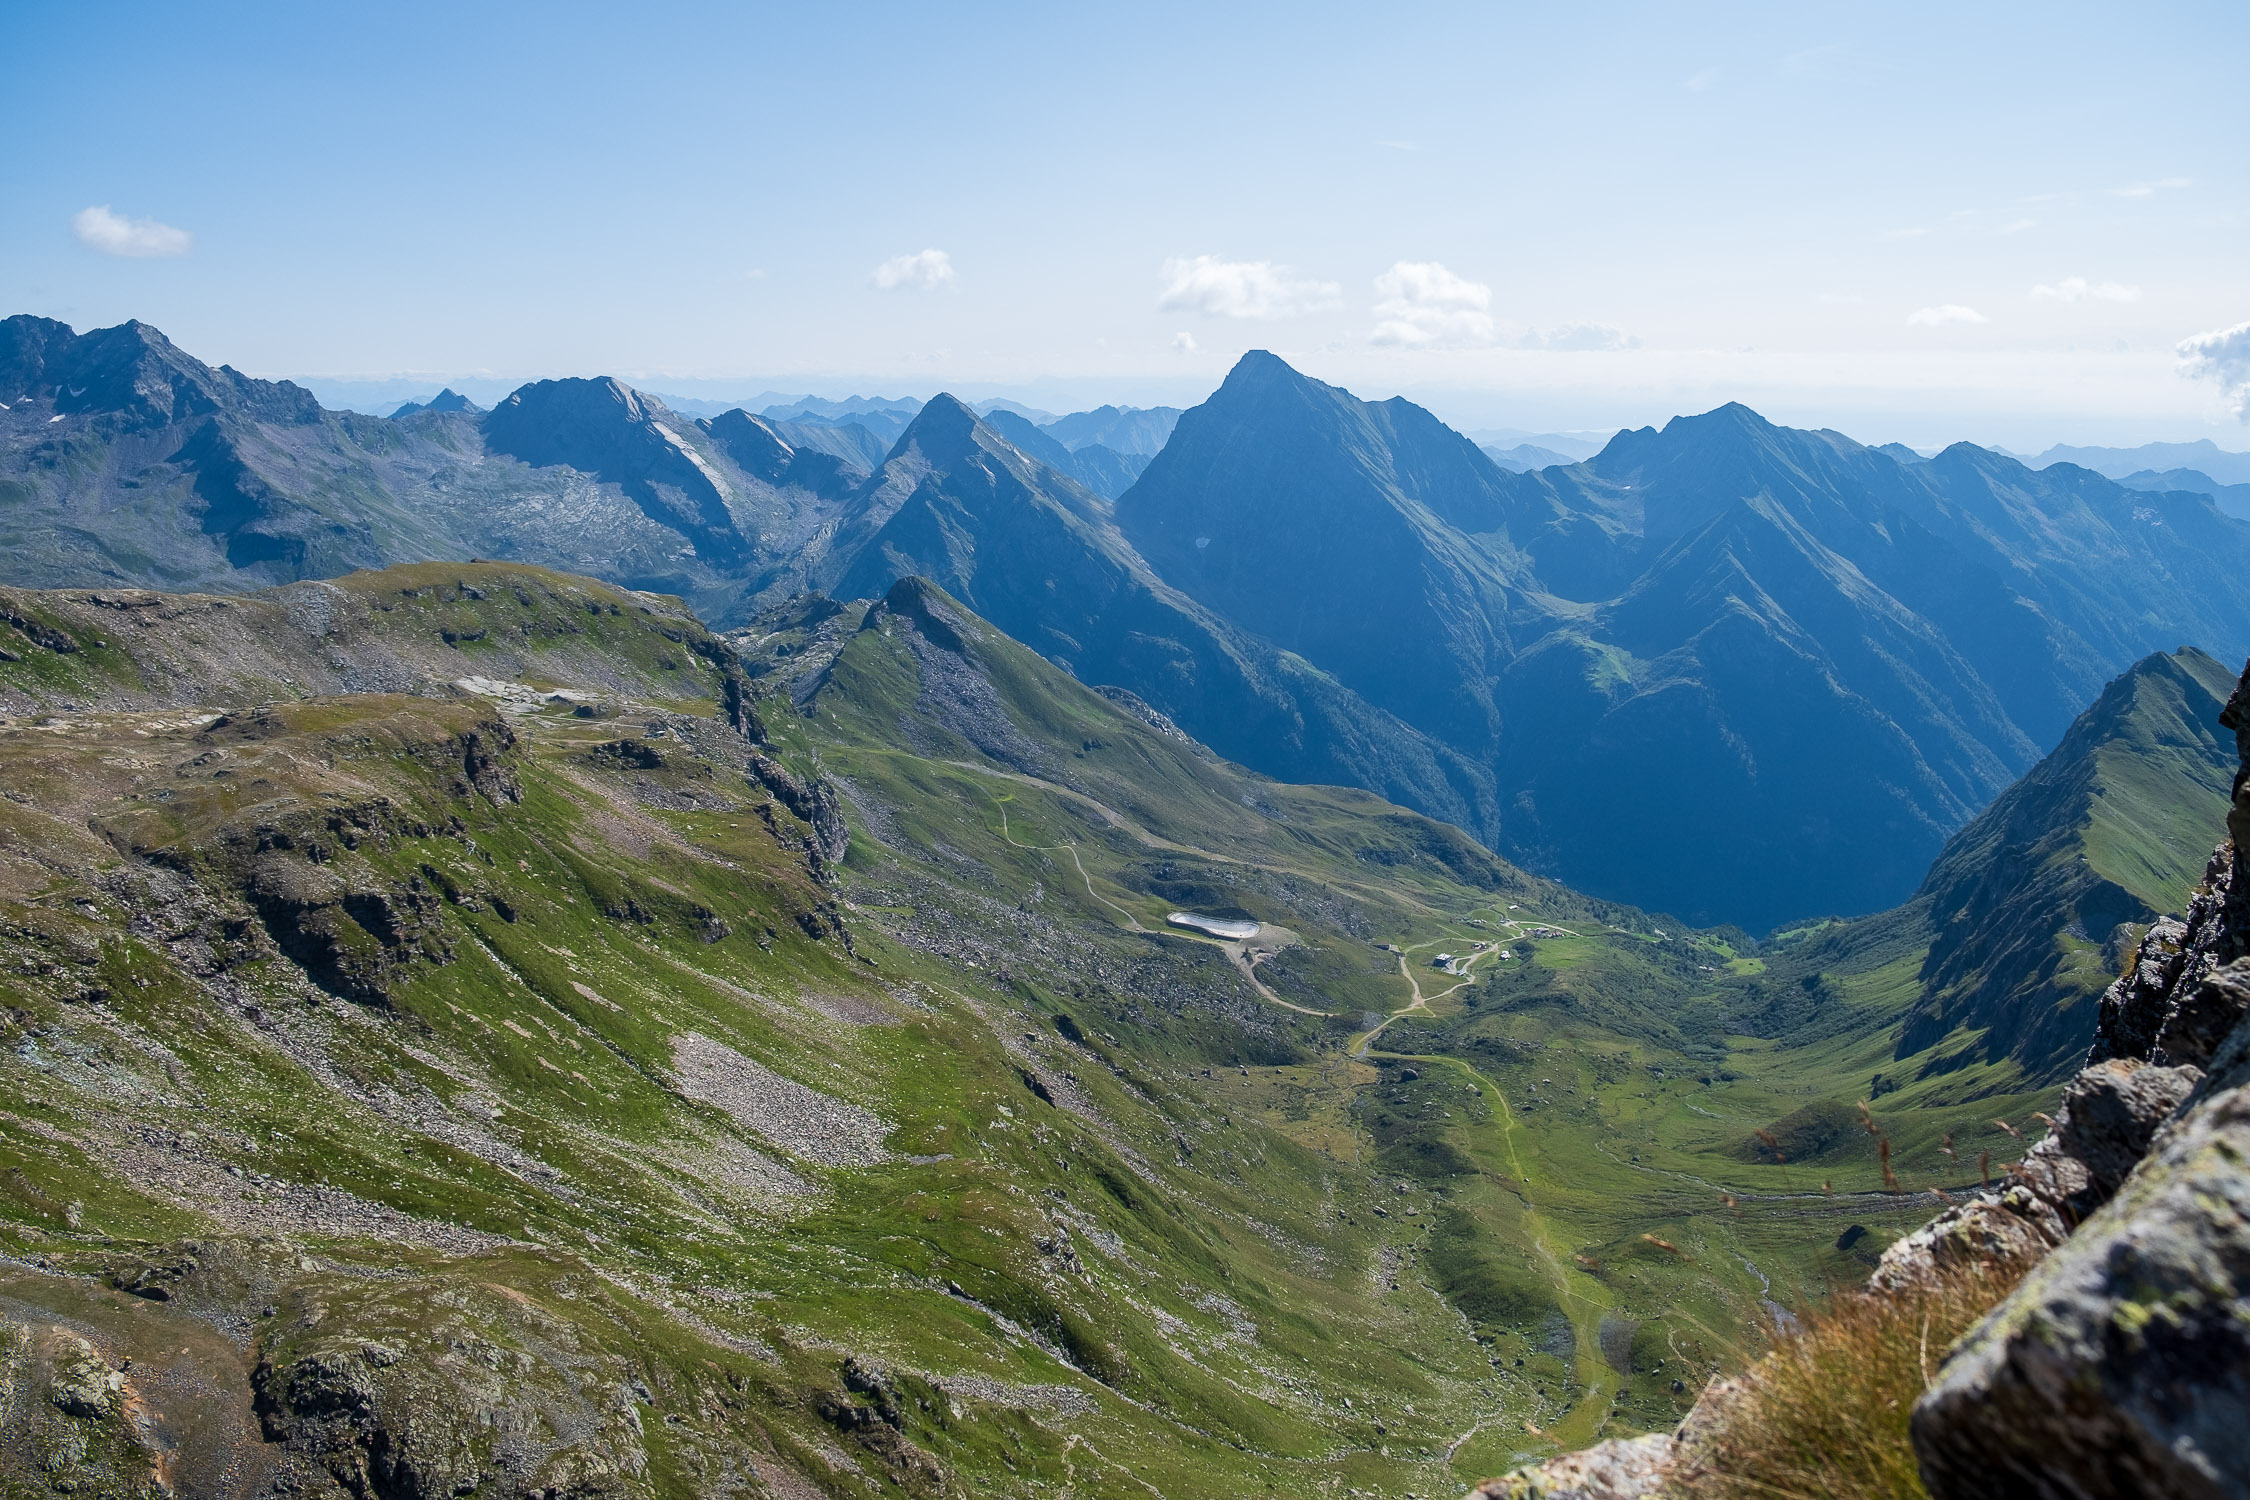
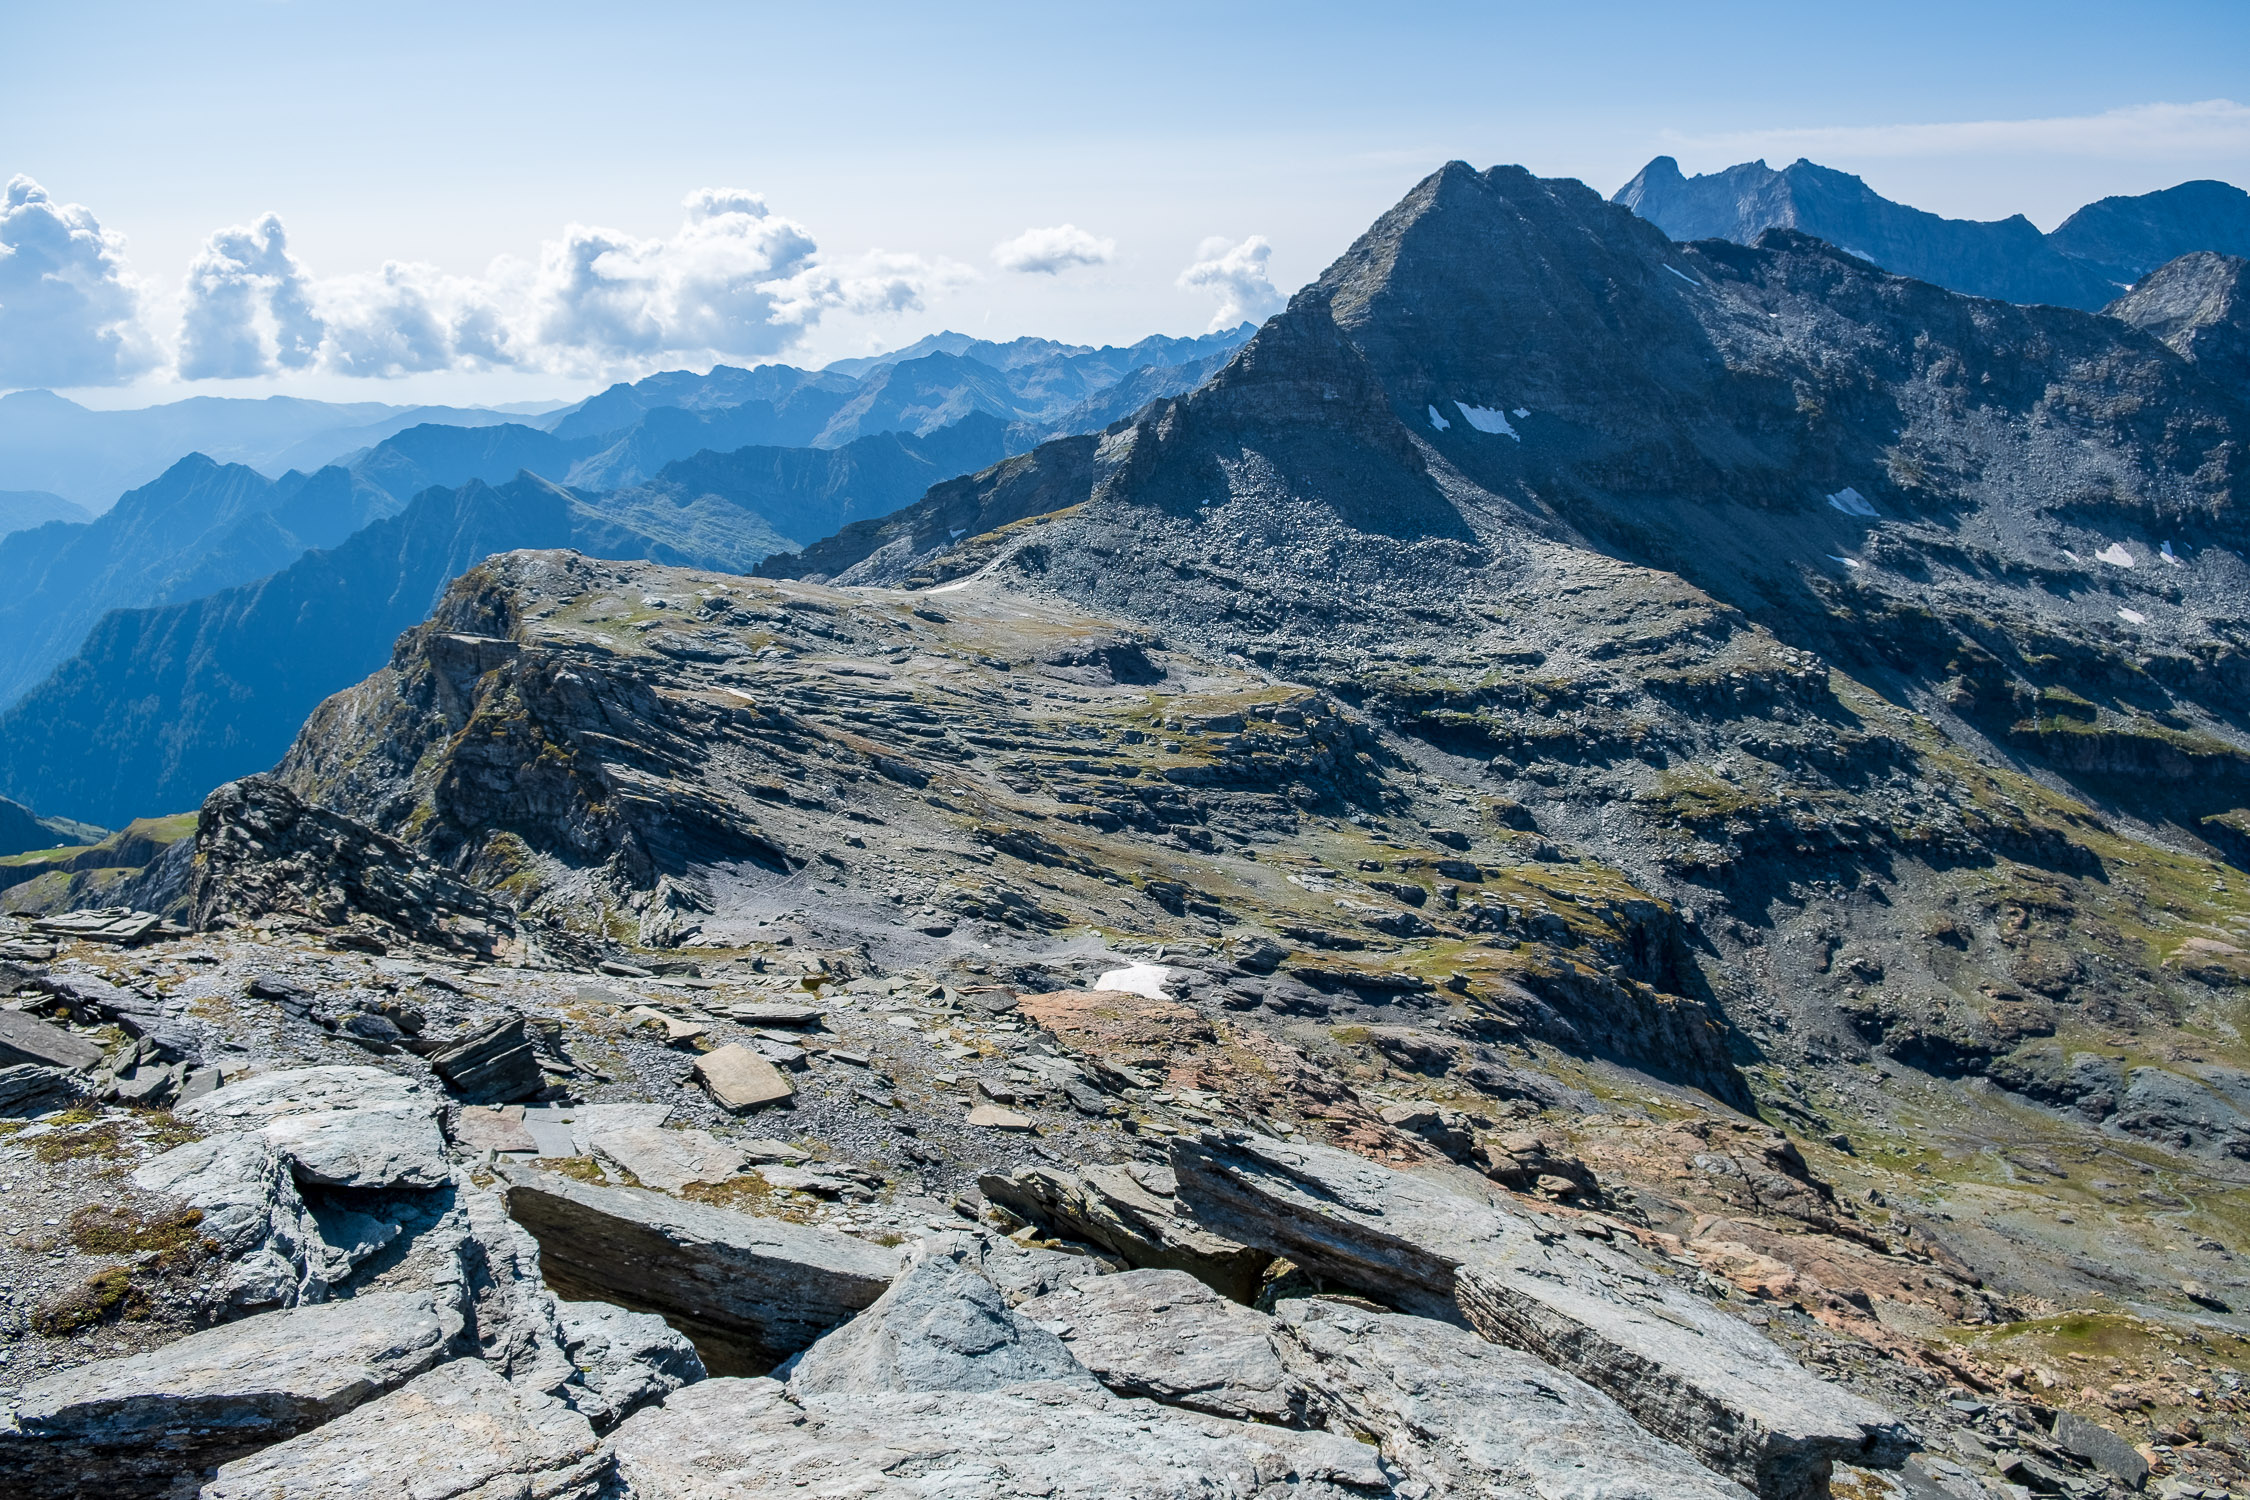
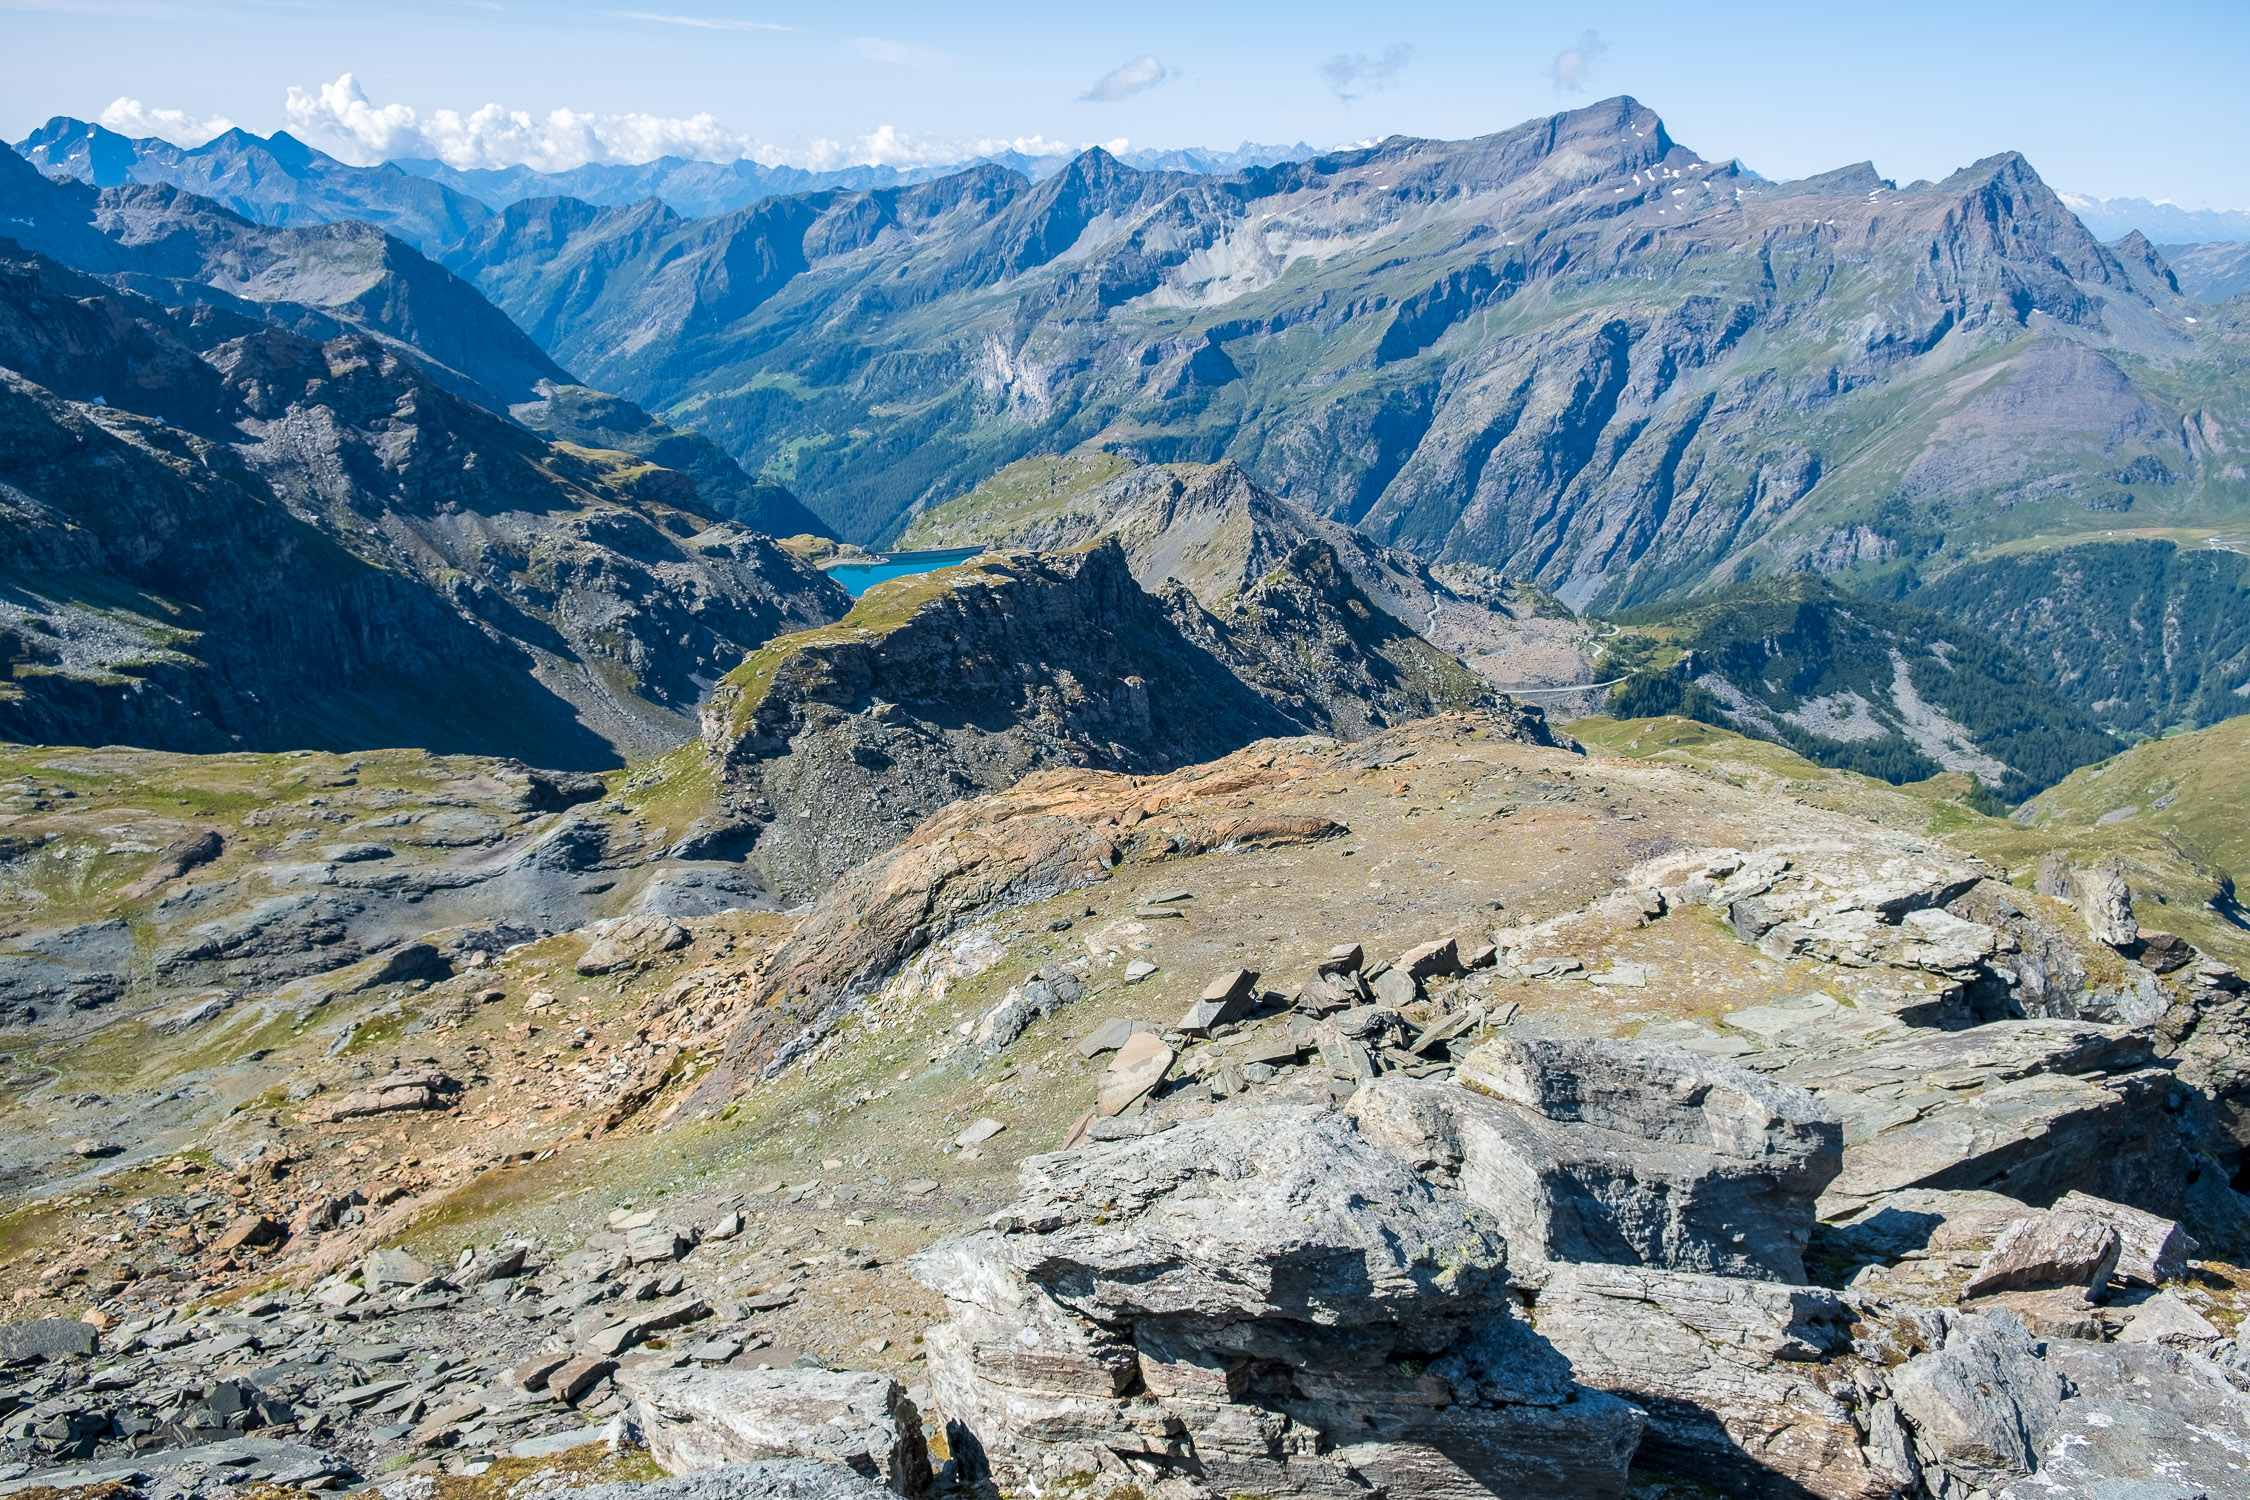
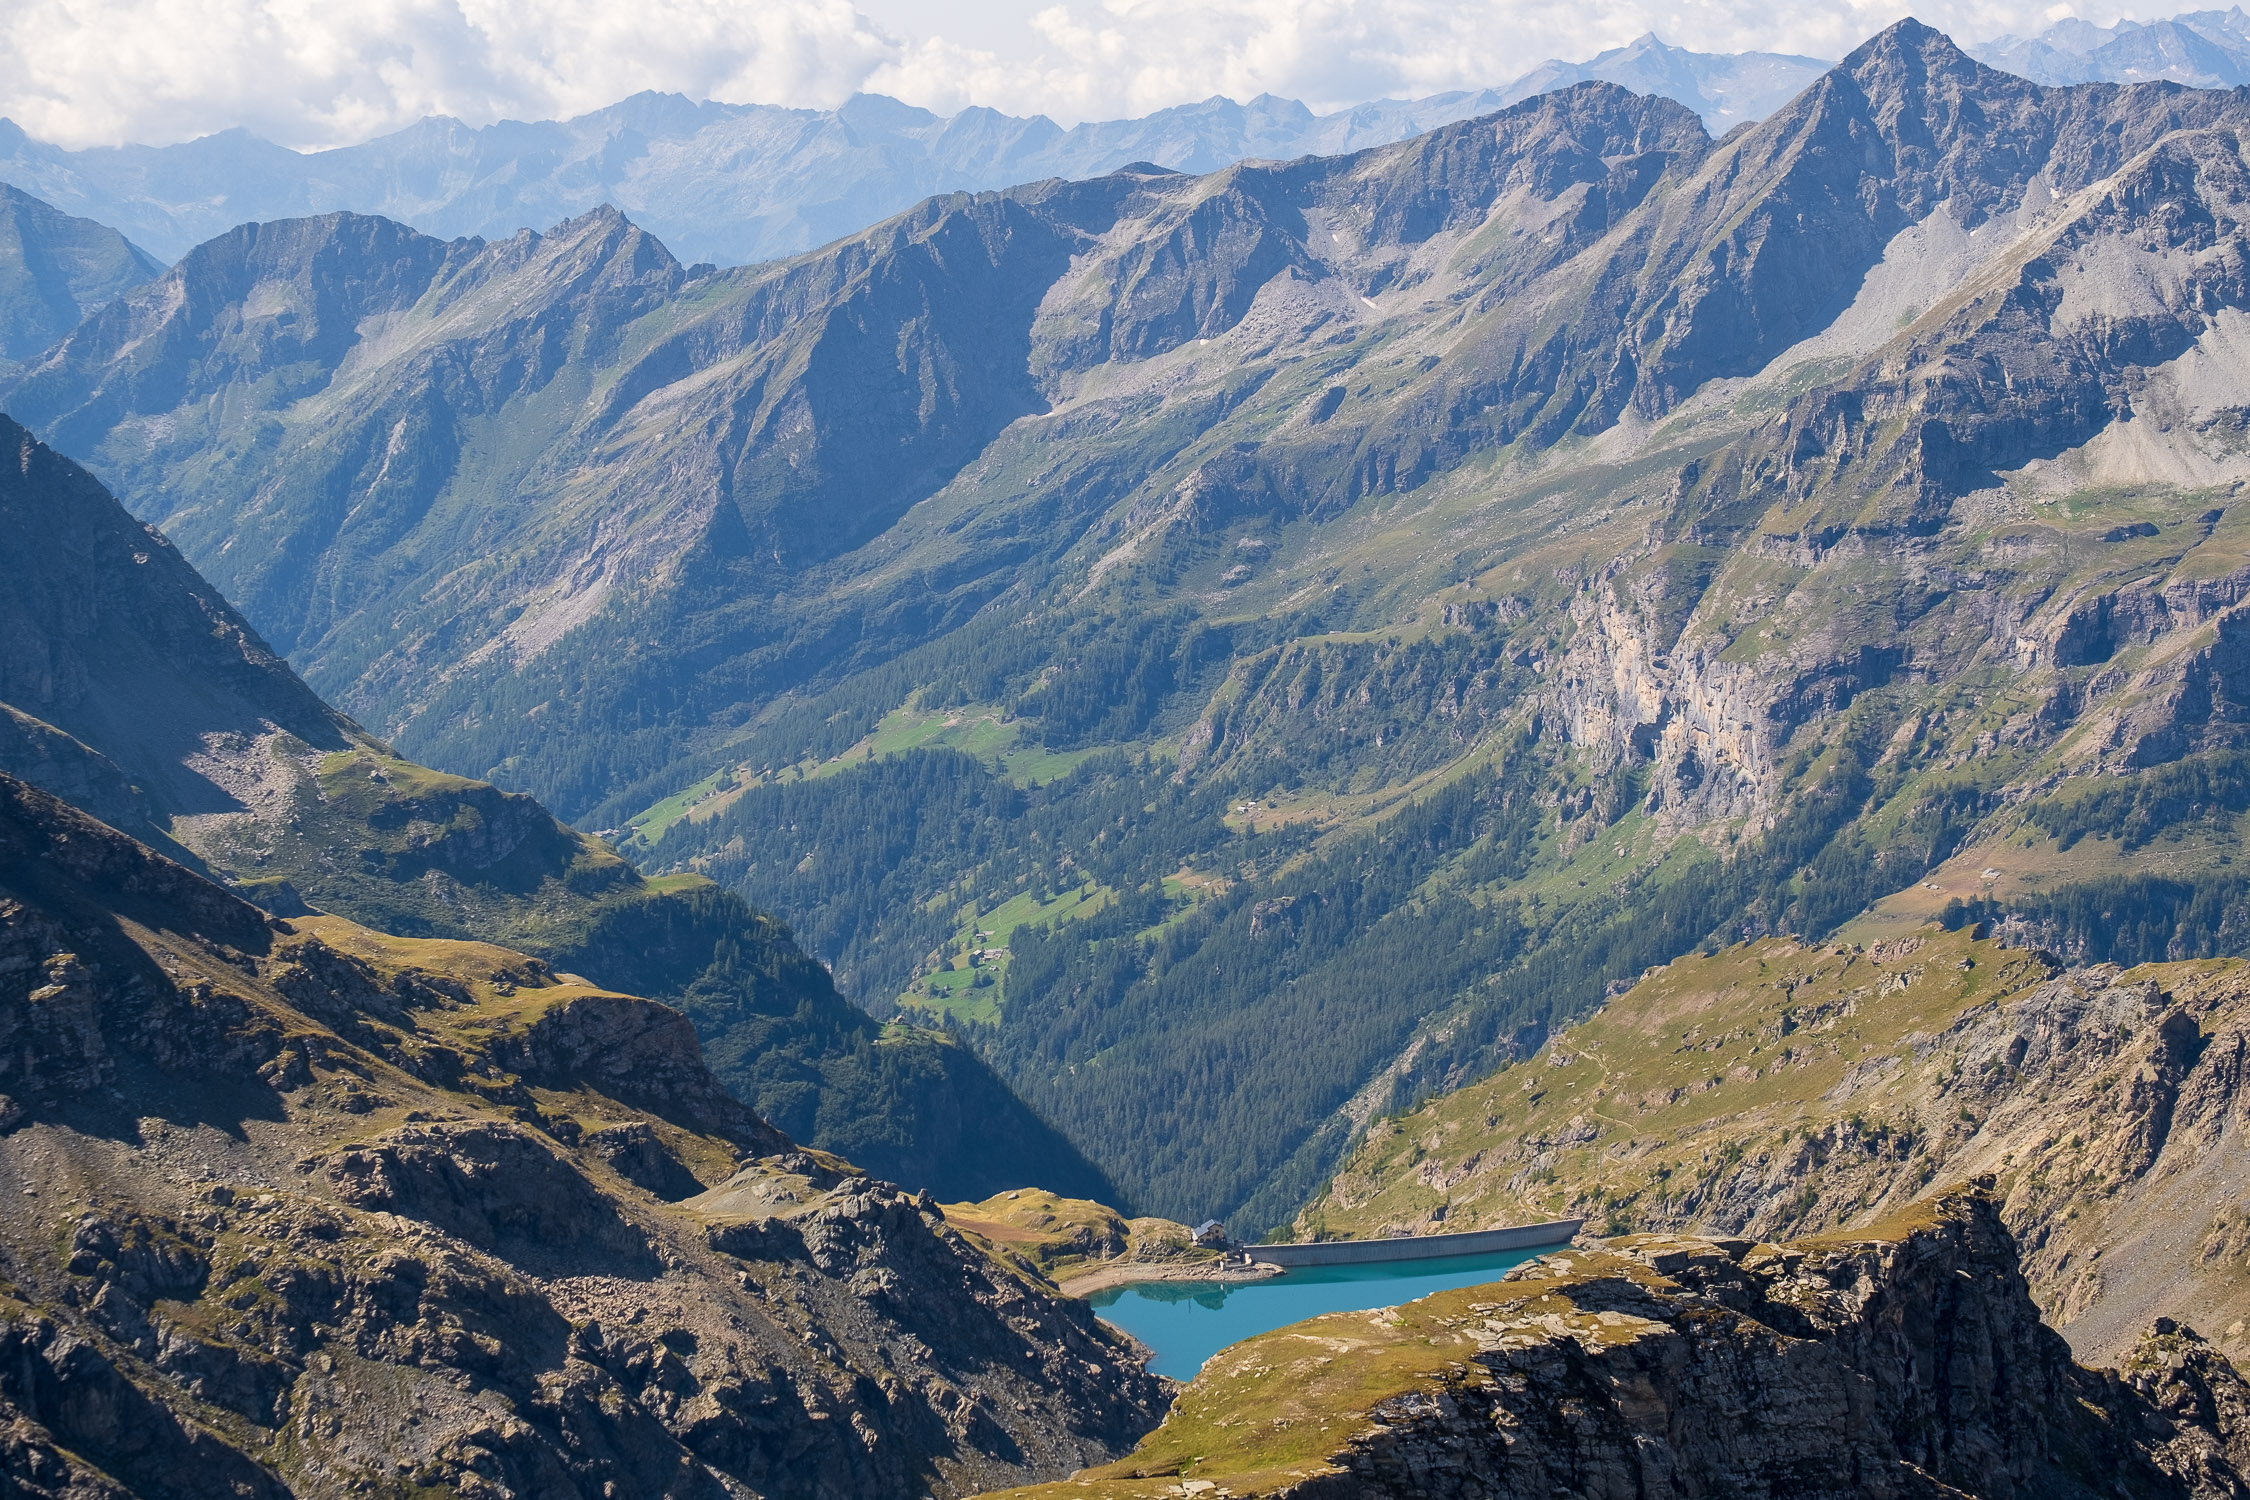
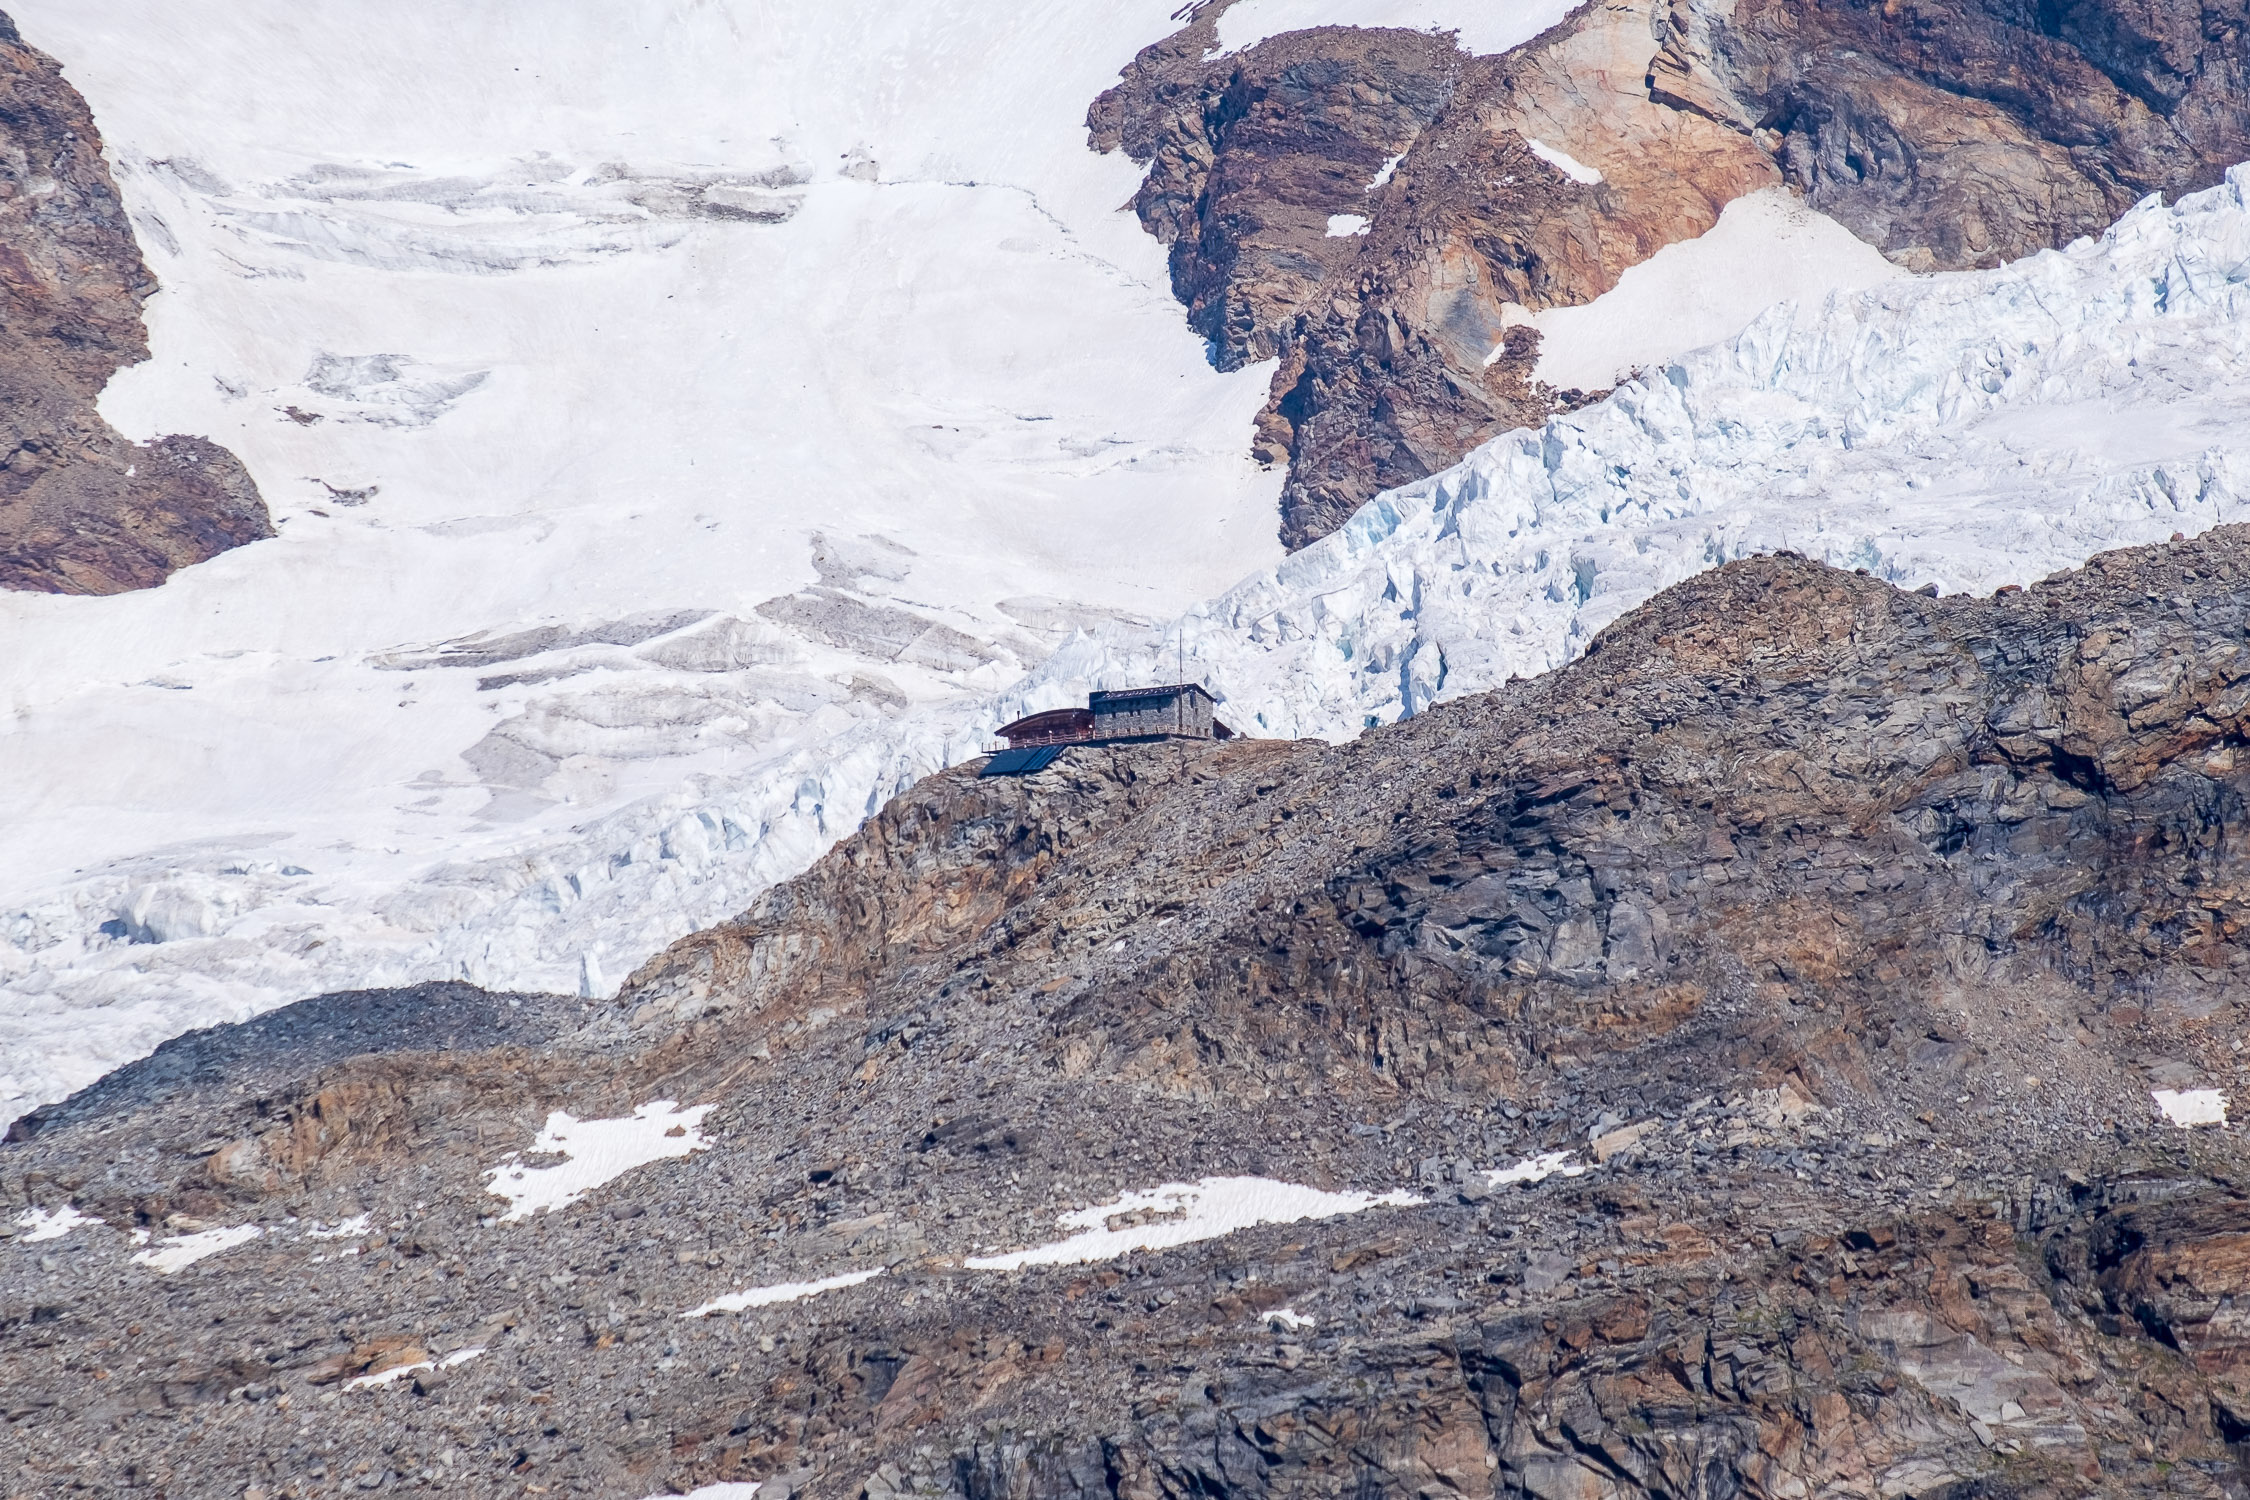
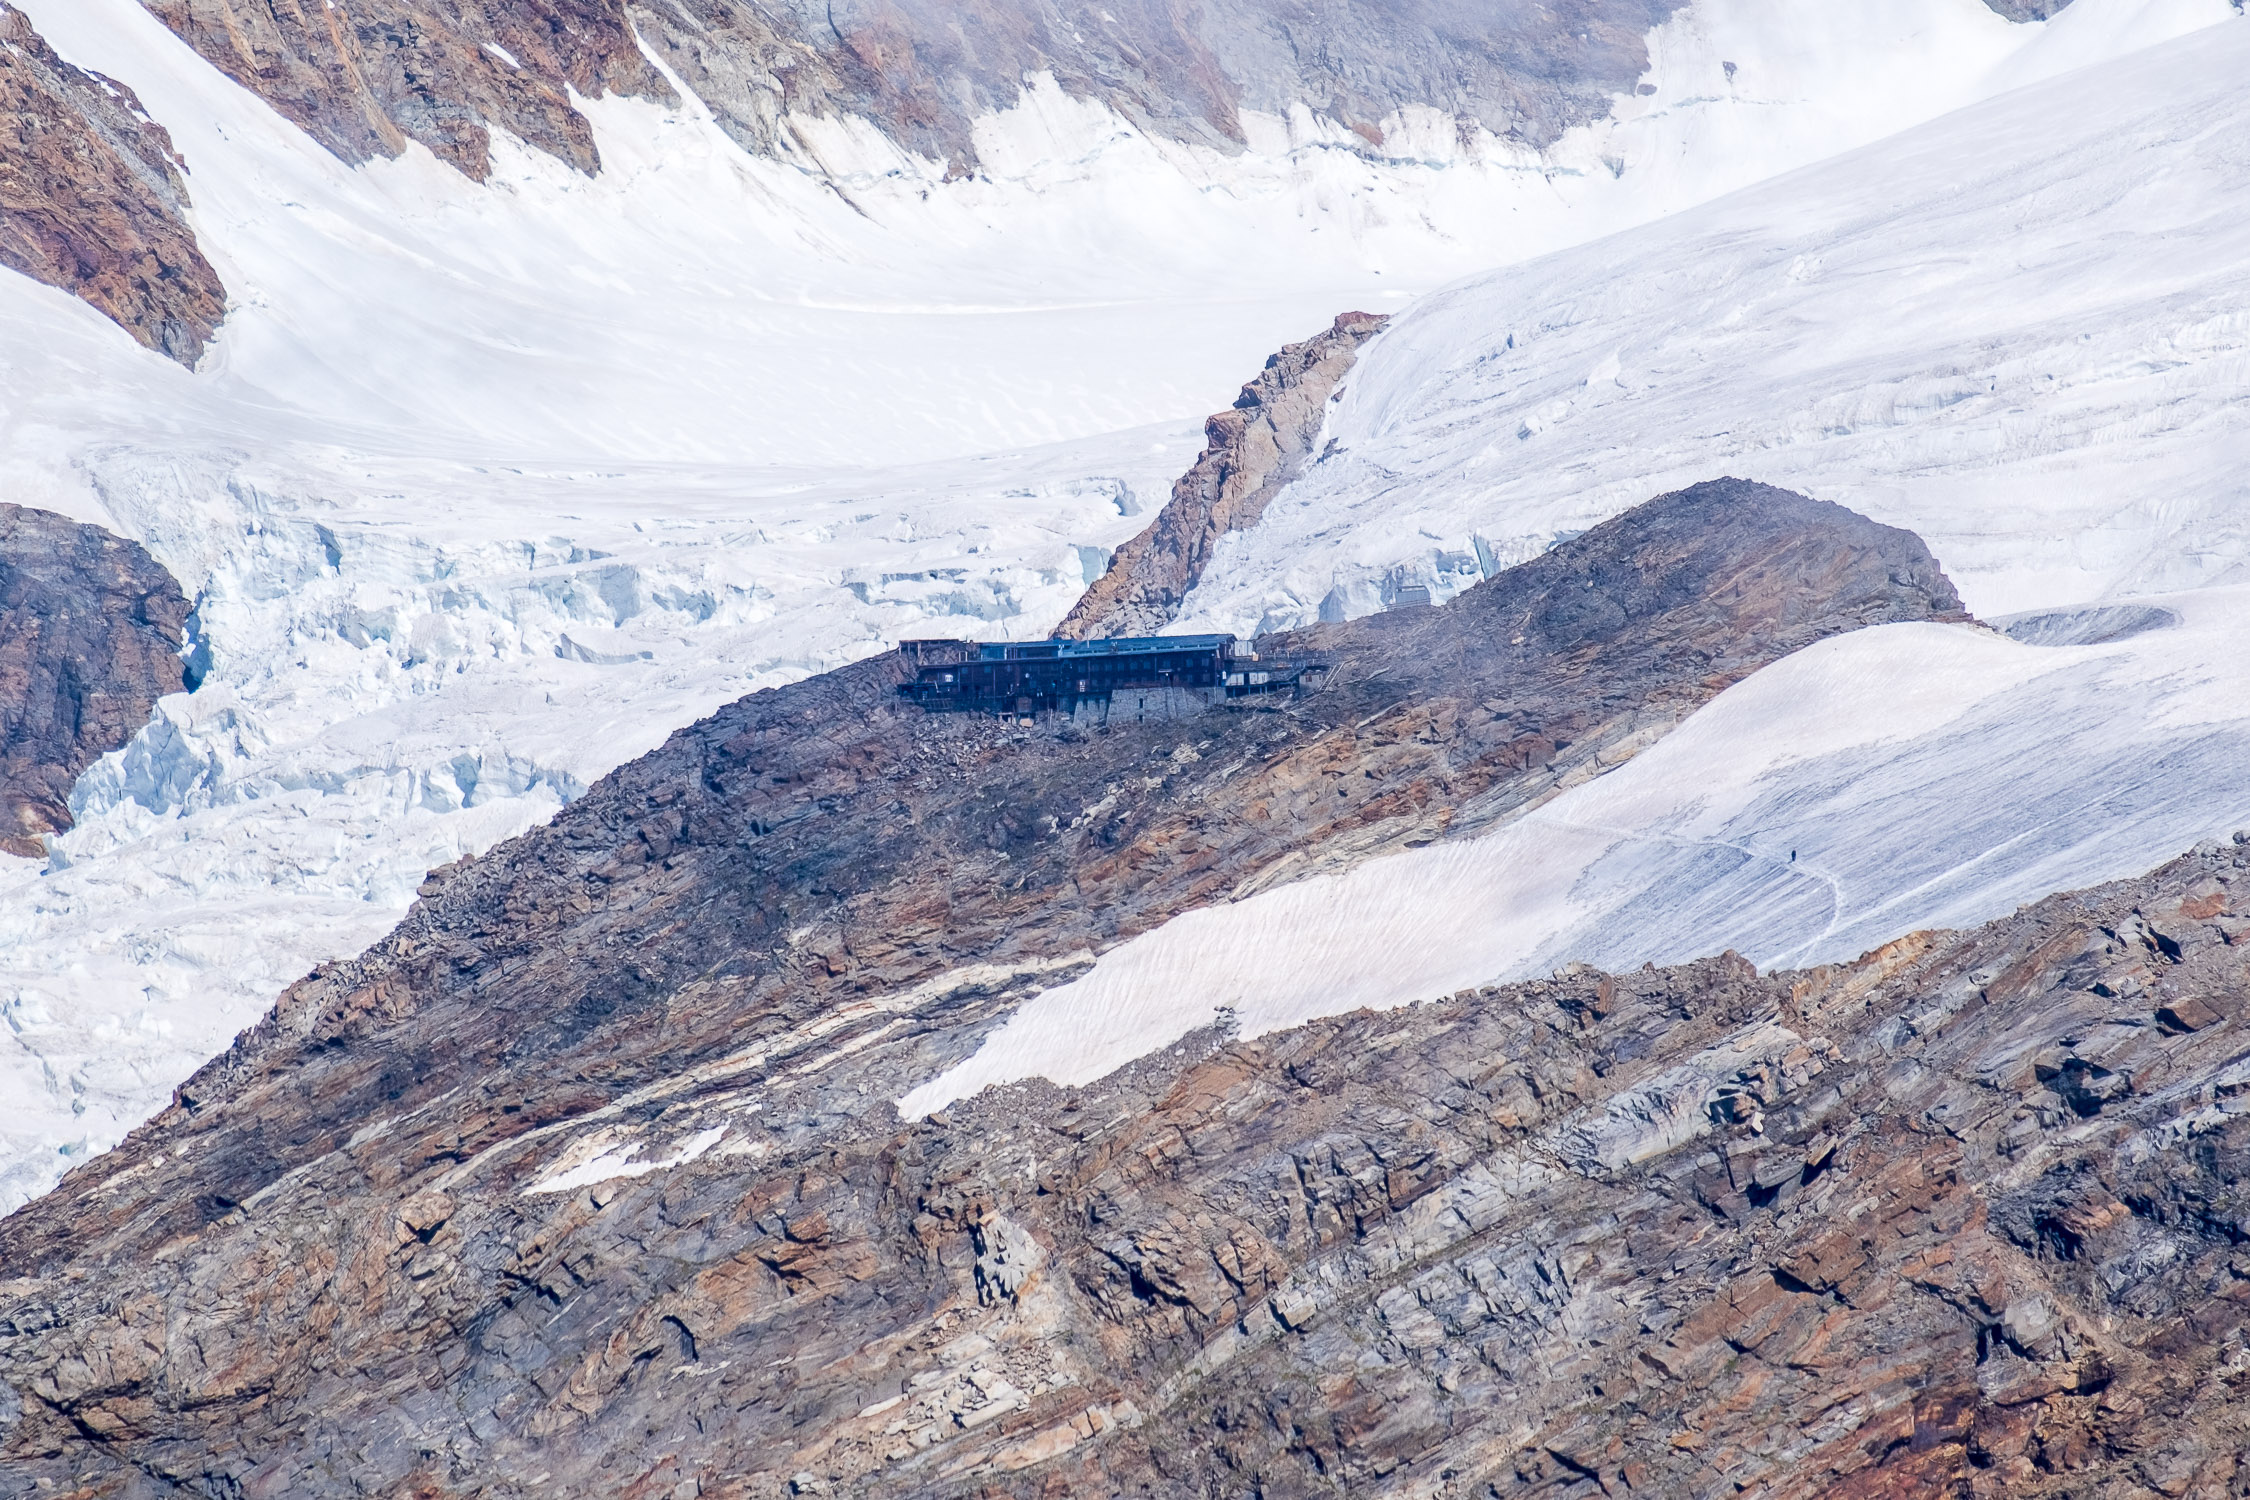
Zube Pass and Col d’Olen are separated by the Corno Rosso/Rothòre, 3023m, a fun summit that can be reached directly from Zube Pass by following vague trail markers and cairns. The view from the Corno Rosso is spectacular, in addition to being in the front row on the Vincent Pyramid and the surrounding 4000-meter peaks, many notable points in this area of the upper valley are clearly visible: Blue Lake, Punta Telcio, Alta Luce, Colle Salza, Testa Grigia, Rothorn, the Quintino Sella huts, Città di Mantova, Capanna Gnifetti, and so on.
Technically, the trail to Zube Pass presents no difficulty.
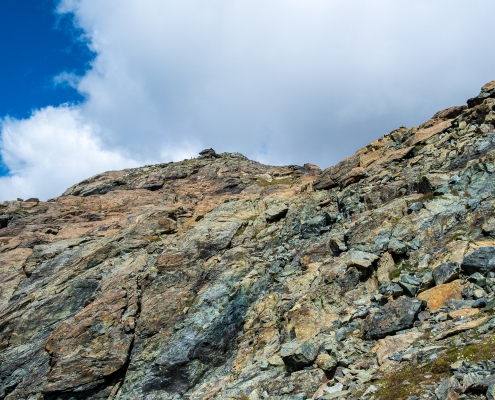
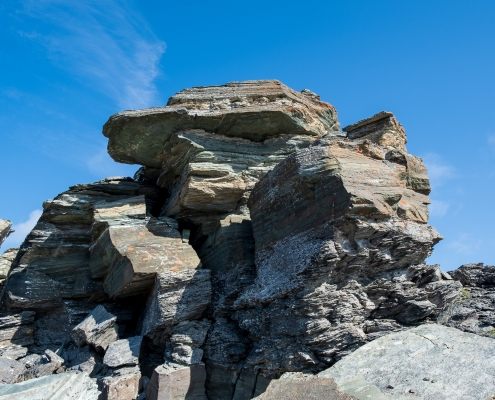
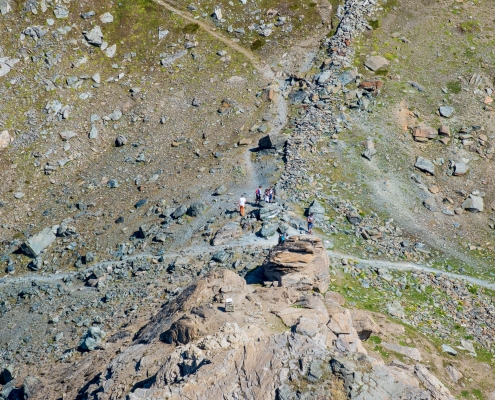
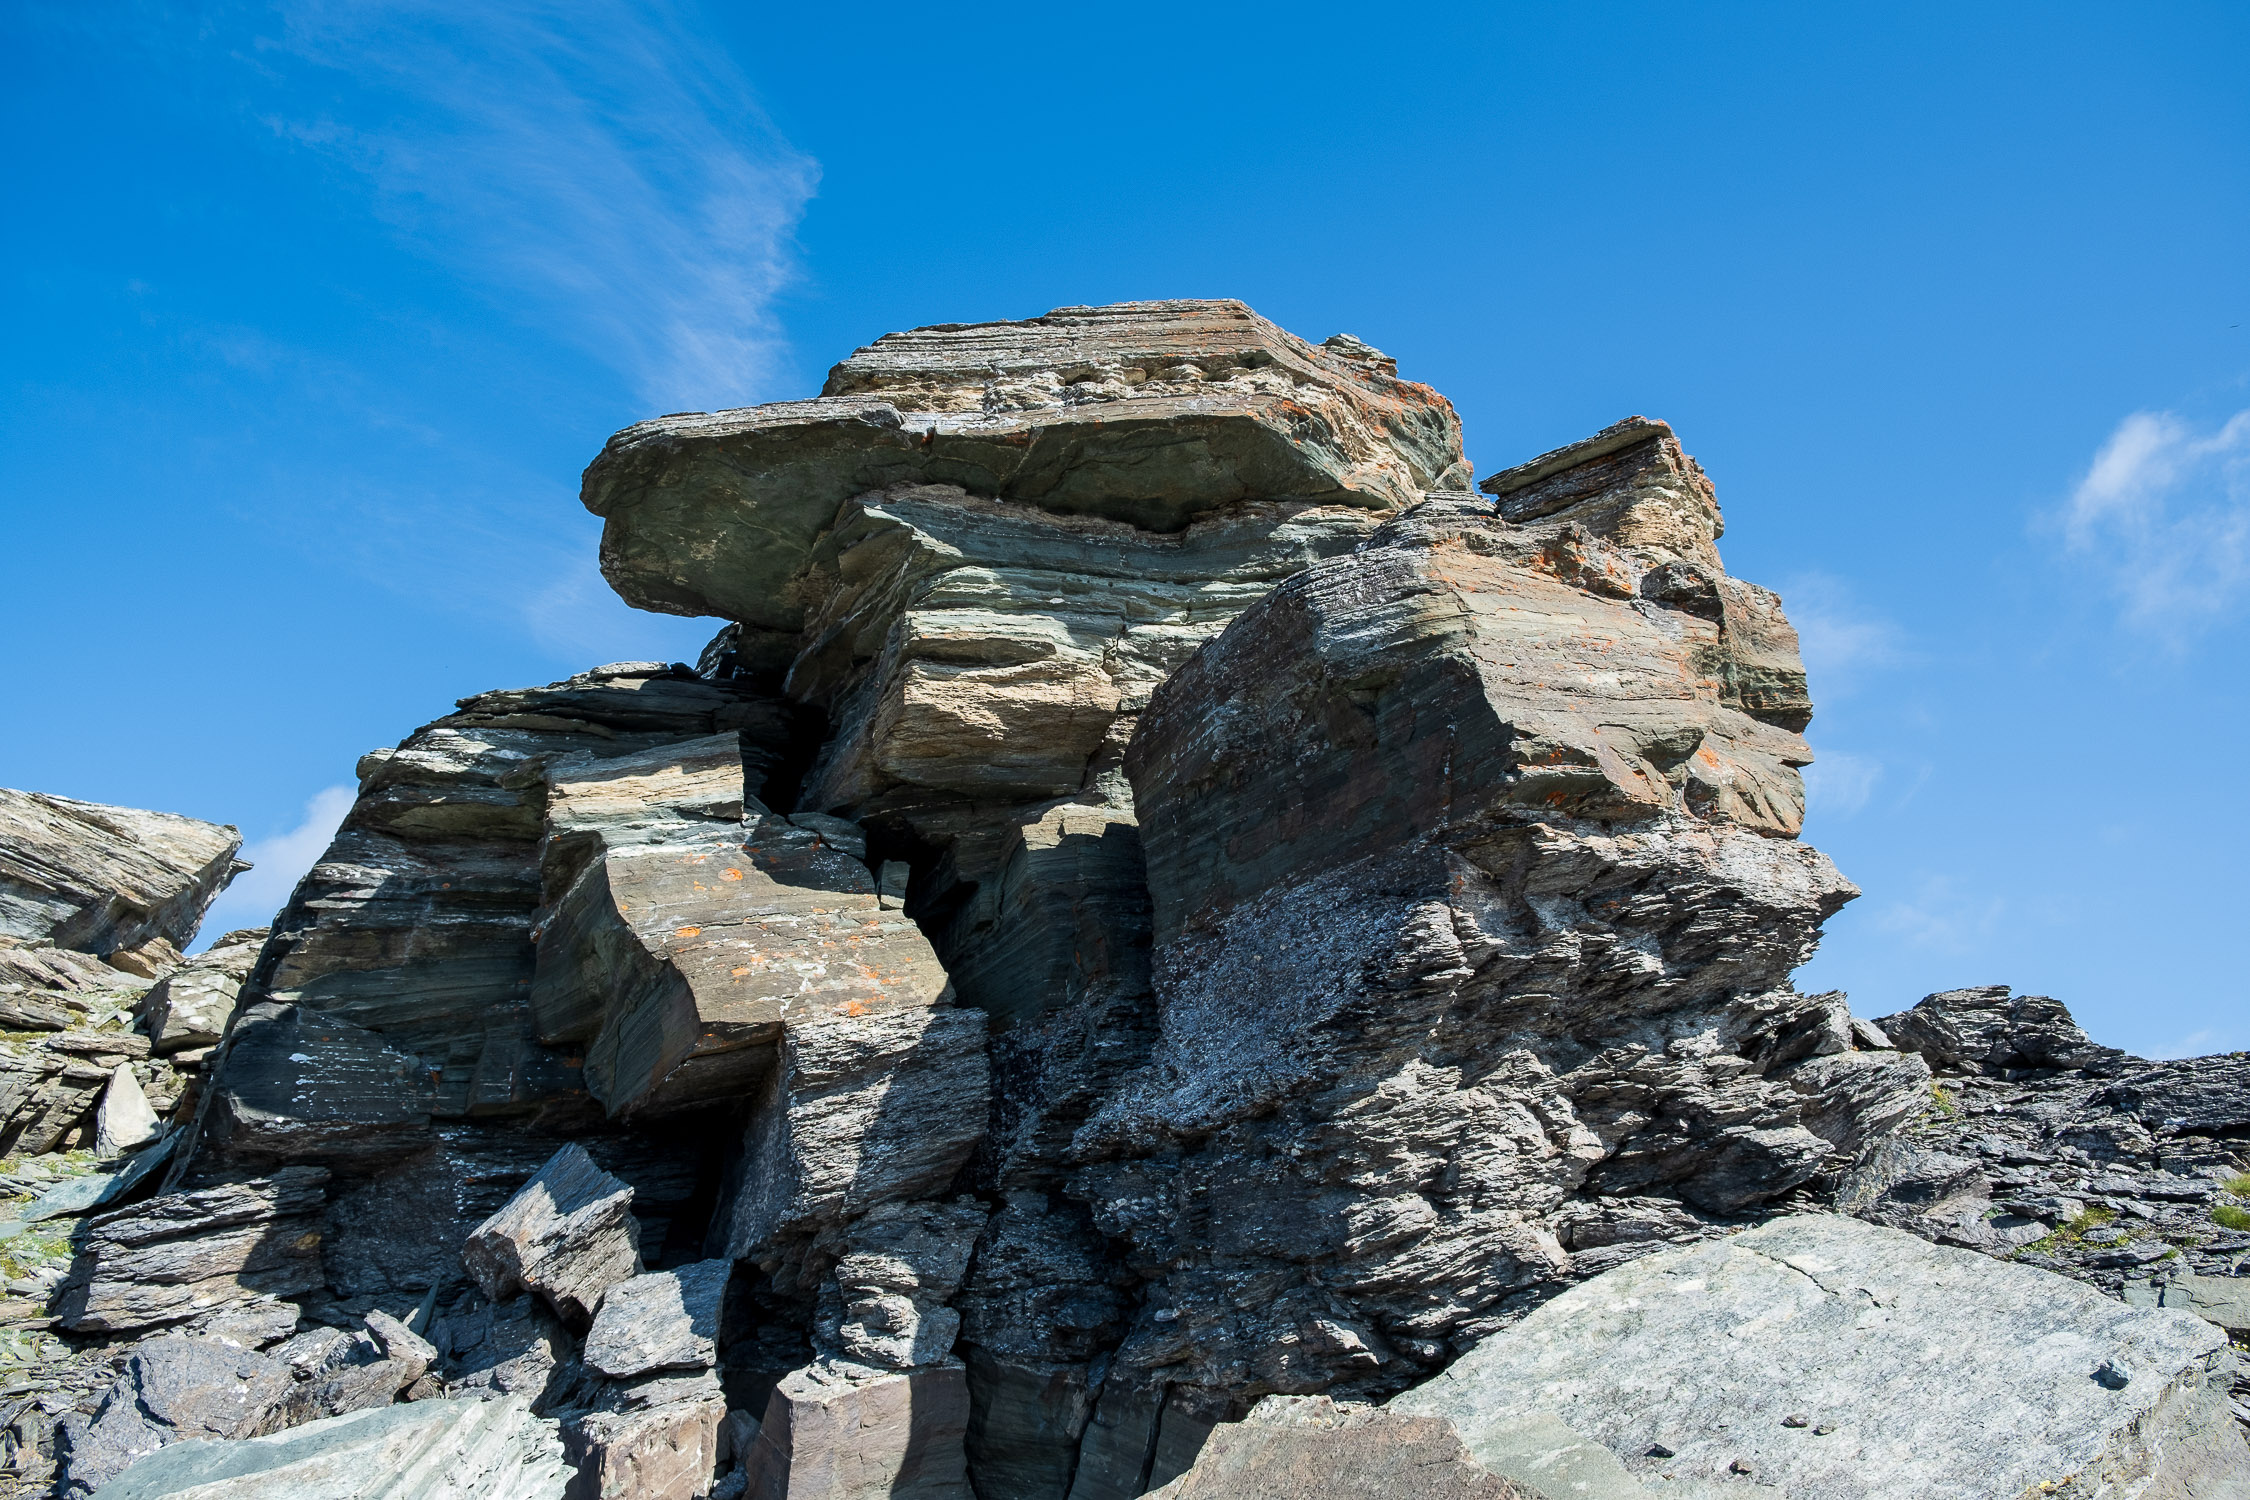
On the other hand, from the Zube Pass to the Red Horn, since there is no continuously marked trail, it is necessary to be able to “read the terrain” and scout out the route indicated by cairns and bolts scattered on the rocks. The only technical difficulty is at the very end, as the summit is on a group of flat rocks over which you have to climb.
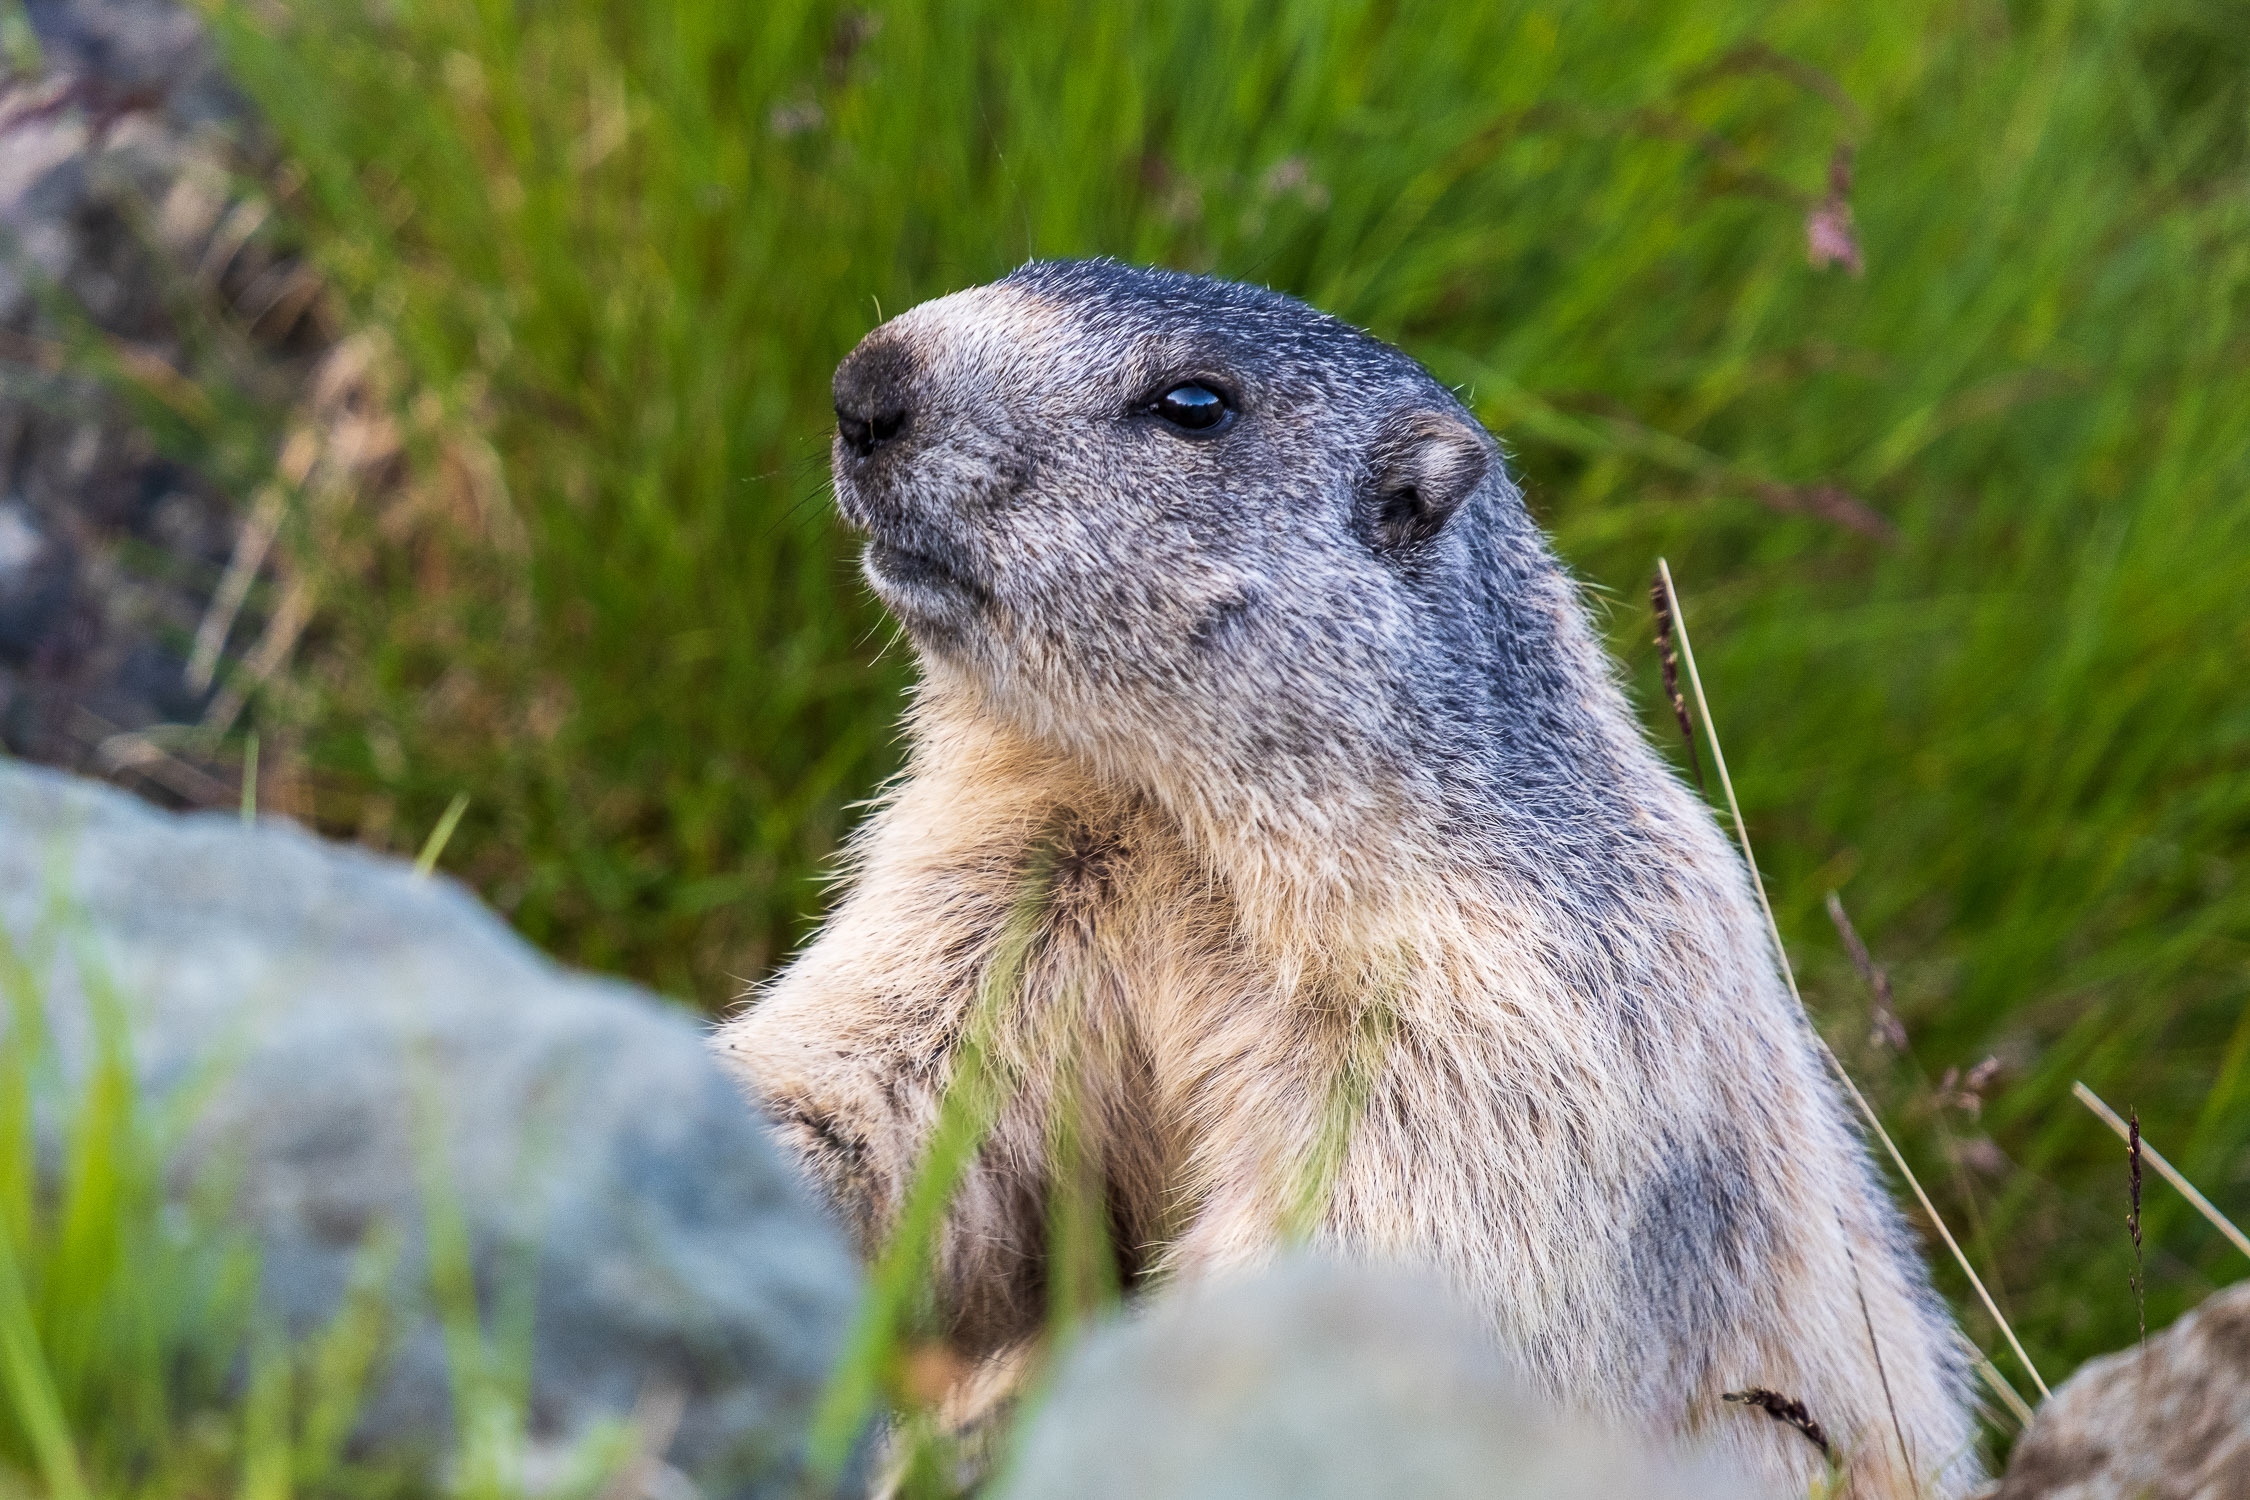
A curiosity: in the Walser language, “zubio” means “pee,” and it appears that the place name refers to the presence of numerous waterfalls in the area (from Wikipedia).